Laser-cut invitations include shimmer paper cards, wooden designs, gold borders on card stock, lace patterns, pocket sleeves and gatefold styles, plus ribbon details and wax seals that dress them up further.
Your guest count decides which one fits, since custom shapes and ornate gold borders cost more than a stock design, and hand-tied ribbon or pressed wax seals add evenings of work to a long list.
1. Ribbon Embellishments on Laser-Cut Invitations
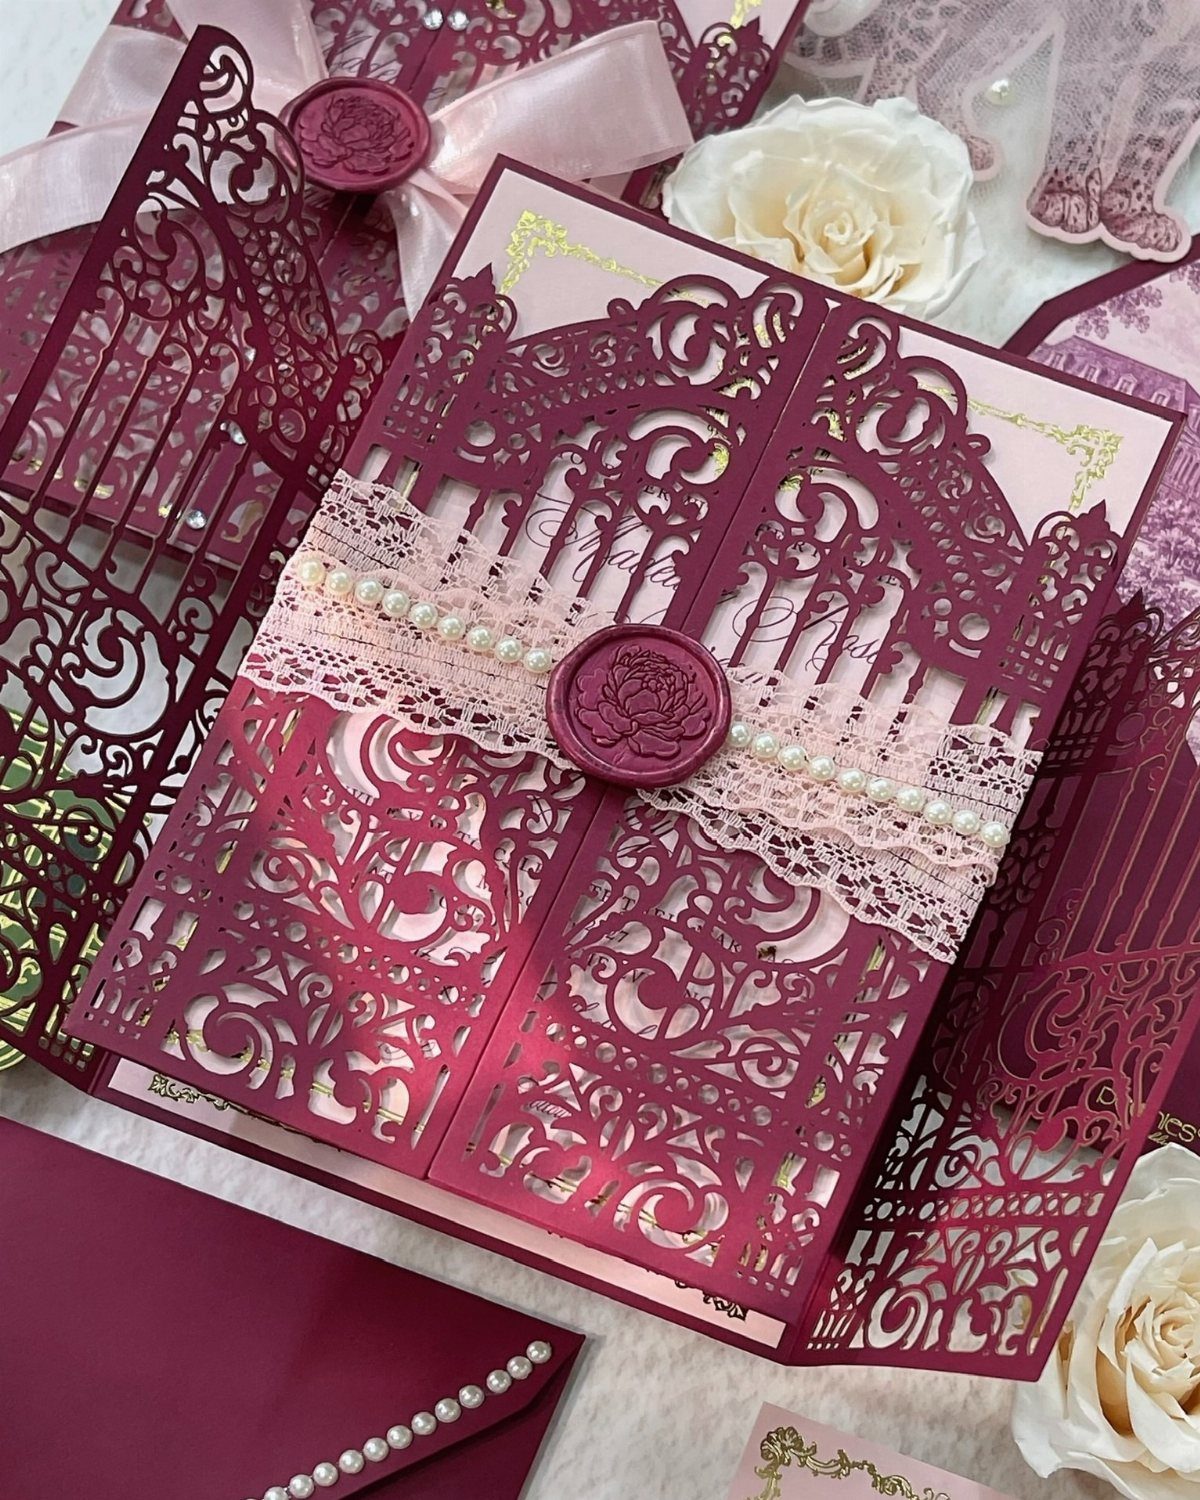
Lace ribbon threaded through a laser-cut card adds a soft texture that the crisp cutwork can’t make on its own.
Burgundy paper with pearl beads and a wax seal reads rich and traditional, and I like that the ribbon keeps it from feeling stiff.
Match the ribbon color to your envelopes so the whole suite looks planned. Tying each bow by hand takes time, so test one invitation before you commit to the full guest list.
2. Custom Laser Cut Options
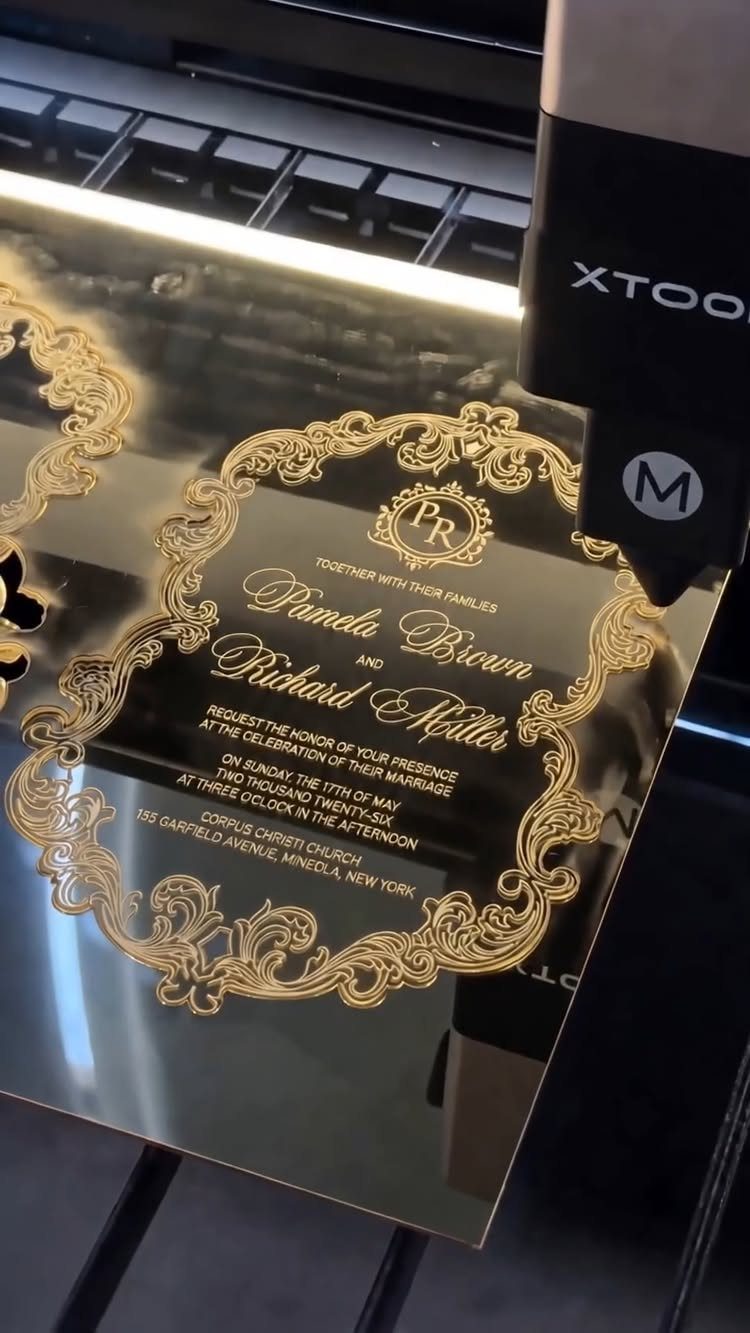
A laser machine will cut or engrave almost any outline you draw, so the invitation no longer has to be a rectangle.
The gold acrylic piece pairs an ornate border with a monogram, and that shows how far the idea stretches past paper.
Send your vendor a vector file of the shape, the border, and the lettering. Ask for a sample before the full run, since engraved text can look different on each material.
Custom work costs more than a stock design, so settle your guest count first.
3. Laser-Cut Wooden Wedding Invitations
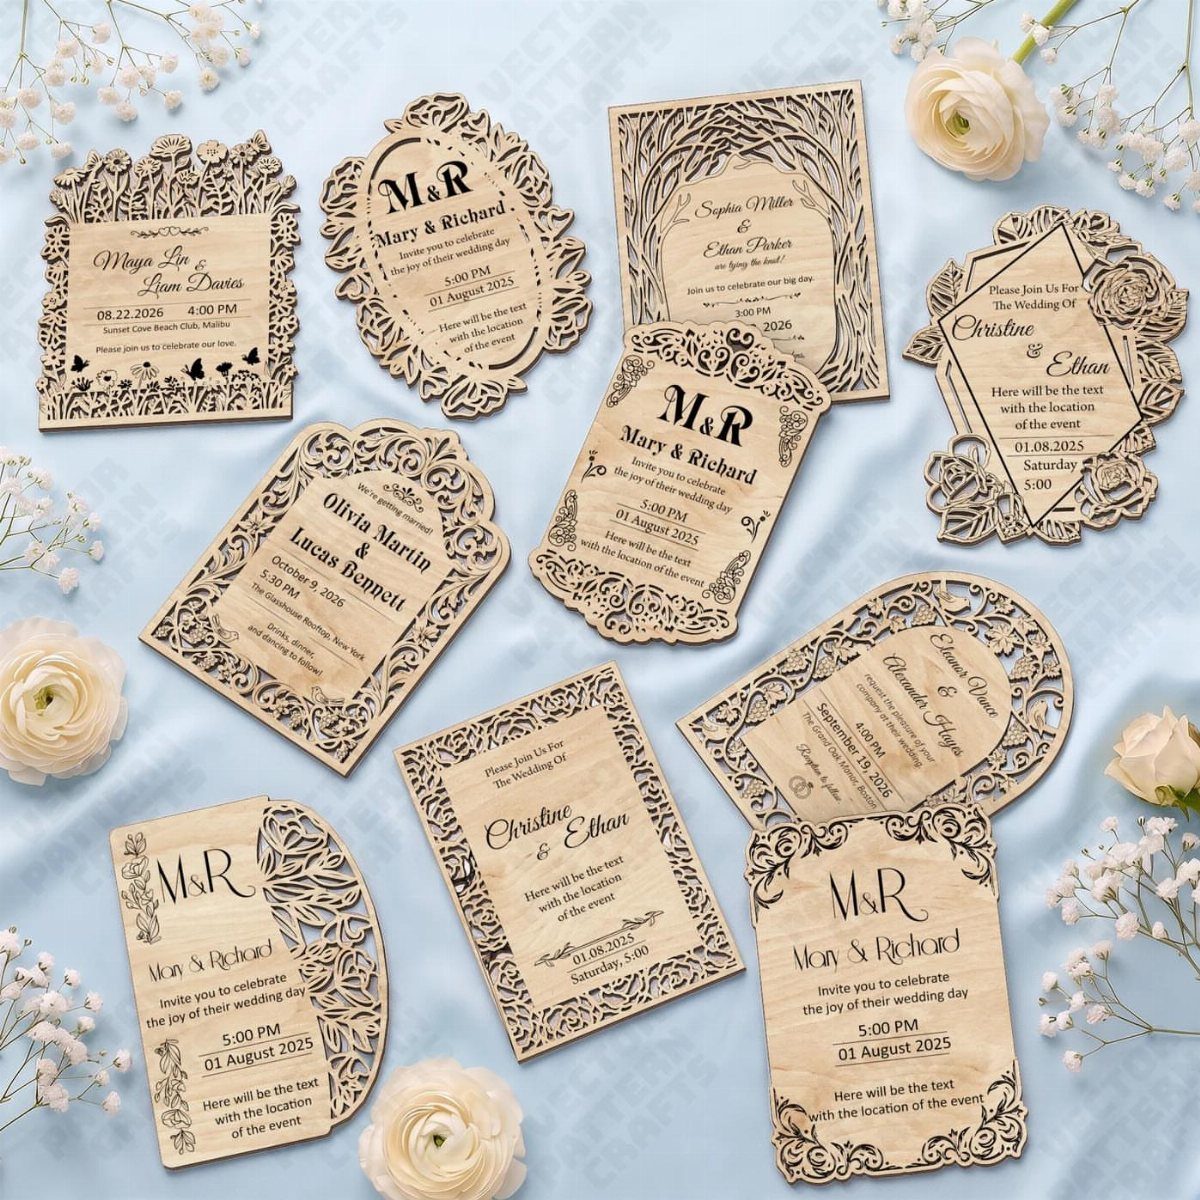
Thin wood changes what an invitation feels like in the hand: warmer and heavier than card, with a grain you can see through every cutout. Floral borders, geometric panels, and engraved names all work on it.
I would pick one pattern per suite instead of mixing, because wood already carries plenty of texture. Engraved names stay readable better than tiny cutouts, so keep the fine detail to the border.
Wooden invitations suit rustic and garden weddings best.
4. Laser-Cut Floral Pocket Sleeves
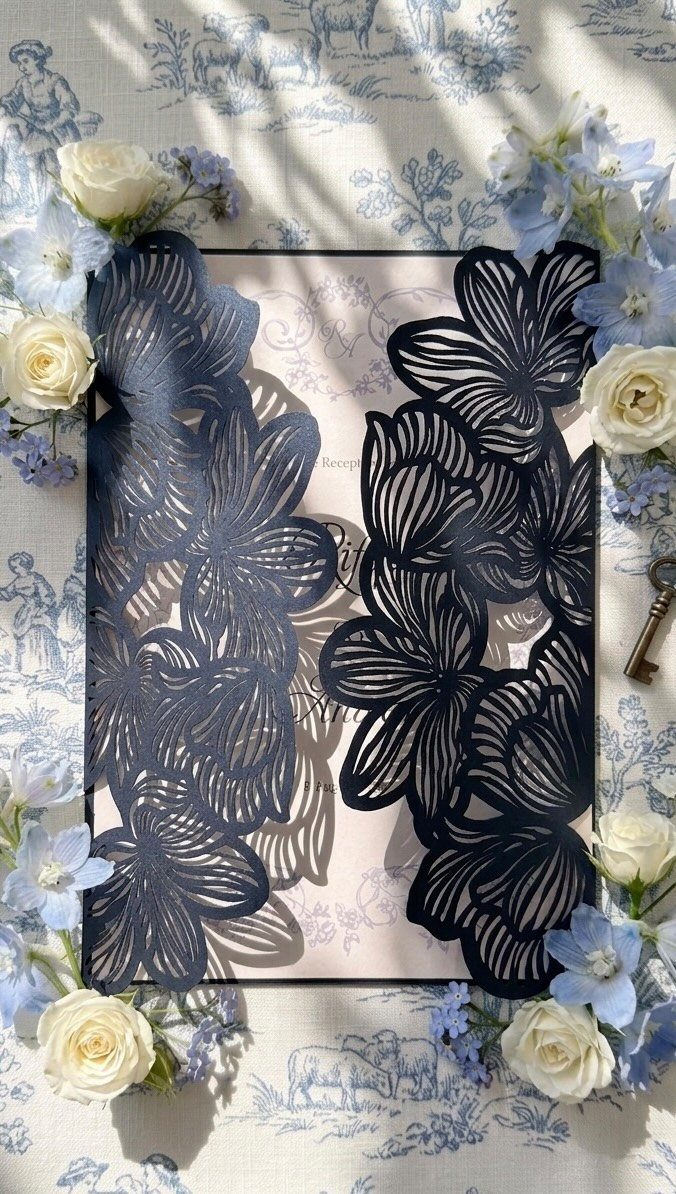
A laser-cut sleeve lets you keep the invitation card plain and put all the pattern on the wrap. Dark blue with a floral cutout shows the white card underneath, so the contrast does the decorating.
Pick a sleeve color from your wedding palette, then leave the card itself crisp and white. For printed names that peek out, slide the card in only partway.
A small insert, such as an RSVP card, also fits in a pocket sleeve.
5. Laser-Cut Invitations with Wax Seals
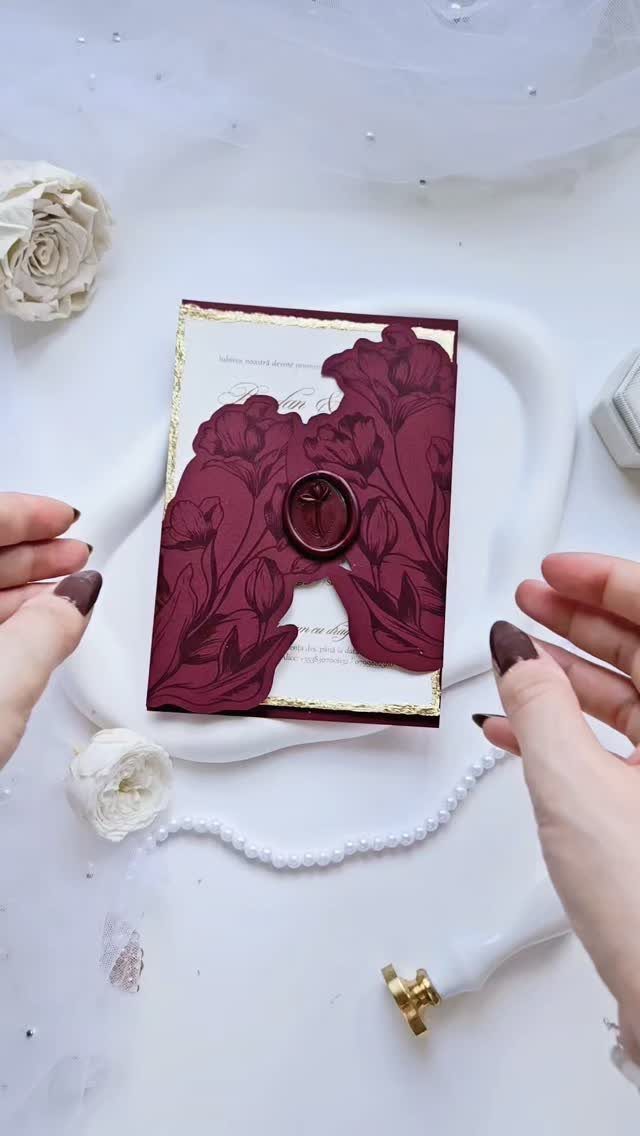
Burgundy paper, floral cutouts and a wax seal add up to one of the most formal-looking invitations you can send. The seal closes the card and gives the eye a place to land among the cutwork.
I would keep the seal small and centered so it doesn’t hide the cut florals. Press each one once, then let it set before stacking the cards.
Wax is a finishing step done by hand, so budget evening time for it, especially with a long guest list.
6. Intricate Lace Laser-Cut Cards
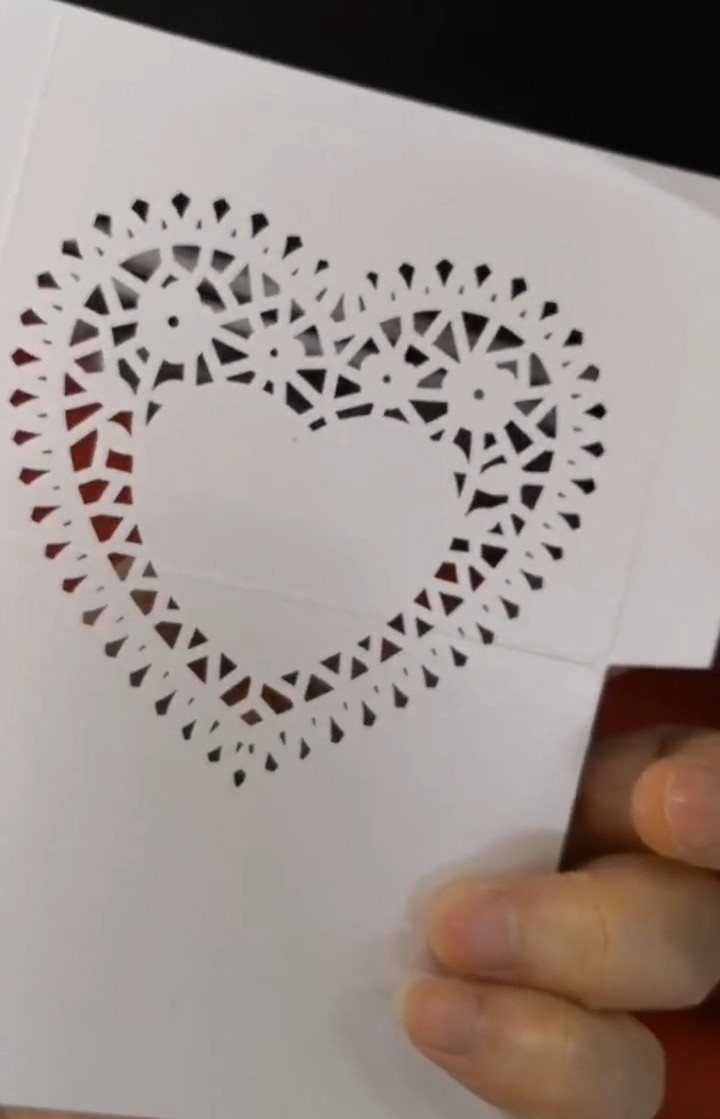
A lace pattern cut into white card turns the invitation into something close to fabric. The heart design is delicate, and the negative space does most of the work.
Ask your printer for a test cut, because fine lace can tear if it is rushed or mailed loose. A backing sheet in a second color makes the pattern stand out more.
I would keep the text minimal. Busy lettering competes with cutwork this detailed.
7. Laser-Cut Gatefold Invitation
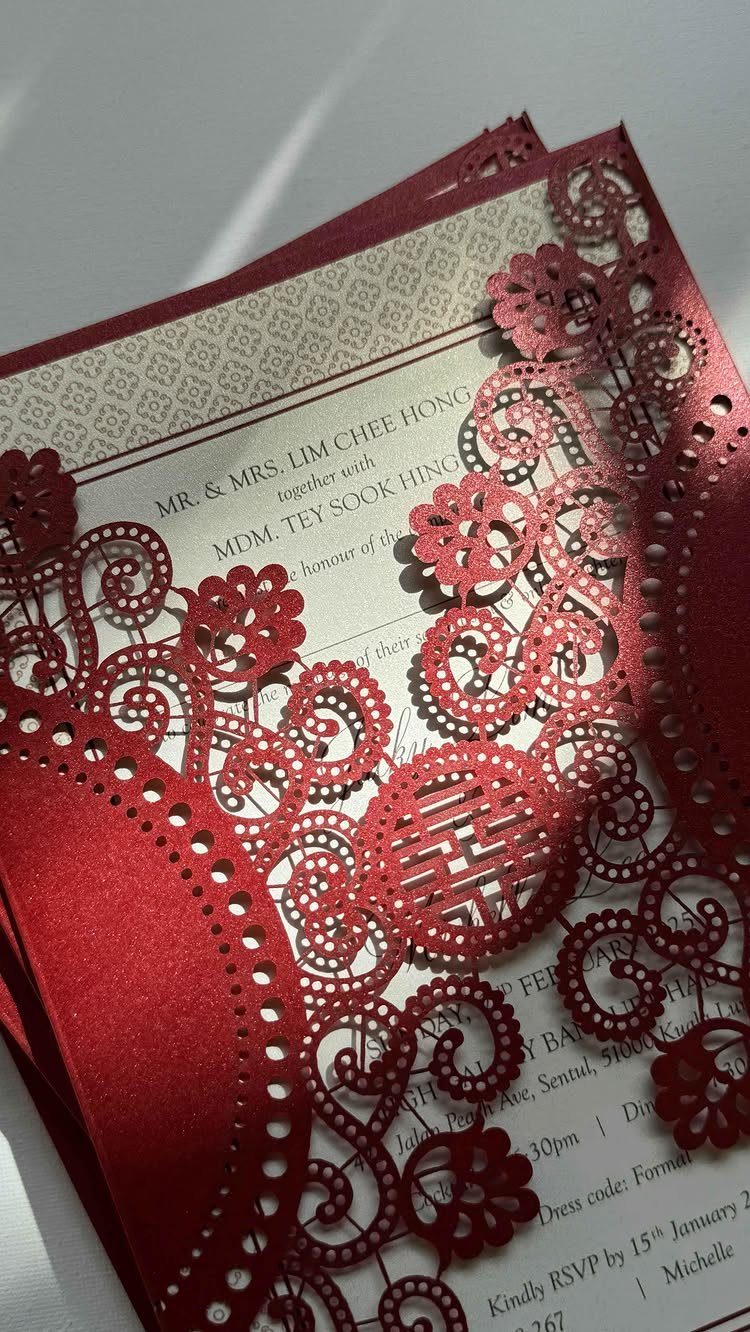
A gatefold card opens like double doors, so the laser-cut panel works as a reveal for the printed card inside.
Red cutwork over a cream inner card gives strong contrast, and the names stay readable because the pattern sits on the outer panel only.
Keep the printed wording simple so the cutwork gets the attention. Ask your printer to test the fold on one card first, since cut paper can crack along a crease.
8. Laser-Cut Gold Border Invitation
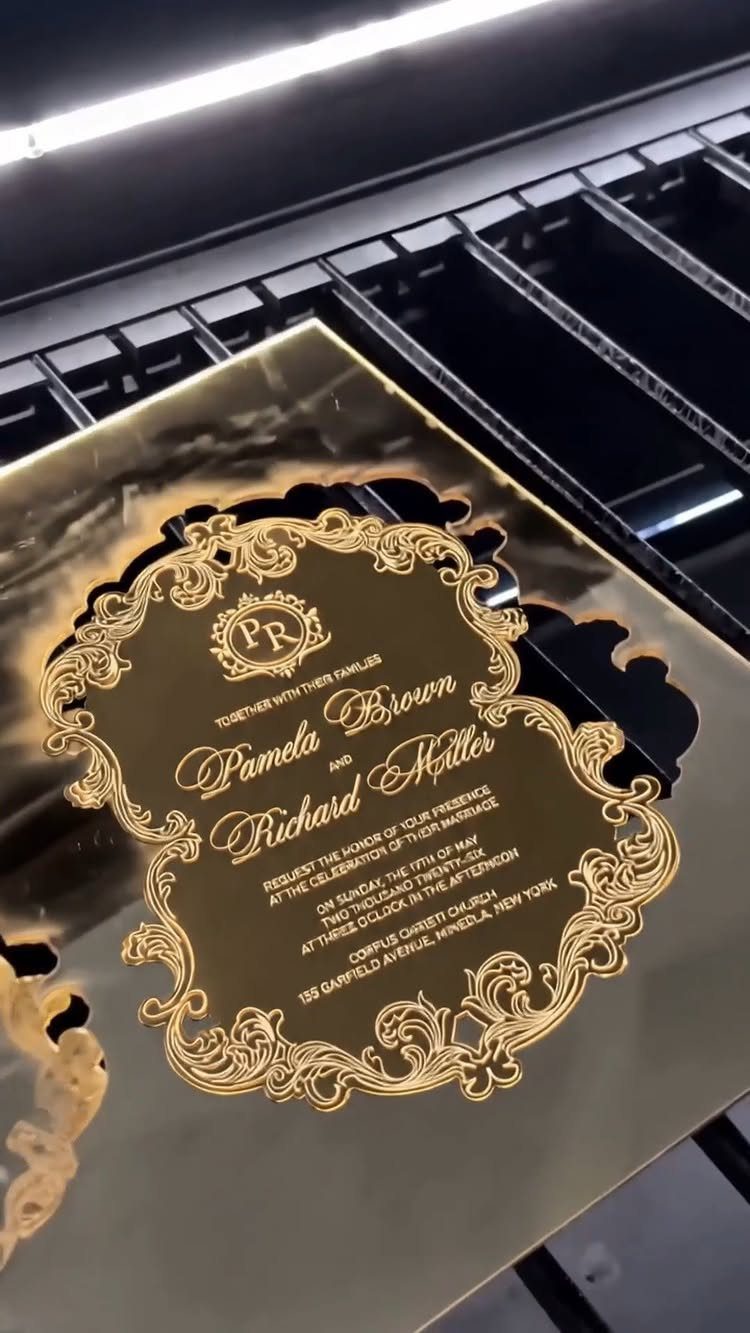
Gold filigree cut along the edges frames the names without touching them, and that is why I prefer a border to an all-over pattern. The metallic finish catches light, so the lettering can stay plain.
Before you commit to the full order, email the vendor your border as a vector file (SVG, AI or PDF) and pay for one test cut, since a sample shows you whether the thin gold lines hold together.
Cutting leaves a slightly different edge on each material, so check the sample in daylight.
Ornate borders take longer to cut, so expect them to cost more than a simple outline.
9. Shimmer Paper Laser-Cut Invitation
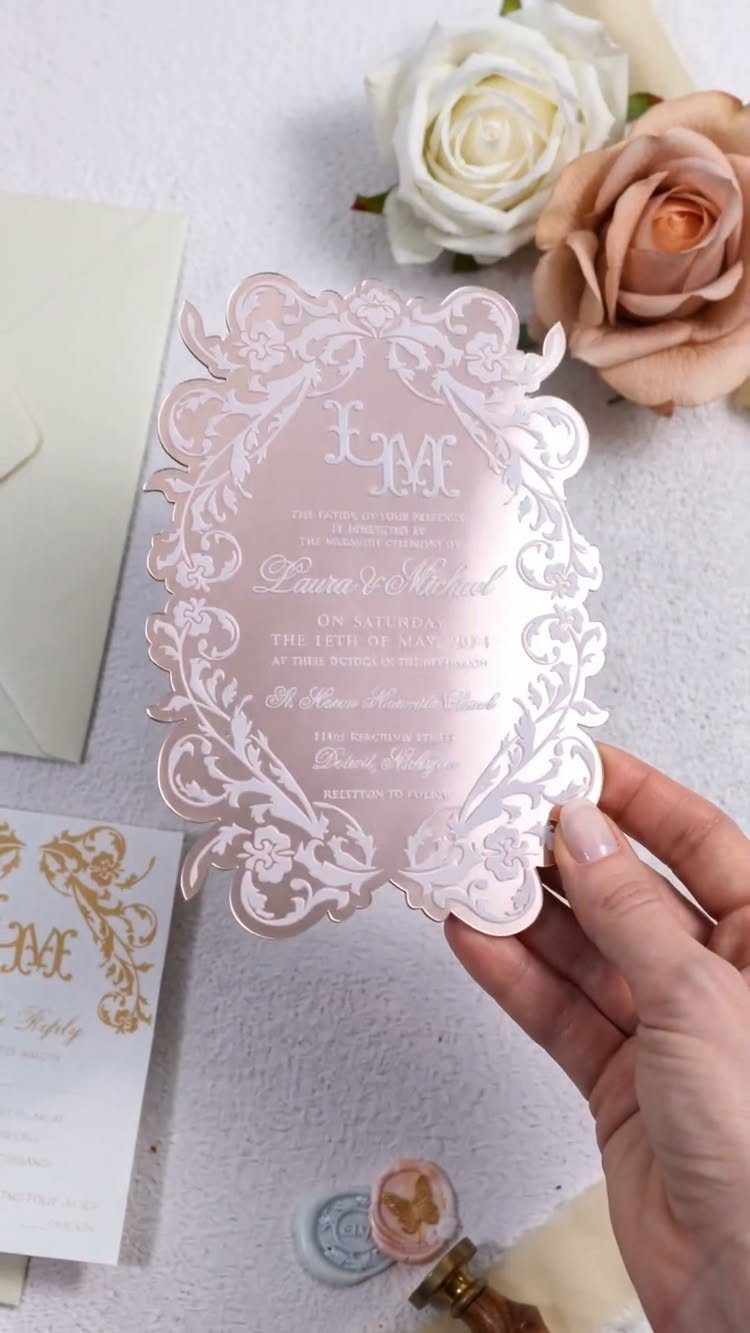
Shimmer paper lets the card sparkle without any glitter or foil, and a blush tone keeps that shine soft. Botanical scrollwork suits it well, since the cut lines read clearly against the pearly surface.
Handle the cards by the edges, because fine scrollwork bends easily.
Order a sample first to see how the shimmer looks in different light.
Benefits of Laser Cut Invitations
Laser cutting rewards restraint.
If you print on both sides, plan the cuts around the text so no cutout slices through a line of wording.
For card, choose thick, high-quality cardstock that can handle the laser without burning or warping. Most machines cut 80–110 lb cardstock cleanly, though I’d check the limit on yours before buying a ream.
A scalloped edge adds a little extra flourish and takes almost no more effort than a straight cut. If you need images but don’t want to hire a designer, free or inexpensive vector graphics will do the job.
Order RSVP cards with the invitations. Save-the-date cards and custom postcards can be designed to match, so the whole set looks like one family.
Frequently Asked Questions
What are laser cut wedding invitations?
They are invitations shaped by a laser machine that cuts or engraves an outline you draw, which makes intricate patterns possible.
The invitation no longer has to be a plain rectangle, and it can be made of card, wood, acrylic or shimmer paper.
How far in advance should I order laser cut wedding invitations?
Place the order 3–4 months out so there’s time for proof revisions and mailing. That leaves room for a sample or test cut, any fixes, and the hand finishing some designs need, such as tying ribbon or pressing wax seals.