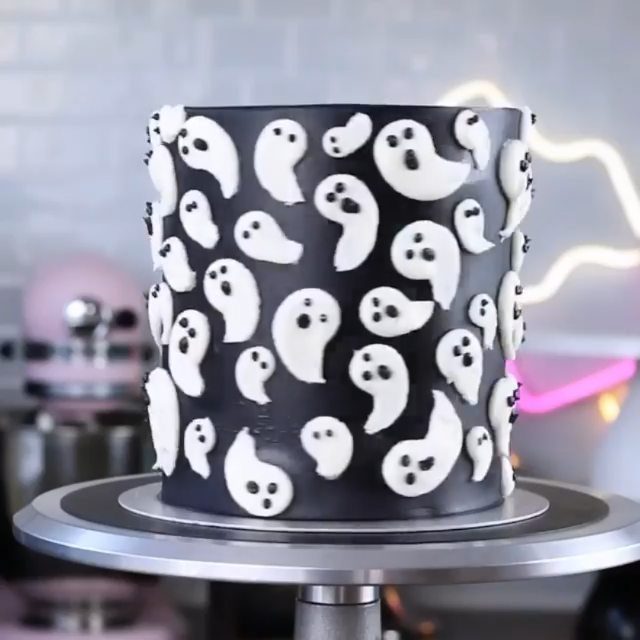
Skill decides which of these cakes is yours: a store-bought chocolate cake with orange and black sprinkles takes almost no decorating, while the haunted house asks for real shaping and the most hours of any design here.
Most of the 17 sit between those two, and nearly all of them hand kids a small job, whether that’s pressing in fondant teeth or placing meringue ghosts on top.
Gel coloring, chilled layers and a thin crumb coat get every one of them looking sharper.
1. Ghost Cake
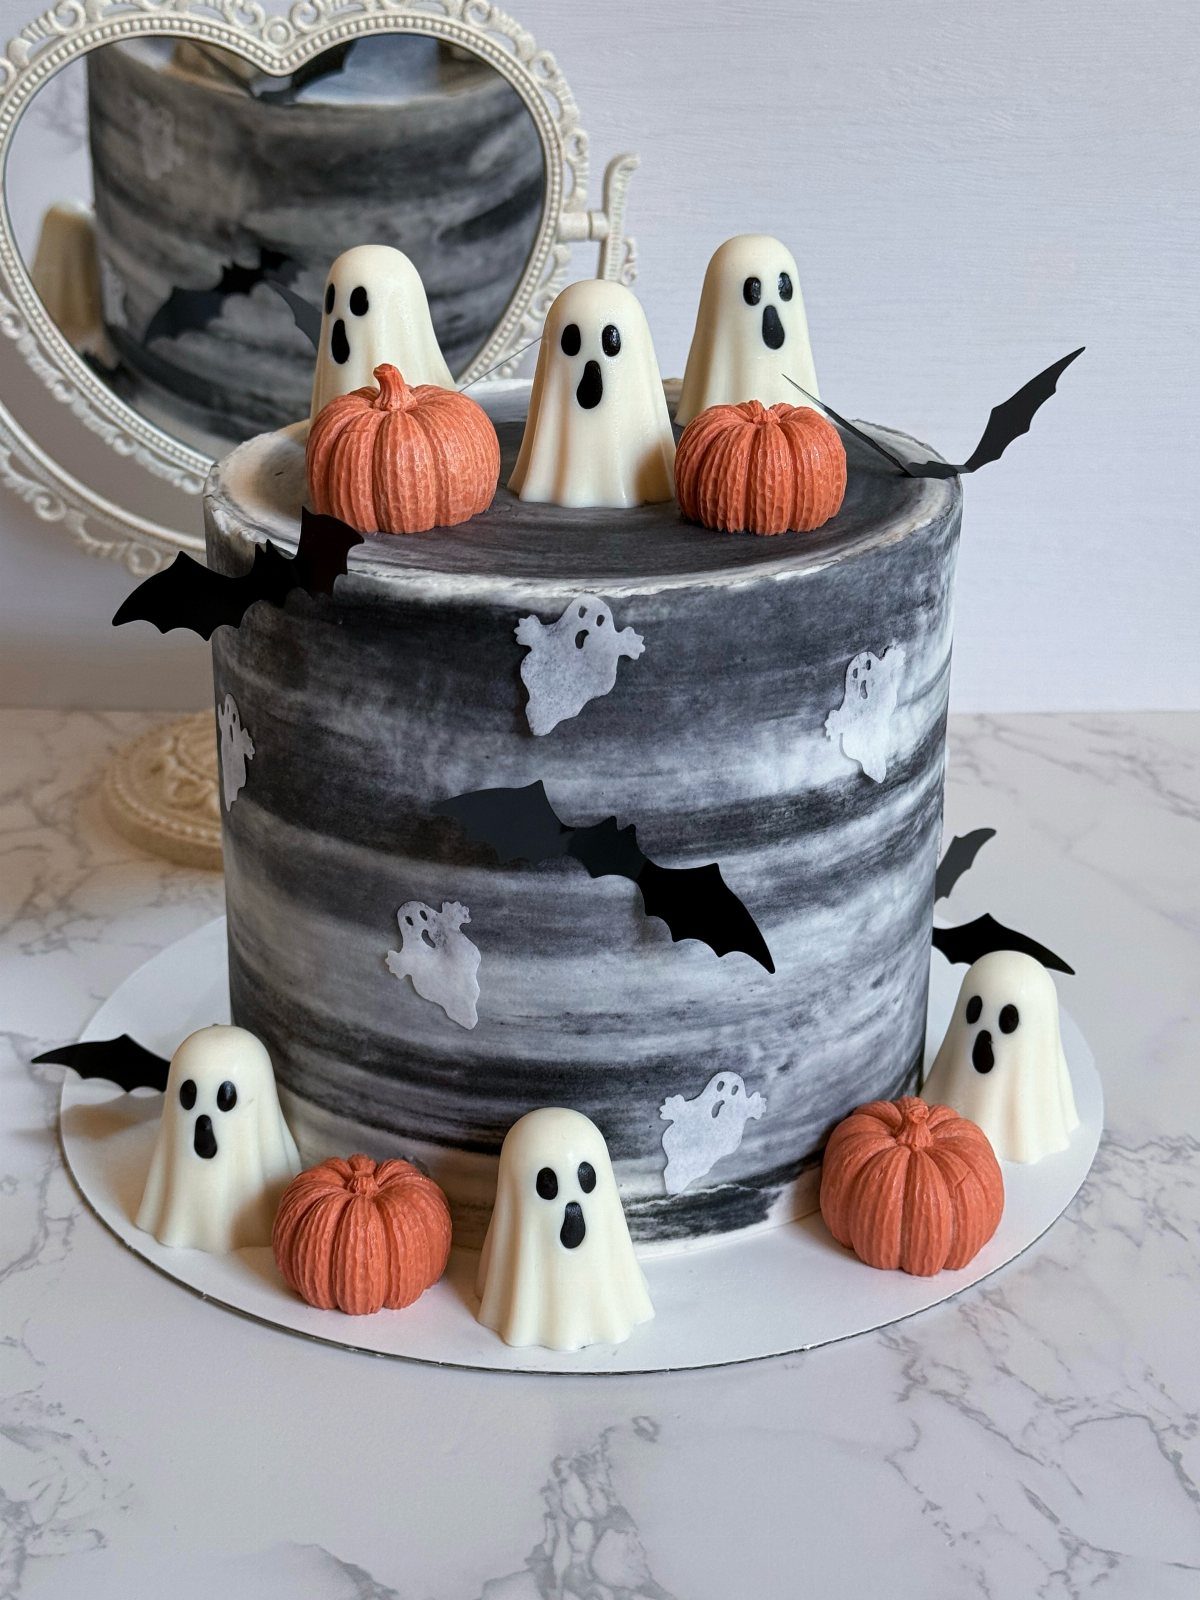
Ghosts are the easiest Halloween topper because a white shape needs no detail. Pipe or mold them in white chocolate, add 2 dots for eyes, and the cake reads as spooky from across the room.
A grey marbled base gives the ghosts something to stand out against. Orange pumpkins and black bats fill the gaps, and store-bought candy versions work fine if time is short.
Kids can handle the eyes and the bats.
2. Monster Cake
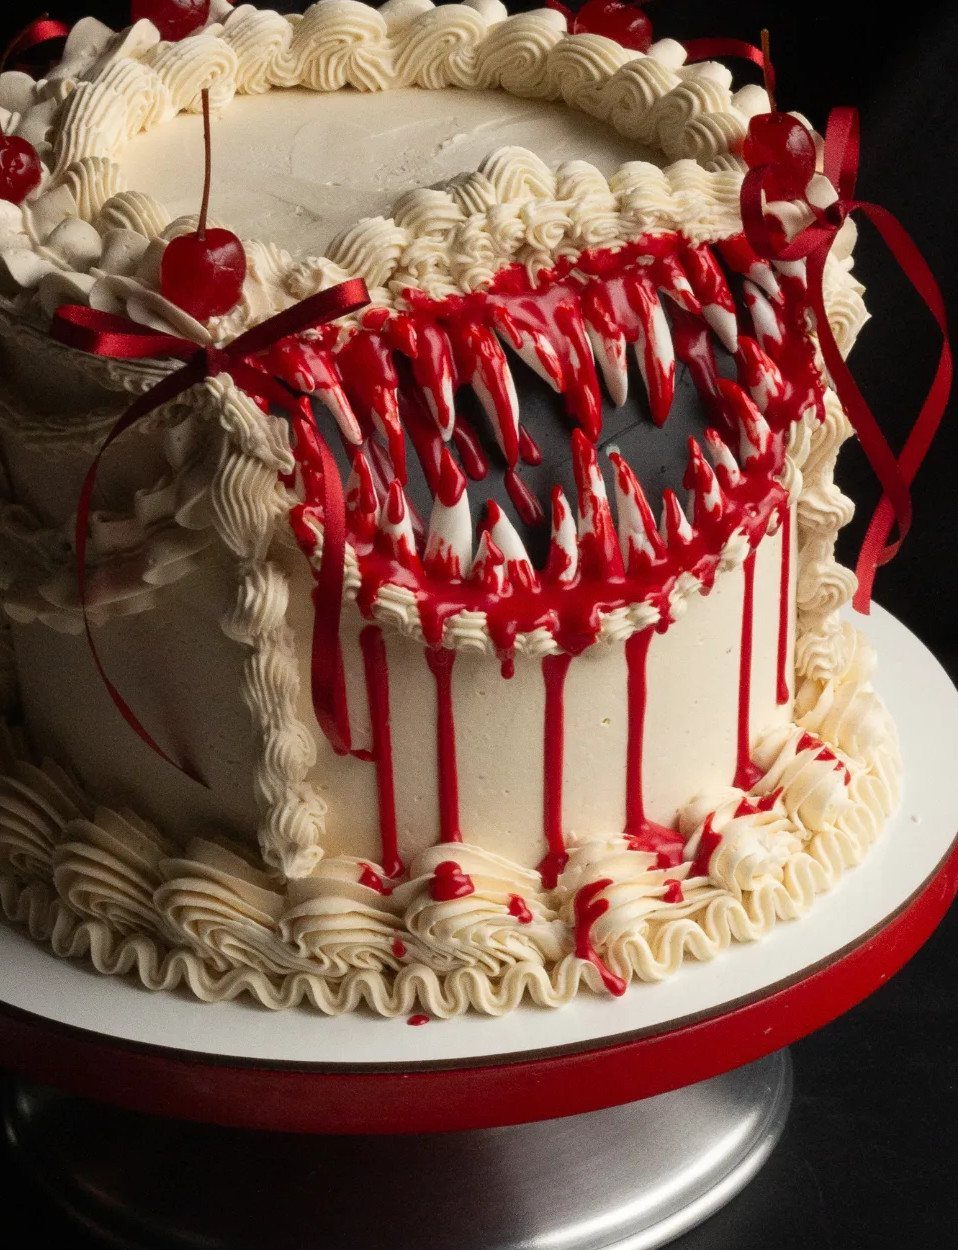
Sharp teeth cut from fondant and a red frosting mouth turn any round cake into a monster. White frosting behind the red mouth makes the color pop instead of muddying it.
Red glaze dripping from the mouth gives the gory look without any skill, so pour it slowly and let gravity decide. Cherries and ribbons are optional extras, and I’d skip the ribbons if you’re short on time.
Cut the teeth from white candy or fondant, and let kids press them in.
3. Haunted House Cake
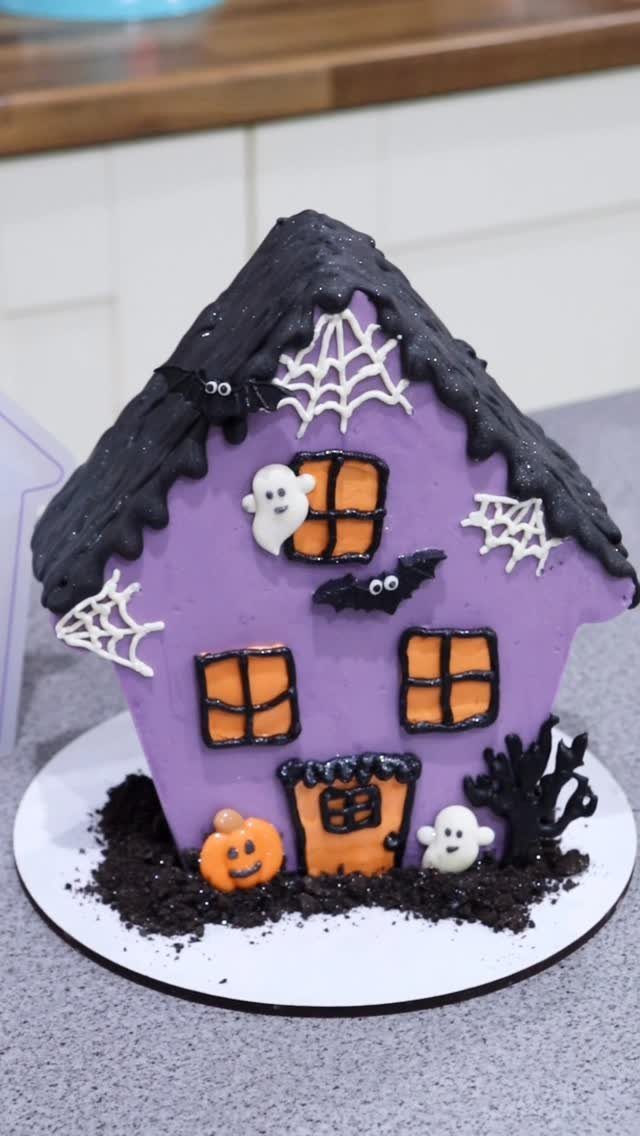
A haunted house cake asks for more shaping than the others here, so I’d give it the most time. Purple frosting and a black roof carry the mood, and the spiderwebs are the detail people lean in to look at.
Ghosts and a pumpkin go on last, and a white cake board keeps the dark frosting from disappearing into the table.
Candy ghosts and a store-bought pumpkin keep the decorating quick.
Don’t just make plain old cupcakes for your next Halloween bash, make zombie brain cupcakes! They’re nothing more than a moist, chocolate cupcake with rich vanilla frosting, but some neon green food coloring and clever piping turn these into a super-festive, spooky treat.
— Delish
4. Brain Cake
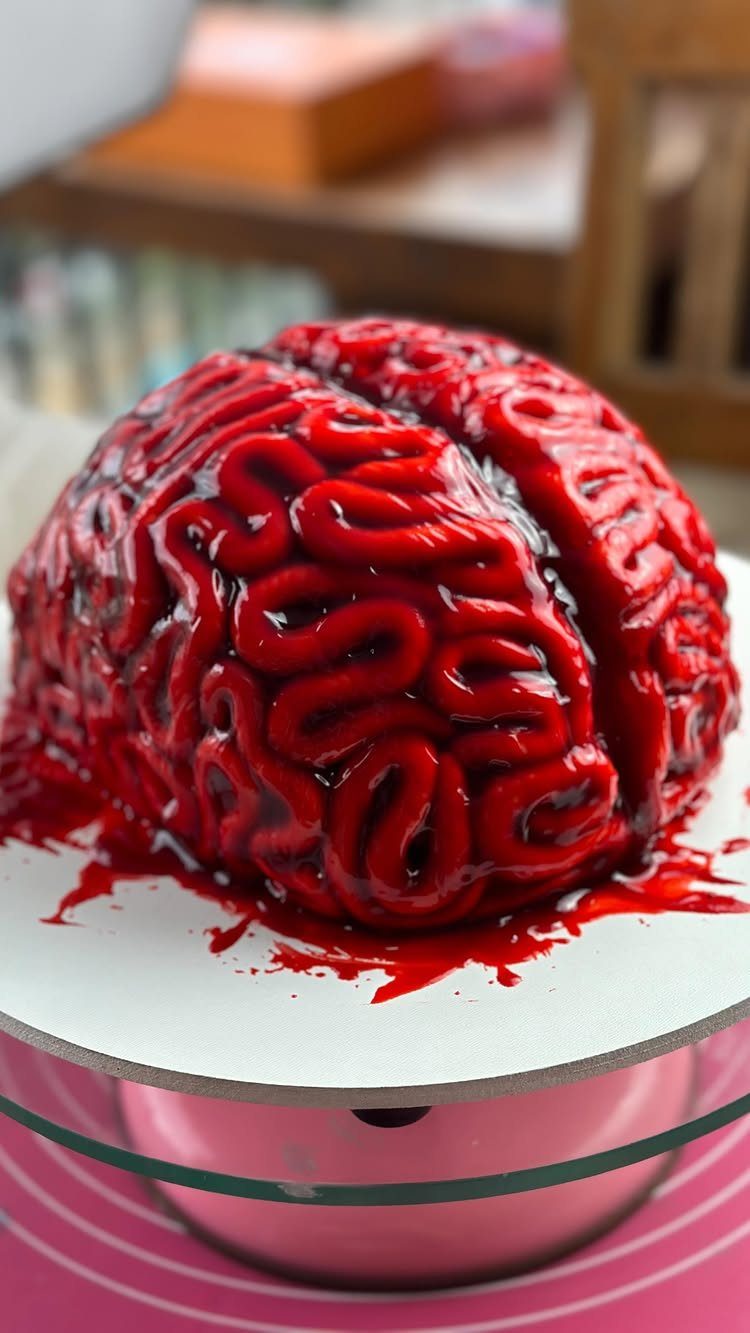
Gore is the whole appeal of a brain cake, and a glossy red glaze sells it. The shine makes the surface look wet, which is exactly what you want.
Texture matters more than color here: carve or pipe the folds in wavy lines before the glaze goes on. A cake stand lifts it so the glaze can be admired.
Kids enjoy the squeamish factor, so let them pour the glaze.
5. Graveyard Cake
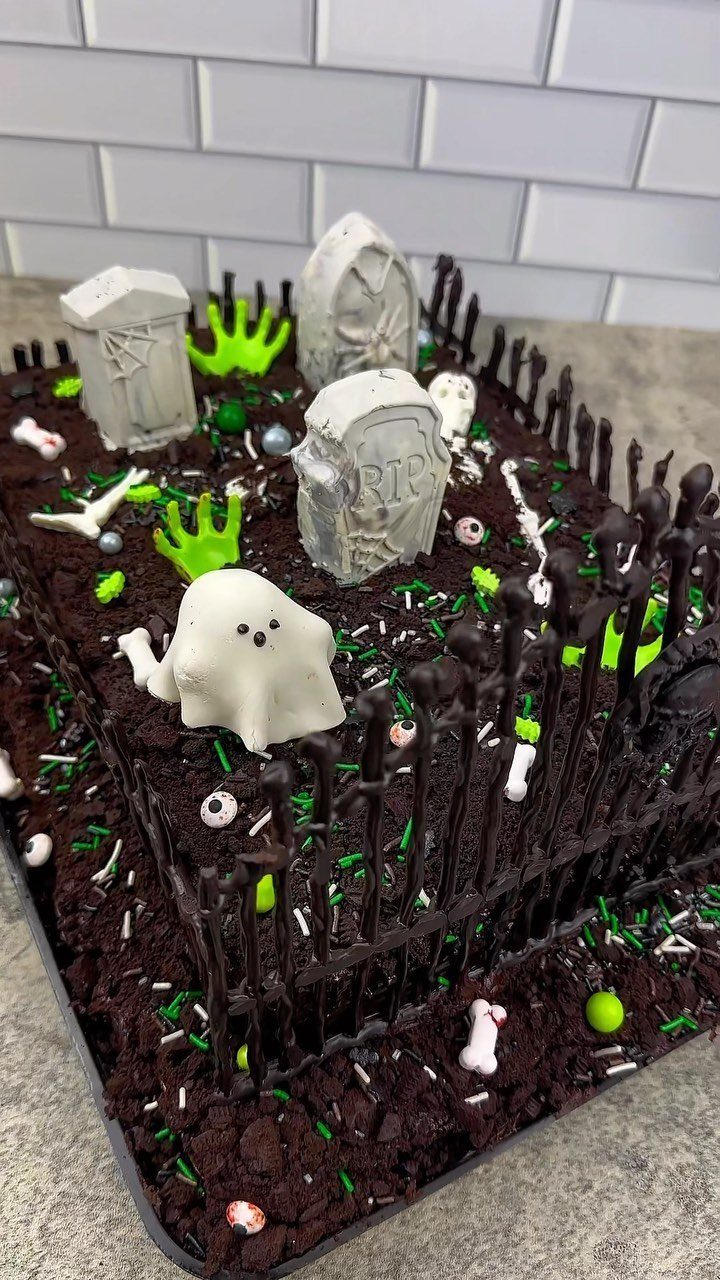
Chocolate frosting works as graveyard dirt, and a square cake gives you plenty of room to lay out a scene. Spread it rough, not smooth; uneven ground looks more convincing.
Place the tallest pieces at the back.
Each piece is a small job, so a graveyard suits kids who want their own part.
6. Mini Bundt Cake Monsters
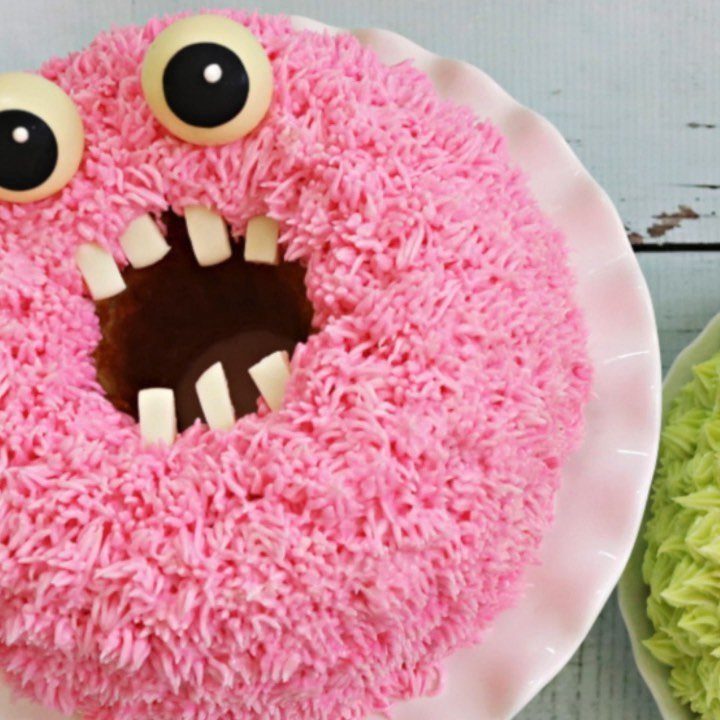
Coconut turns a mini bundt into fur, and tinting it pink gives a monster that looks soft instead of scary. Press the coconut onto frosted cakes so it sticks all over.
Candy eyes and white teeth finish the face. Each cake is its own monster, so kids can give every one a different expression.
Mini bundts also mean one cake per guest, with no slicing.
7. Spider Cake
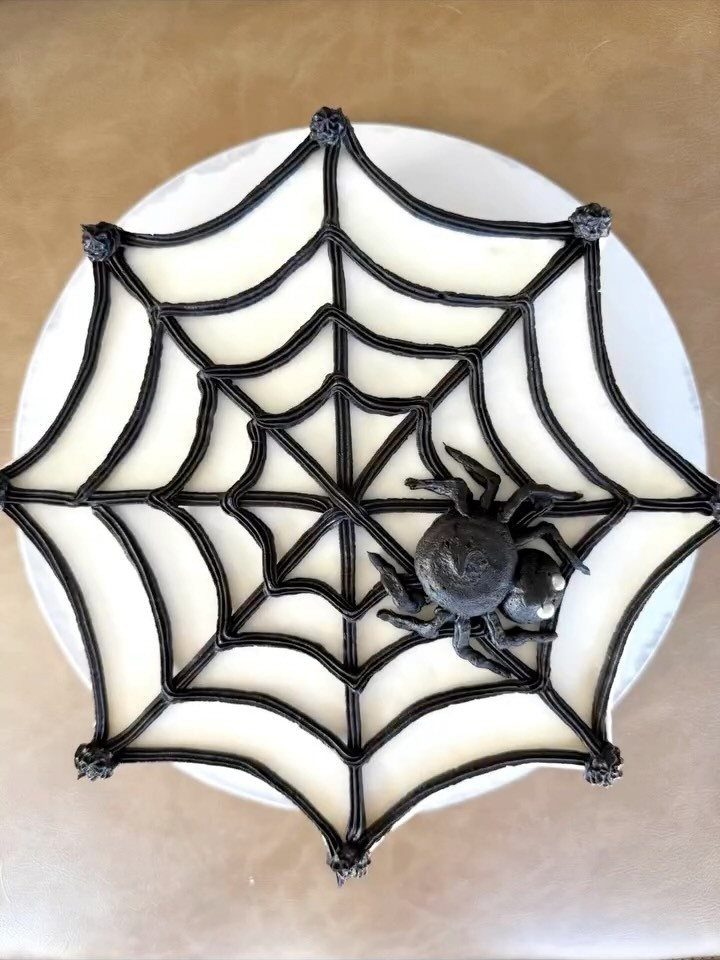
A spider web is just a few lines of black frosting on a white cake, which makes it one of the lowest-skill designs here. Pipe the web in a thin line, and the white behind it does the work.
Crooked lines read as real webs, so don’t fuss over symmetry. A black spider on top finishes it; store-bought candy or a piped body both work.
Let kids set the spider wherever they like.
8. Black Cat Cake
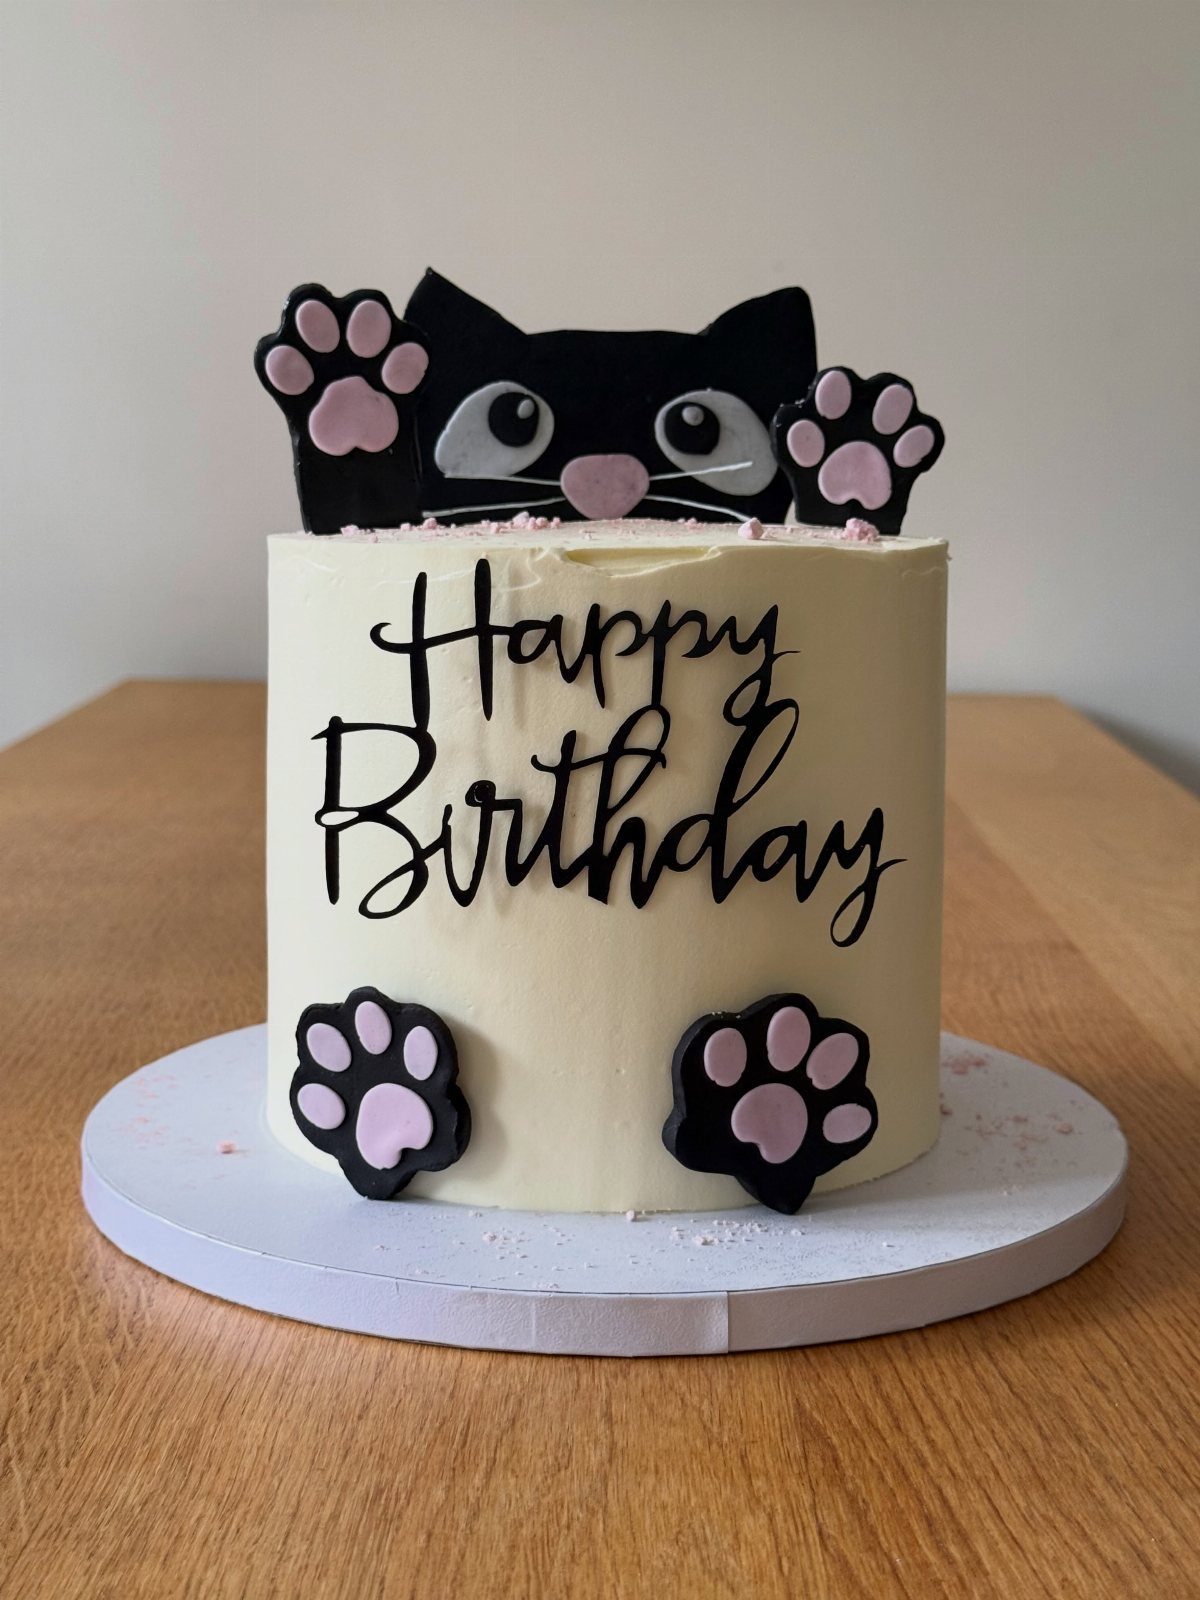
2 pointed ears and a pair of eyes are enough to make a black cat, and I like that the face can peek over the cake’s edge instead of covering the top.
Black frosting stains teeth and fingers, so keep napkins nearby.
The white frosting leaves room for a message, and paws pressed along the sides make the cat feel like it’s climbing. Cut the ears and paws from fondant or candy if piping feels shaky.
Kids can place the paws.
9. Easy Halloween Cake
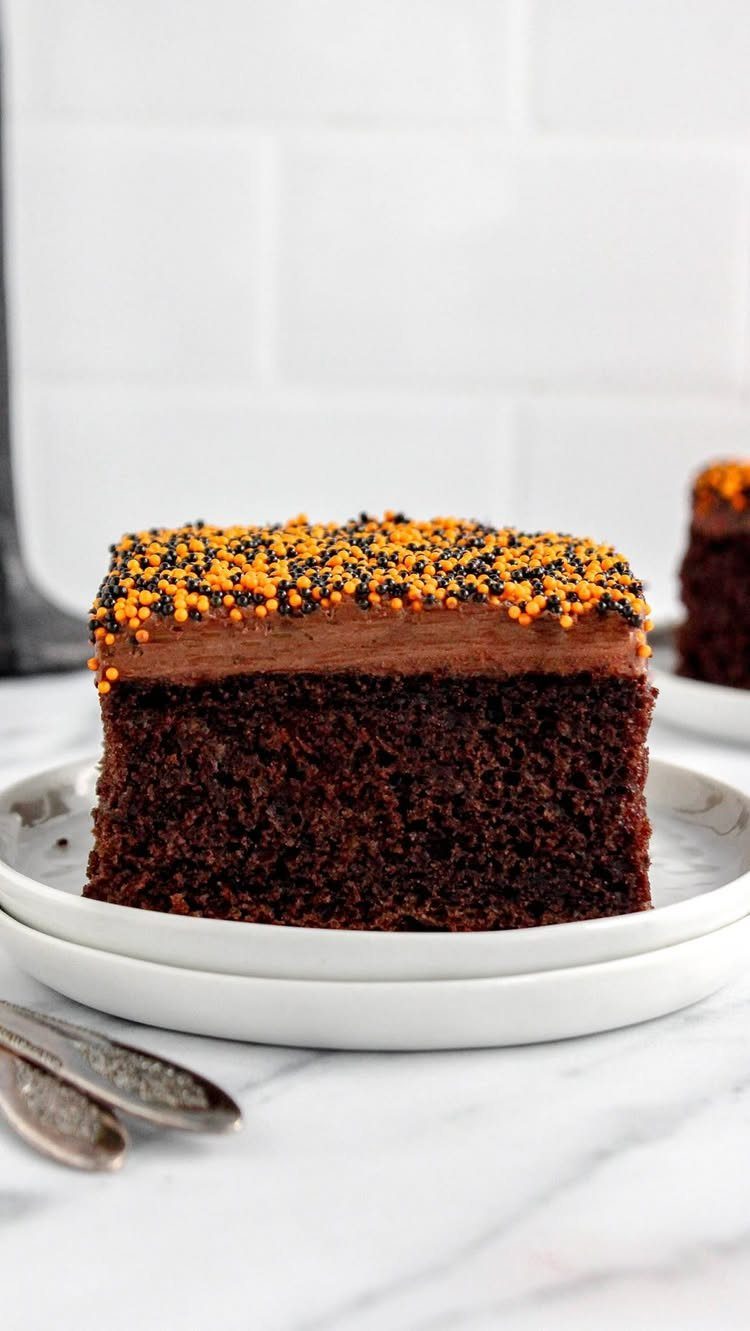
Chocolate cake, chocolate frosting and a shake of orange and black sprinkles: this is the version I’d pick when time is the problem. The sprinkles do all the Halloween work against the dark frosting.
Cover the top generously, since sparse sprinkles look like a mistake. Candy pieces pressed in work as well, and a store-bought cake saves the baking.
Sprinkles are the ideal job for small hands.
10. Candy Corn Cake
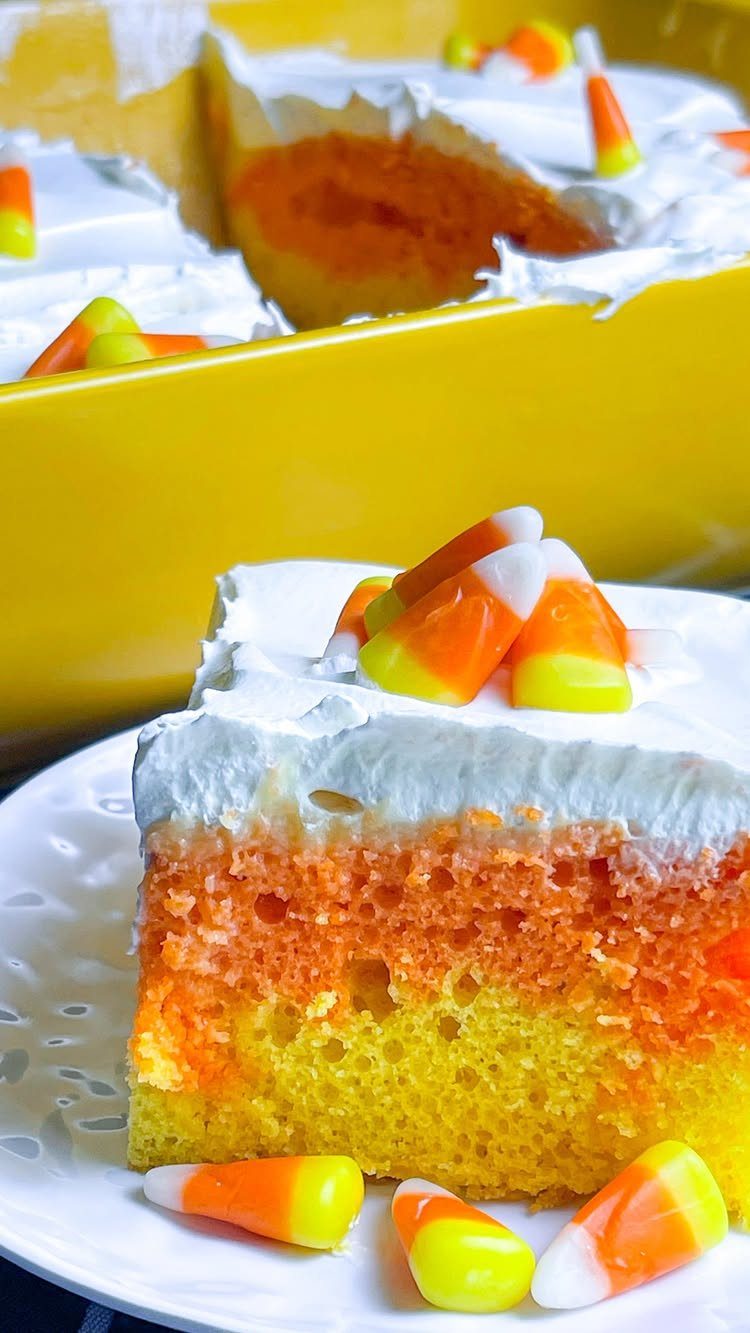
3 stripes of yellow, orange and white make a cake that looks like a candy corn when you cut into it. Color shows only in the cross-section, so the slice is the reveal.
Divide the batter into three bowls and tint two of them, then layer them in order. White frosting on top keeps the colors clean, and real candy corn pieces make the topping.
11. Trick or Treat Halloween Cake
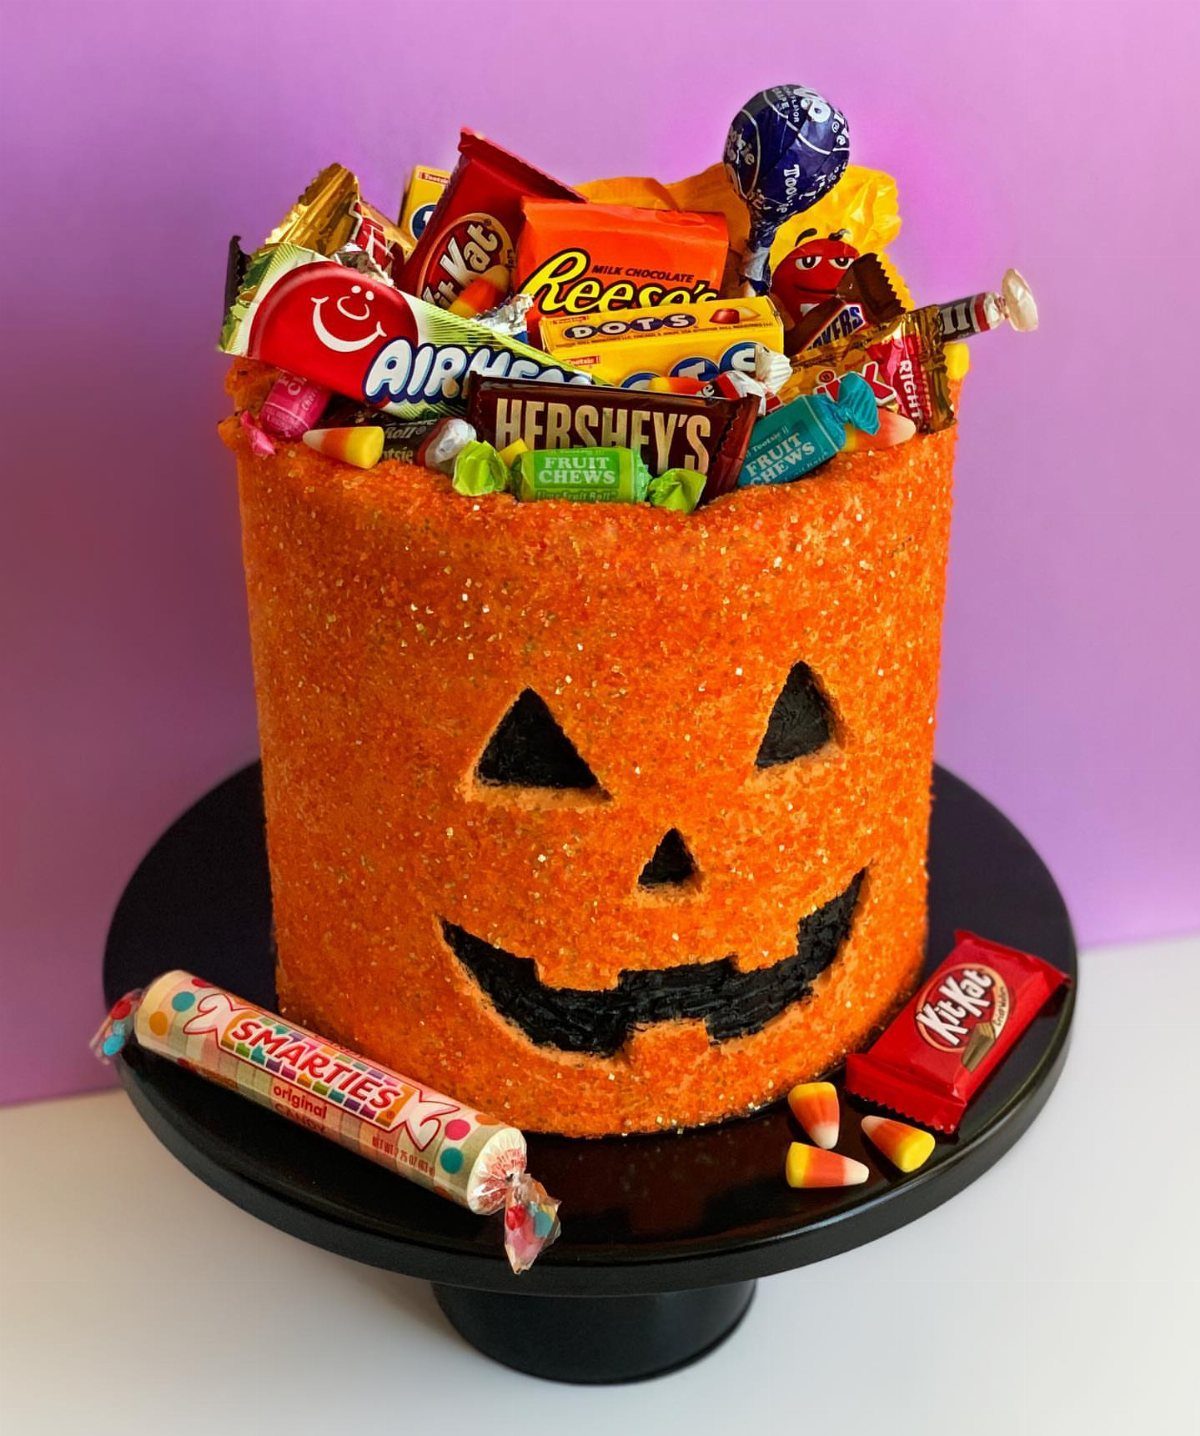
Cut into this jack-o’-lantern and candy spills out, which is the surprise. Reese’s, Hershey’s and Smarties all fit the idea, so use whatever your guests like.
The cake needs a hollow center, so cut out a well from the middle and fill it with candy before serving. A black cake stand makes the orange pop if you want extra contrast.
Kids will want to do the pouring, and I’d let them.
12. Hocus Pocus Cupcakes
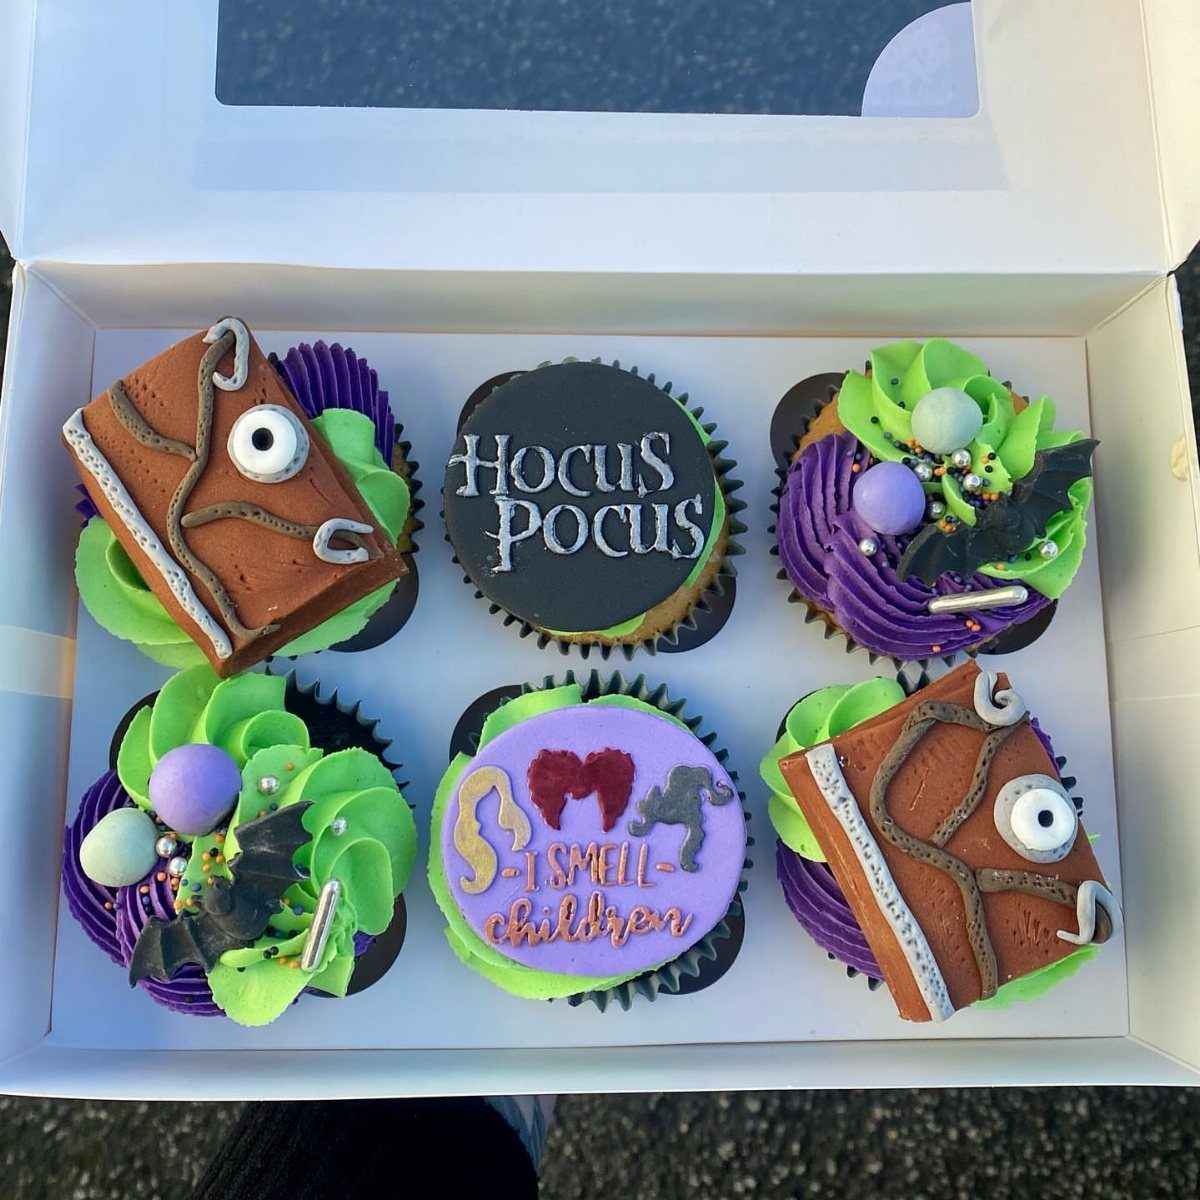
Purple and green frosting gives you the witchy palette without any figure piping. Lettering does the rest, and quotes from the movie like "I smell children" make each cupcake a small joke.
Pipe the letters yourself with a steady hand, or use store-bought toppers if lettering feels like a risk. A white box keeps them neat for carrying to a party.
Kids can swirl the frosting.
13. Pumpkin Cake
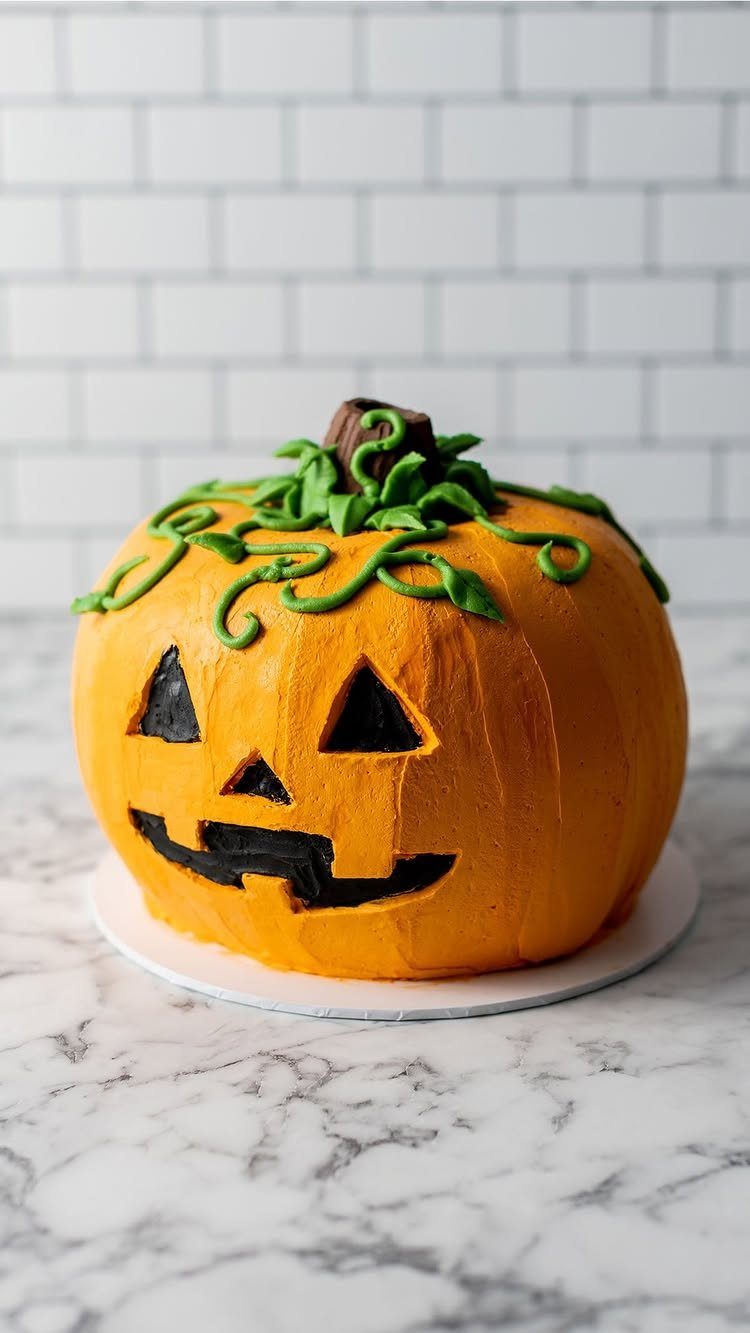
A round orange cake becomes a pumpkin once it has a brown stem and a few green frosting vines curling across the top. The shape does the work, so the decorating stays light.
Pipe the vines in a thin, loose line and let them wander; stiff, even curls look less natural.
A white cake board keeps the orange bright, and a store-bought cake in a round pan shape saves the baking if time is short.
Kids can add the stem and press on the vines.
14. Meringue Ghost Cake Decorations
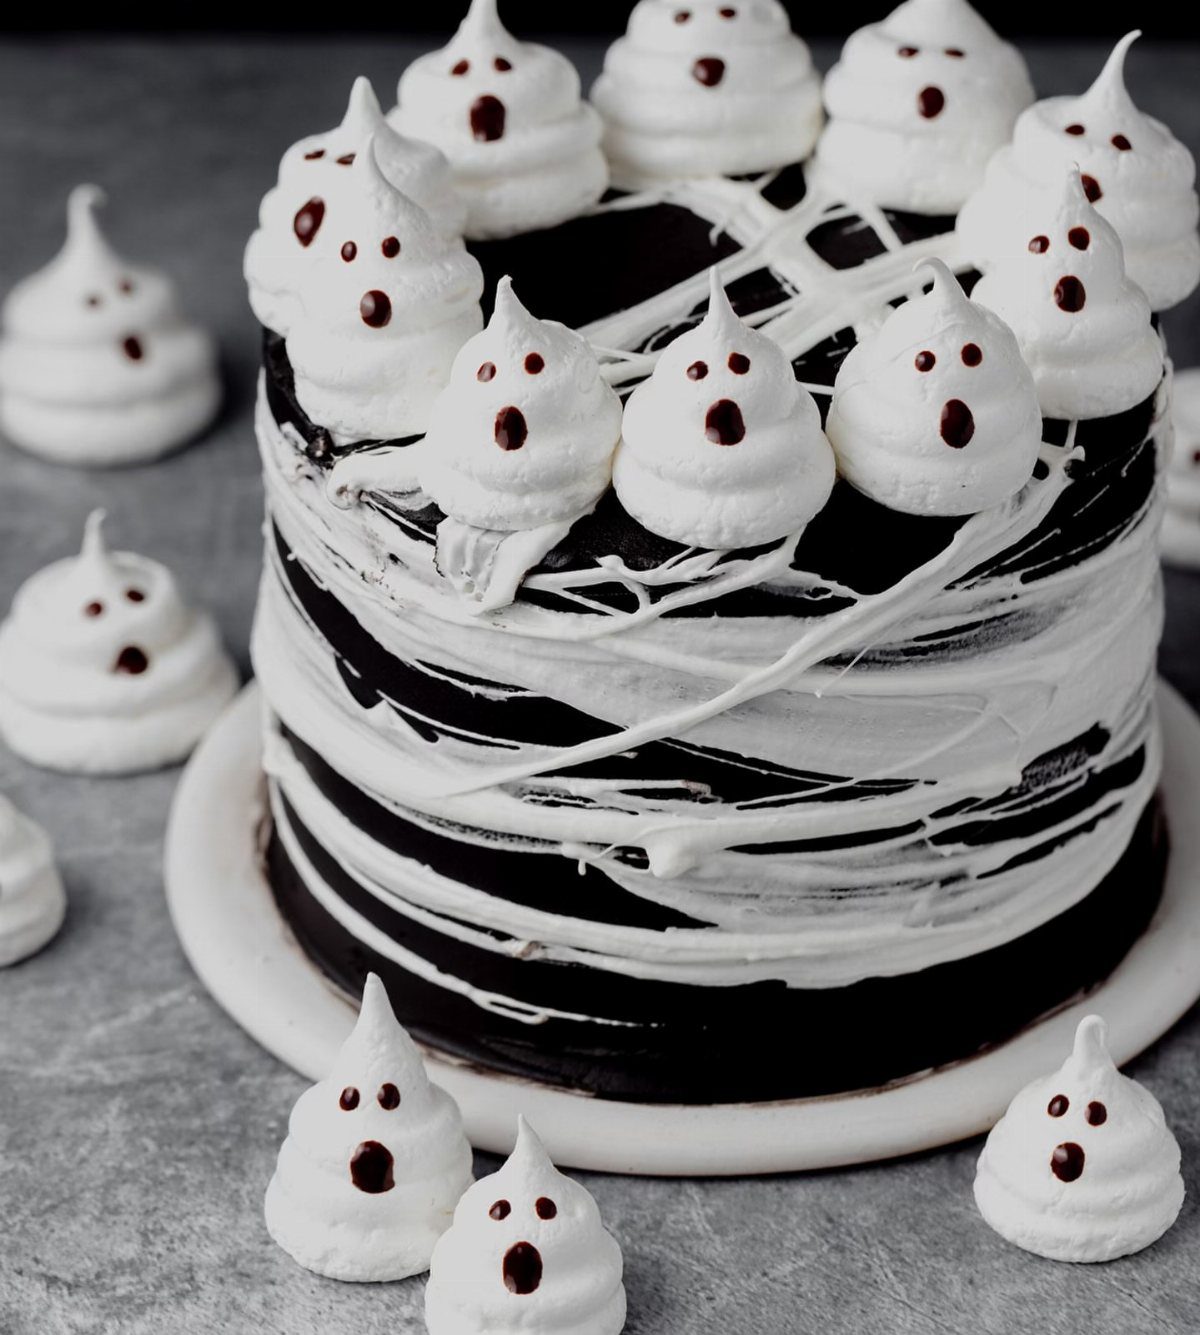
Small white meringue ghosts with chocolate chip eyes sit well on a dark chocolate cake, because the contrast does the styling for you.
Bake them ahead, since they are the one part of this cake you can finish days before the party.
Pipe each ghost as a tall swirl that tapers to a point, then press 2 chips in for eyes.
Scatter some on top and set a few around the base. White icing webs piped between them tie the scene together, though I’d skip the webs if you’re short on time.
Basic Decorating Tips
Cold layers hold their edges, so I slide them into the fridge for 30 minutes before the crumb coat goes on.
Cold layers are firmer to handle, and crumbs stay put instead of lifting into the frosting. A second 15 minutes in the freezer after the crumb coat makes the final coat go on much more smoothly.
For deep orange and true black, gel coloring wins over liquid, because a few drops of gel won’t thin the frosting the way a splash of liquid does. Americolor gels are the ones I reach for.
A thin, even base coat goes on first; faces, webs and other details come after it sets. Work top-down when you pipe or pour drips, so nothing smears the finished parts.
Contrast makes features read: black and white, orange and black, purple and green.
Practice piping on parchment first. Stencils and parchment cutouts for bats or skulls press on cleanly only when the frosting is cold and firm, so give the cake a short stint in the fridge first.
Involving Kids in Decorating
Kids don’t need skills to help; they need a job that matches their attention span.
Set up a small station with a few bowls of toppings, a couple of spoons and a damp towel, and let them work on a cake that has already been frosted.
Do the steps where mistakes show, like the crumb coat and the final smoothing, yourself first. Hand over the decorating once the surface is ready.
Expect an uneven result, and count that as part of the charm. A cake a child decorated makes a better party story than a perfect one.
Using Store-bought Cakes
A store-bought cake gets you to the fun part faster, so spend your time on the decorations. A quality box mix works too, and the decorating is what people remember.
Hold delicate accents, like candy eyes, until the day of the party.
The kit is short: an offset spatula, 2–3 piping tips and a set of gel colors. Fondant and stencils make some designs easier, but I’d call both optional.
For a photo, set the cake near a window in daylight, put a plain backdrop behind it, and get in close on the piping and other small details.
Frequently Asked Questions
What are some easy Halloween cake decorating ideas?
Ghosts, spiders and pumpkins need almost no piping skill, just basic shapes and a steady hand.
A white ghost needs only 2 dot eyes, a spider web is a few thin black frosting lines on white, and a round orange cake with a brown stem and green vines reads as a pumpkin.
Strong contrast, like black on white or orange on black, does most of the work.
How do I get deep orange and true black frosting?
Use gel coloring instead of liquid. A few drops of gel give deep color without thinning the frosting, while liquid needs a splash and loosens it.
How can kids help decorate a Halloween cake?
Give them a small job on a cake that is already frosted. Do the crumb coat and final smoothing yourself first, since those are the steps where mistakes show.