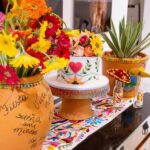
The ideas here run from a candy-aisle garden that needs no baking extras to piped buttercream and hand-shaped marzipan, and the one fact that picks yours is how much time you have on the day.
Short on hours, choose a finish that comes ready-made, like sprinkles pressed around the base or licorice and candy pumpkins.
With a day to spare, shape the marzipan figures ahead so they firm up, and add the 20–30 minutes of chilling that a crumb coat needs before the final layer goes on.
1. Rainbow Layer Cake
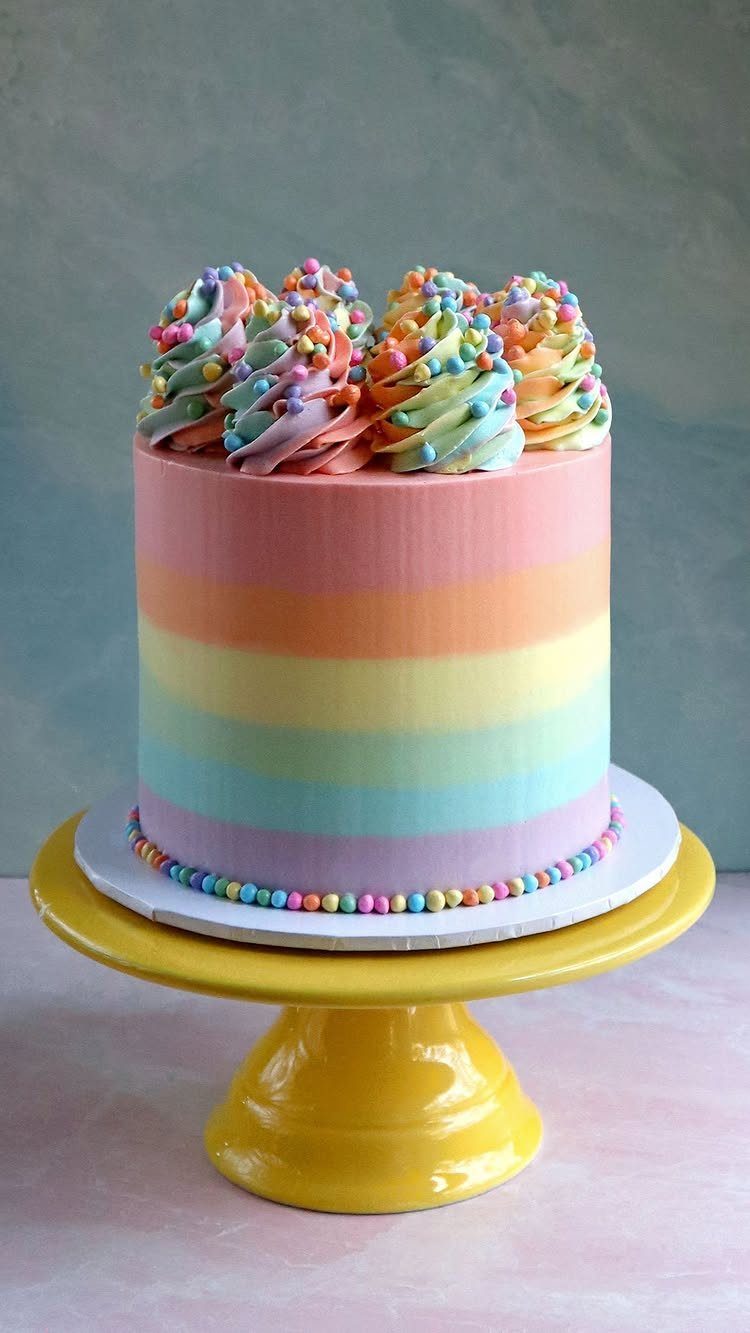
Level every layer before you stack anything. A domed top leaves gaps at the seams, and stripes of frosting slide when the tiers lean.
A serrated knife and a steady hand do it. Trim each round flat, then stack them with the cut sides facing down so the smooth bottoms meet the frosting.
The pastel buttercream swirls on top hide small flaws, so a slightly imperfect crumb coat won’t show. Sprinkles finish it, and I’d keep them to the top so the colors stay the focus.
2. Drip Glaze Cake
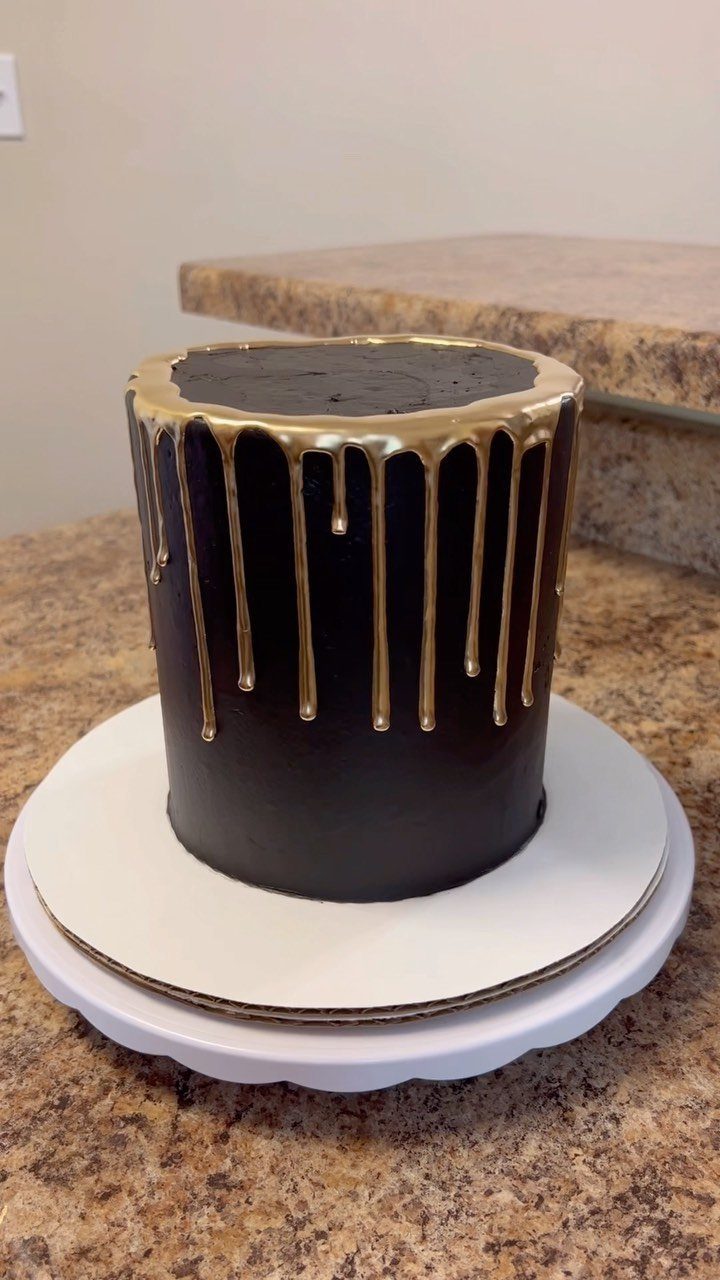
A drip works best on a cake that is tall and dark, because the metallic gold runs down the sides and catches every bit of light. Black frosting gives it the most contrast.
Cold cake helps: a chilled, firm surface slows the glaze so the drips stop where you want them. Test one drip down the side before committing the rest.
The baker of this cake said the recipe worked well enough to reuse. That’s worth noting, since a good glaze recipe is the part you’ll repeat most.
3. Splatter Paint Cake
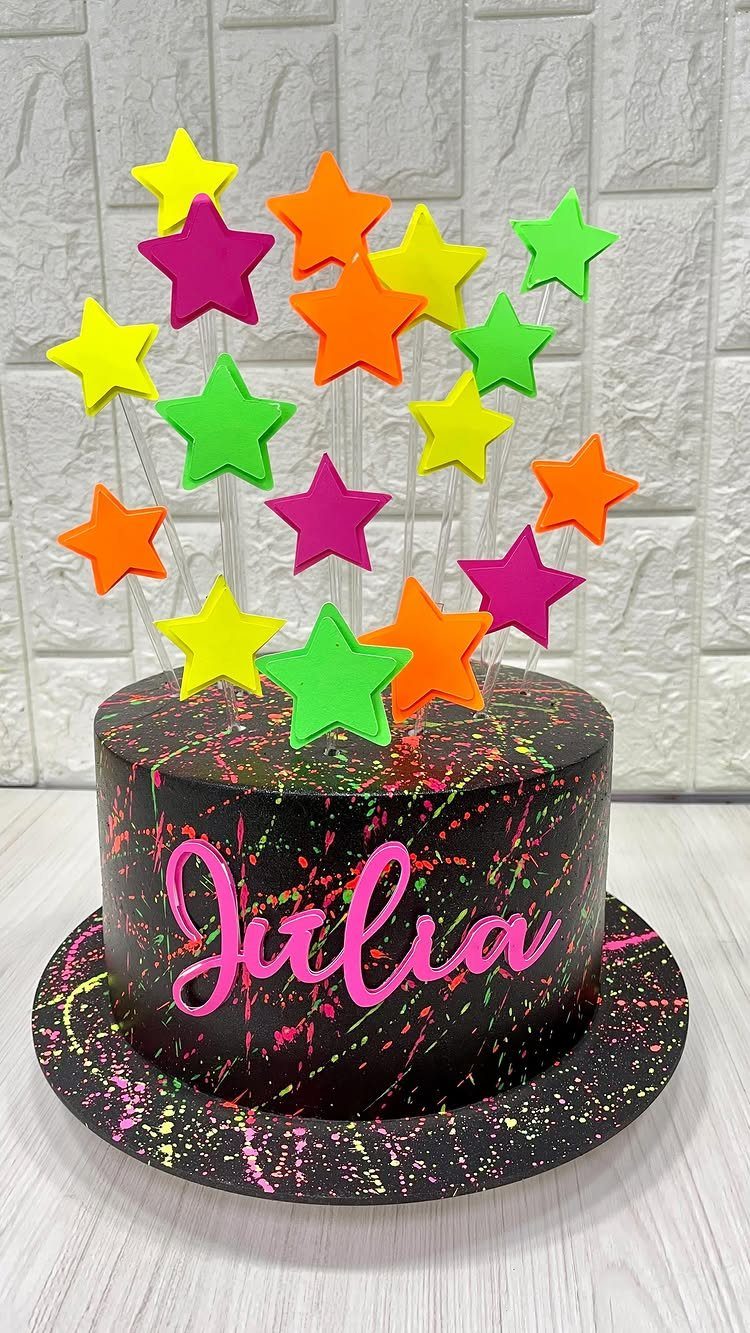
Messy is the point here, and it’s also the easiest way to hide uneven frosting. A black base makes neon splatters read as bright as paint on a night sky.
Flick color from a stiff brush with your thumb, and cover the table first. Keep the lettering for last, in a color that stands out from the splatter, so a name stays readable.
4. Gold Leaf and Floral Accents
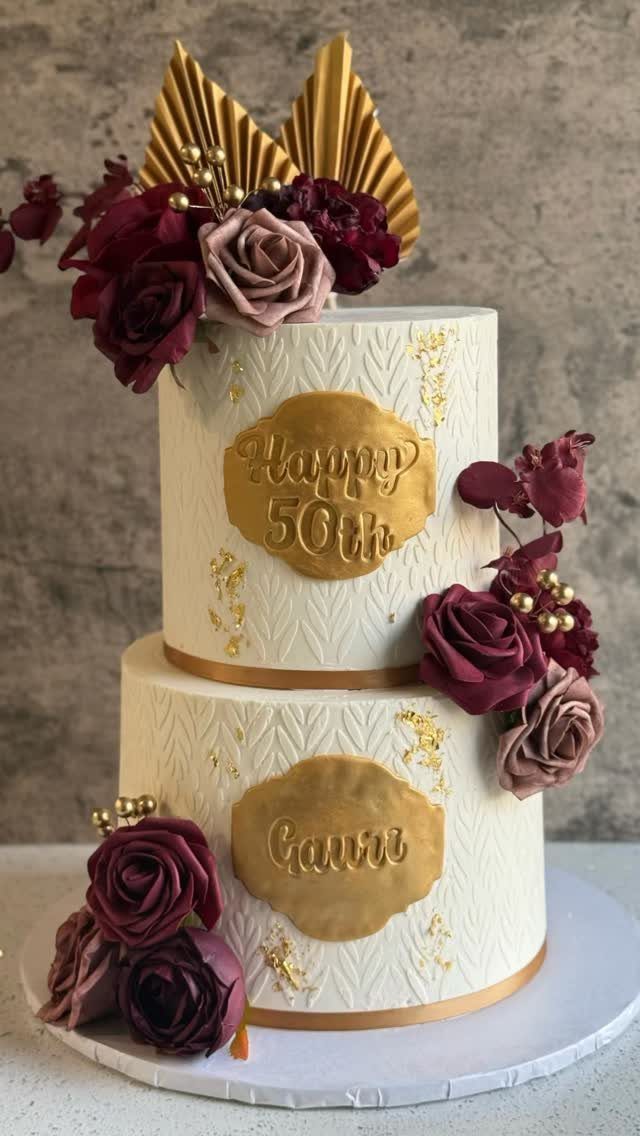
Textured leaf embossing, burgundy roses and gold leaf give a white two-tier cake a formal look without much piping. Gold plaques carry the message, so no hand lettering is needed.
The baker of this cake shared one useful step: when using luster dust, leave the stencil on, refrigerate the cake for 15–20 minutes, brush on the dust, and only then lift the stencil. The chill keeps the pattern crisp.
Place the roses last, so nothing gets knocked while you work on the texture.
5. Sprinkle Coated Cake
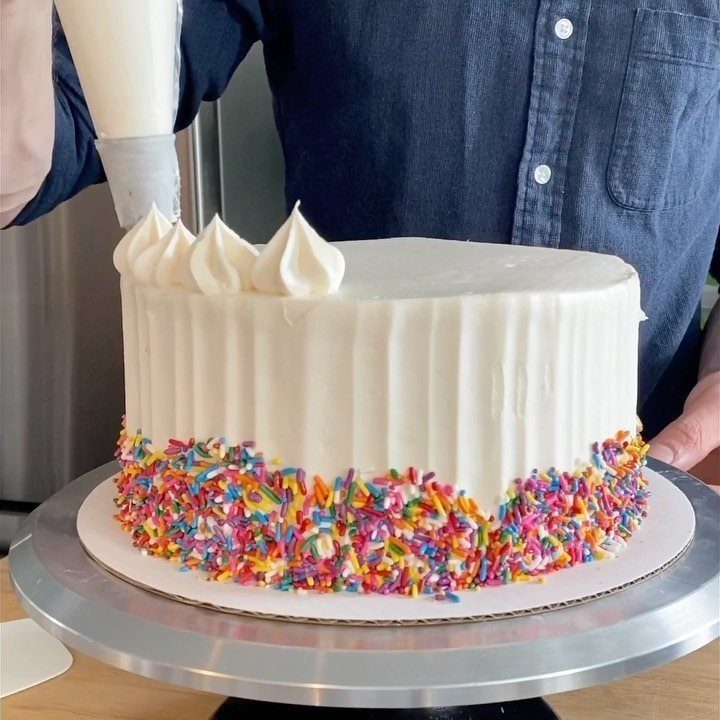
Sprinkles around the base are the fastest way to finish a cake, and they cover a ragged bottom edge better than any frosting trick. Press them on by hand while the frosting is still soft.
Work over a sheet pan to catch the fallout, and tilt the cake on its turntable as you go. Then pipe buttercream swirls on top, which adds height and a clean line where the sprinkles stop.
6. Fruit Decoration
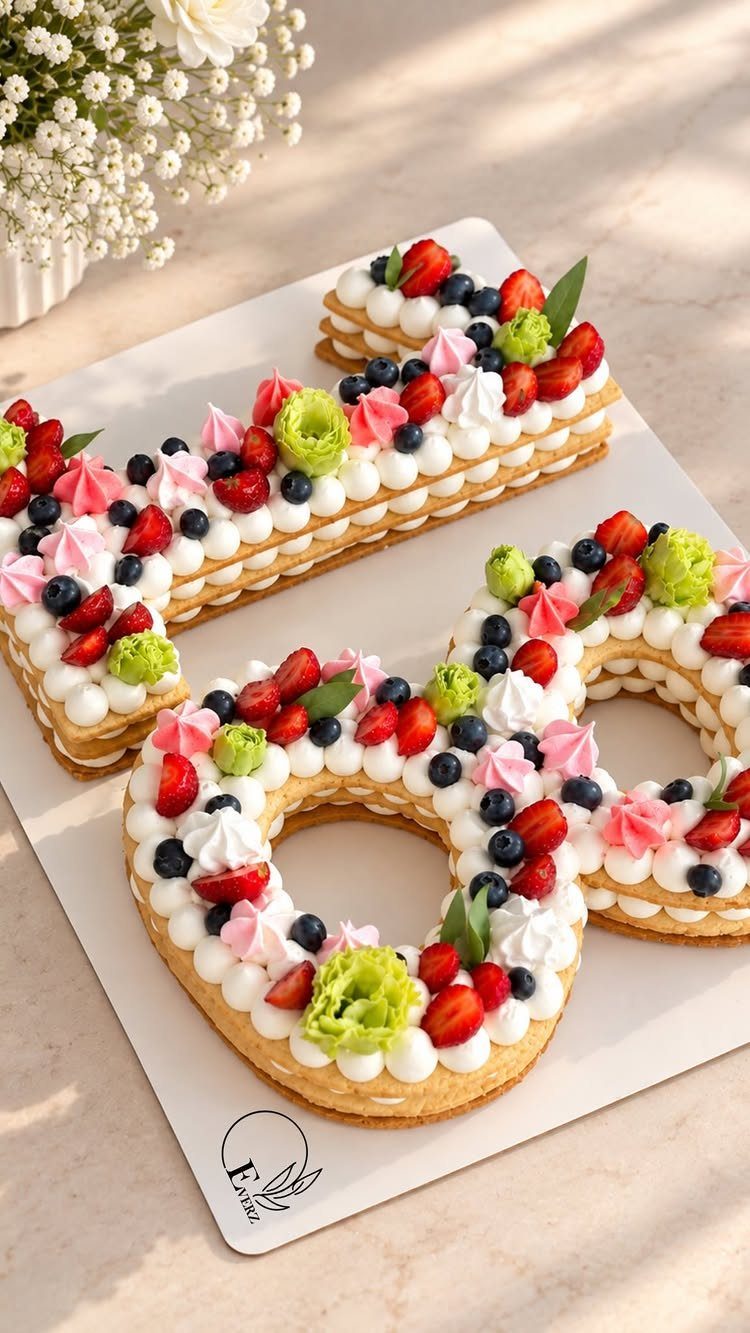
Fresh fruit lets a plain white frosting job look finished, and a number-shaped cake gives it a clear frame. Strawberries, blueberries and raspberries hold their shape on buttercream, and a few mint leaves keep the palette from reading too sweet.
Pat the berries dry before placing them, since moisture bleeds into frosting. I’d add them close to serving, because cut fruit wilts and weeps.
It’s a lighter look than piped buttercream, and the cheapest decoration to buy ready-made.
7. Buttercream Piping Designs
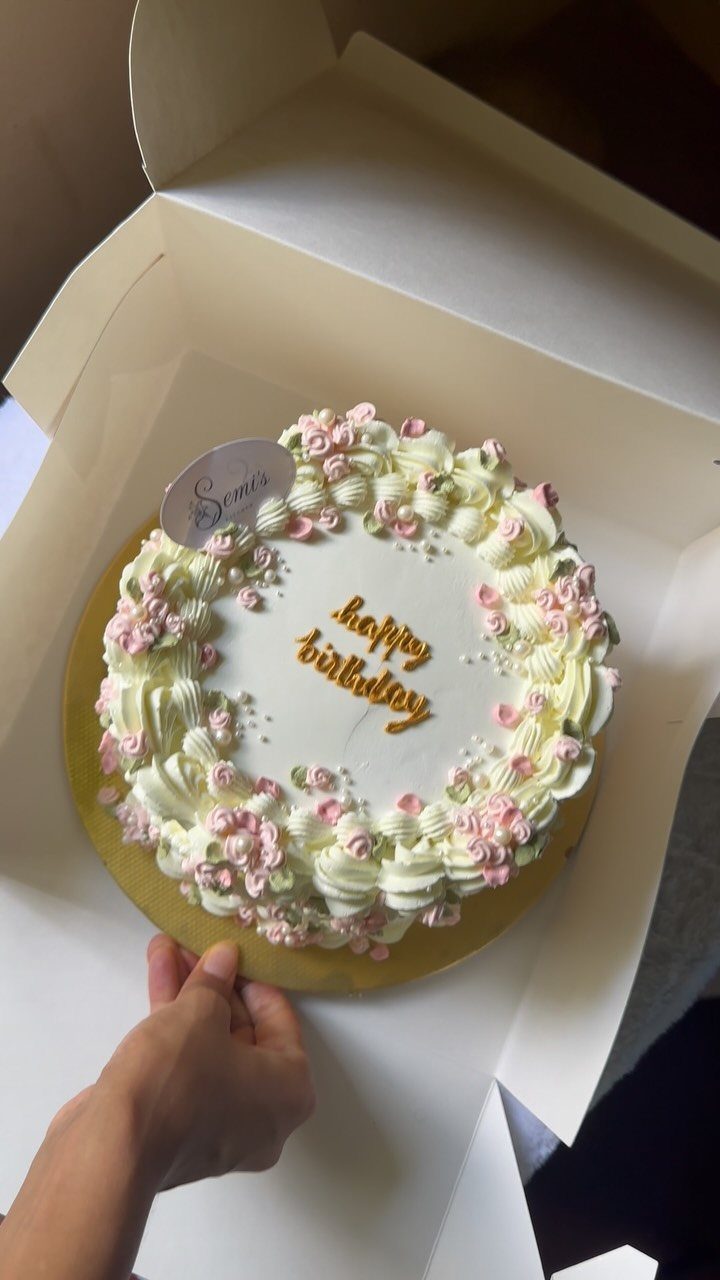
Piped swirls and flowers turn a plain white cake into a birthday cake, and all it takes is a bag and a tip. Fill the bag only halfway, since a full one is hard to squeeze evenly.
Practice a row of swirls on parchment first, then scrape the buttercream back into the bowl. Pipe the flowers last, so the swirls stay clean.
Writing "happy birthday" in gold is simpler to buy as a topper than to pipe by hand.
8. Marzipan Figures
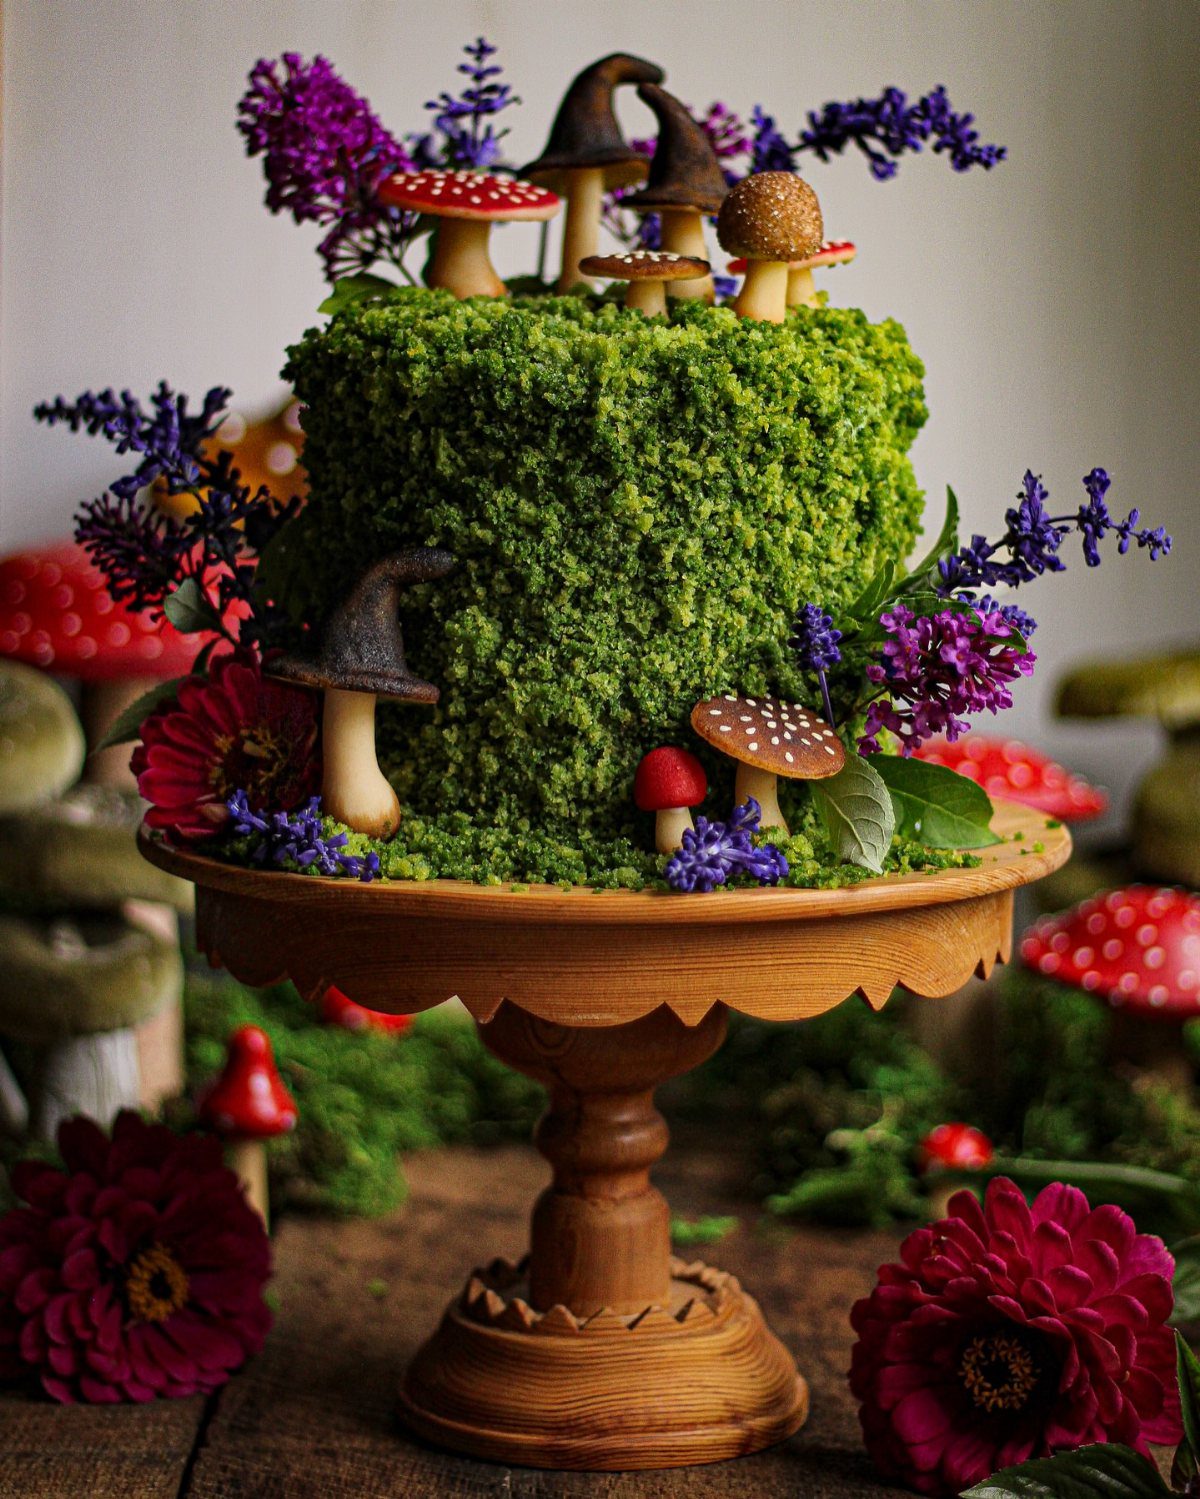
Marzipan mushrooms are small enough to shape at the kitchen table, and they sit well against a moss-green cake. Roll a cap and a stem separately, then press them together.
Tint a little marzipan purple and press out small flowers to tuck around the figures; a second color keeps a green base from reading flat.
I’d shape the figures a day ahead so they firm up, then set them on the cake last.
Tinted marzipan is forgiving, but a rolled stem that’s too thin will bend.
9. Edible Garden with Licorice
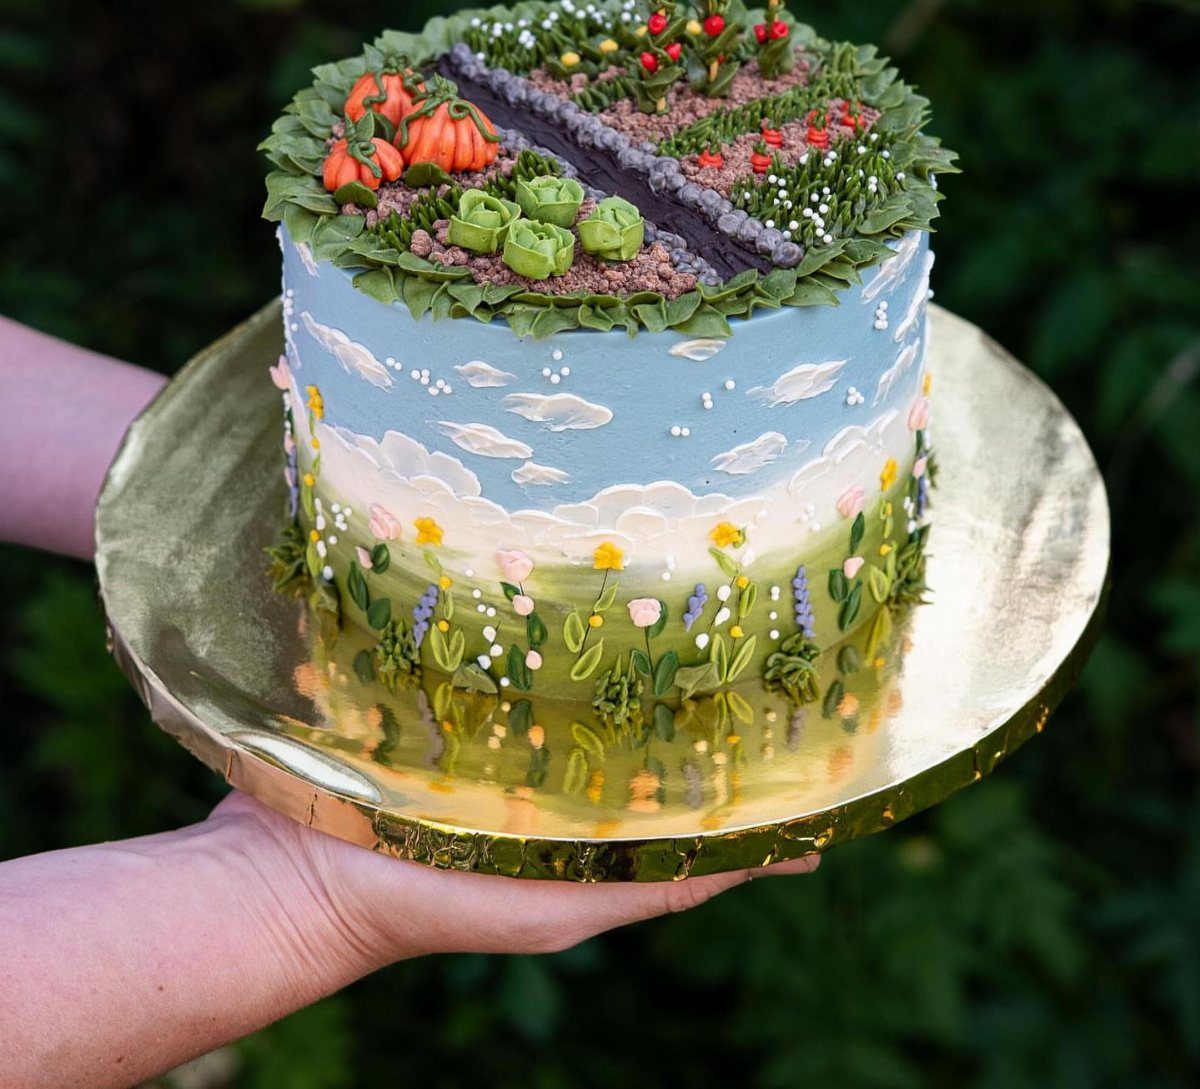
A licorice path is the quickest way to give a cake a story. Lay the strip across the top, and it reads as a garden walk right away.
Frosting clouds along the back edge add height, and candy pumpkins make cheap, bright plants. Set the path first, then place the pumpkins beside it so nothing gets bumped.
A gold cake board gives the scene a clean frame. Everything here comes ready-made from the candy aisle, so this is a good pick if you’d rather skip baking extras.
Gathering Tools and Ingredients
Set out everything before the first layer goes down: an offset spatula (a butter knife works in a pinch), a serrated knife, a bench scraper, piping bags with tips, a pastry brush, toothpicks and a cooling rack.
A turntable is optional, but it makes smooth sides far easier.
On the ingredient side, you need cooled cake layers, buttercream or another frosting, a cake board or plate, and your decorations. Food coloring is optional.
Mastic works as a homemade stand-in for fondant: knead powdered milk or cream with powdered sugar and condensed milk until the dough turns elastic and stops sticking to your hands. Add coloring a drop at a time.
Because mastic dries out quickly, I pinch off only a small piece at a time and keep the rest tightly wrapped in plastic.
Crumb Coating
Build the crumb coat in order. Start by placing the first layer on the board, then use the offset spatula to spread a generous scoop of frosting across the top before stacking the second layer.
Then cover the whole cake with a thin layer of frosting and smooth it with the spatula or a bench scraper. It should look rough and see-through, because its only job is to trap crumbs.
Refrigerate the cake for 20–30 minutes so the coat sets before the final layer goes on.
Serving and Storing
Once the decorating is done, chill the cake until the buttercream firms up. Then take it out about 30 minutes before serving, so the cake loses its fridge chill and the texture and flavor come back.
If you pipe with a simple butter and condensed milk cream, the cold is also what sets the piping, so a quick chill after decorating keeps the details sharp.
Frequently Asked Questions
What are some easy decorating ideas for a birthday cake?
For a quick finish, press sprinkles around the bottom edge; a crooked or torn border disappears under them, and no piping or smoothing does that job as well.
Fresh berries on white buttercream also work, as do simple piped swirls from a bag and a tip. All three need little skill, and each one covers small flaws in the frosting.
Is it cheaper to make your own cake or buy it?
Making your own is often cheaper, especially for larger cakes. You can also keep costs down by buying only the pieces that are tedious by hand, such as a ready-made gold topper for lettering or store-bought fruit and candy decorations.
Candy-aisle items like licorice and candy pumpkins can decorate a whole cake without any extra baking.
What’s the secret to a moist cake?
The decorating steps can protect moisture, though baking does most of the work. A crumb coat of thin frosting traps crumbs under the final layer.