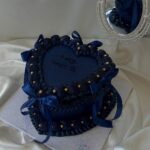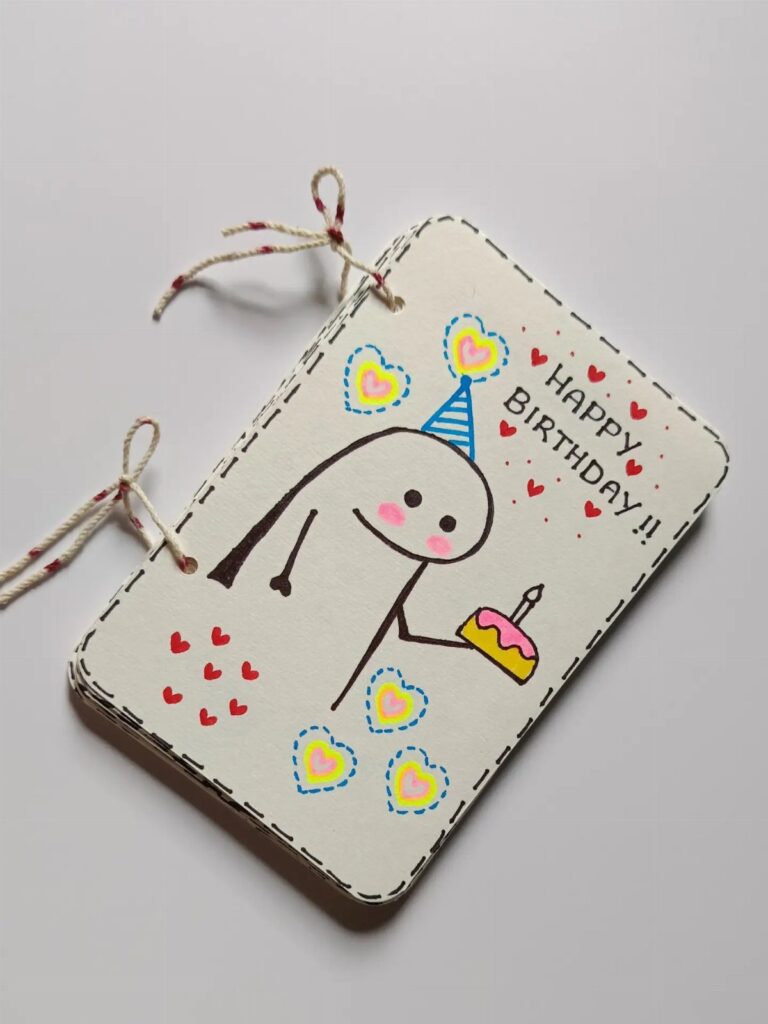
A Minimalist Line Art Card needs only a pen and a sheet of white cardstock, while the Pop-Up Cake, the Confetti Shaker and the Layered Paper Flower card ask for glue, acetate, foam and a steady hand.
Your skill with scissors and glue decides which card is yours, so match the idea to what your hands already do well.
Heavy cardstock in the 65–80 lb range is the base for most of these, since it keeps a crisp fold and won’t sag under 3D accents.
1. Layered Paper Flower Card
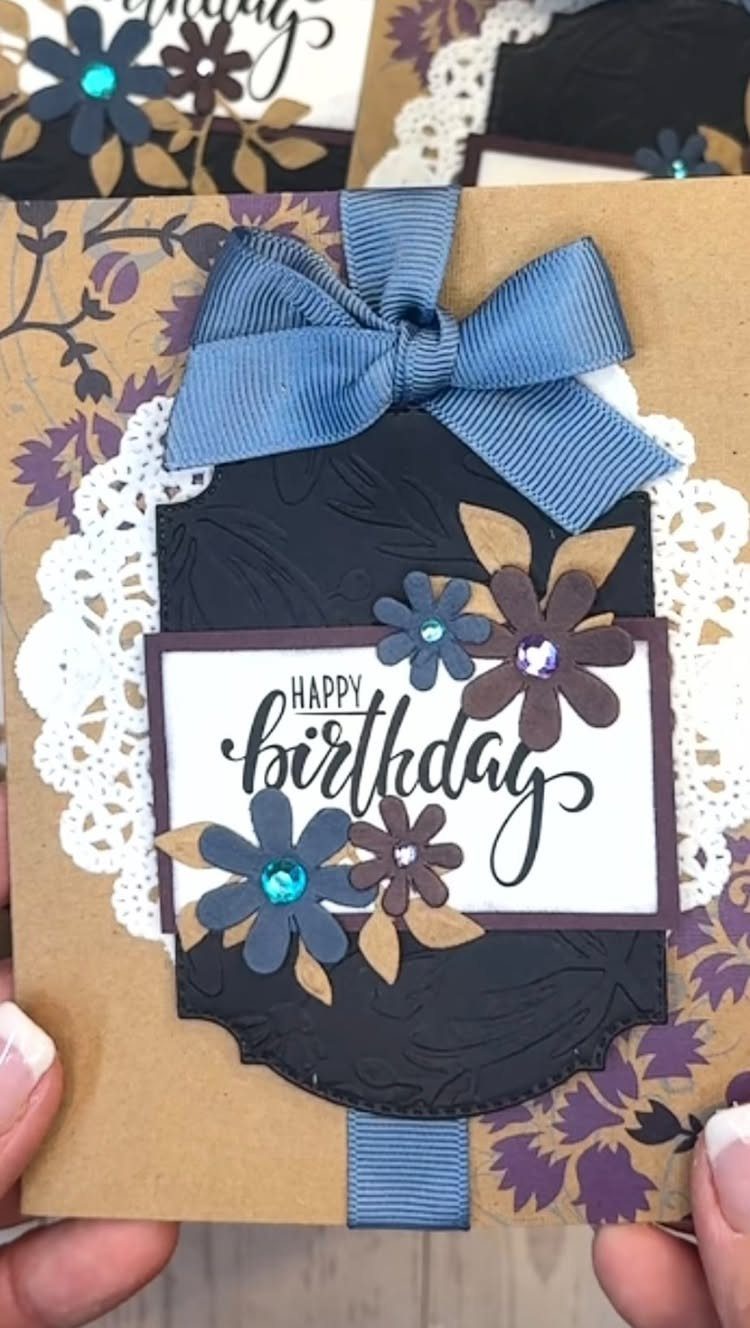
Depth comes from stacking: cut flowers in graduated sizes and glue the smallest on top, so each layer shows a rim of the one beneath.
Kraft, navy and deep plum make a moody palette, and the maker of this card built a set of four from a mix of new and thrifted supplies.
Thrifted paper saves money, but check that the weights match, since thin sheets curl under wet glue. A ribbon bow and a strip of lace trim finish the base without adding bulk.
Arrange all the flowers dry before committing to glue.
2. Pop-Up Cake Birthday Card
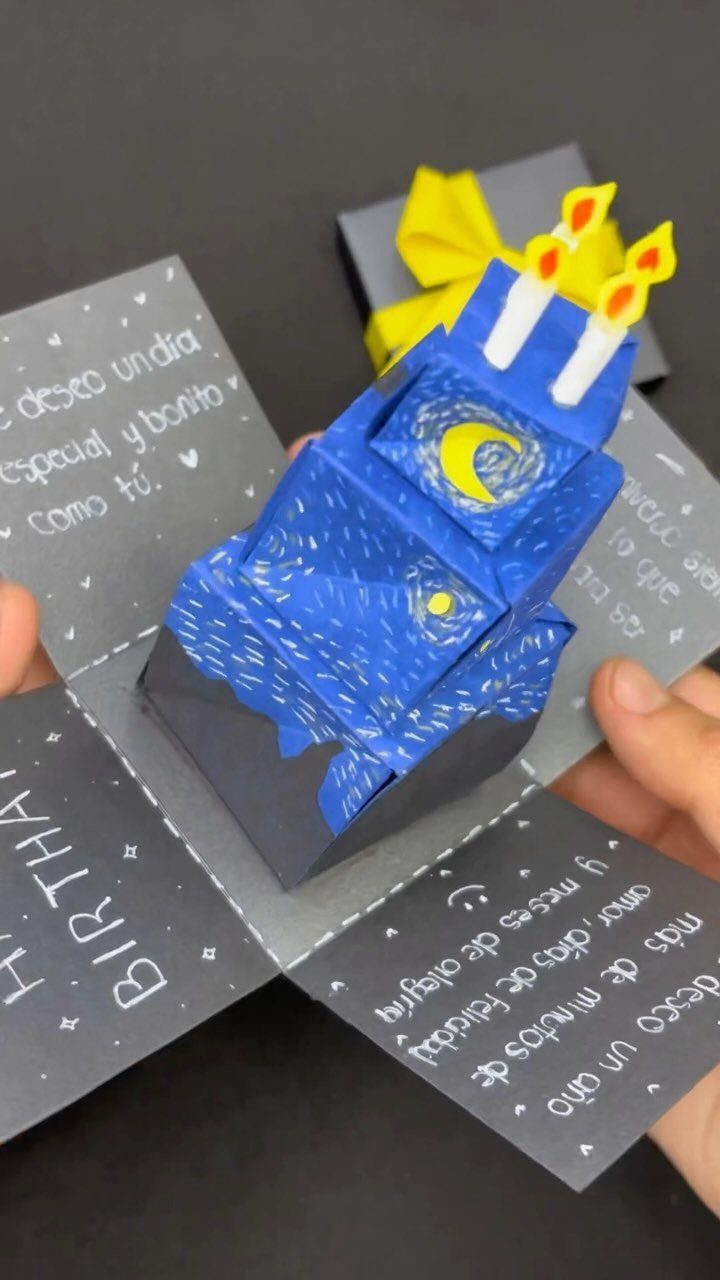
Open the card and a 3D cake stands up from the fold.
A pop-up is less hard than it looks, because the cake is a separate piece glued to a folded panel, so it can be built apart from the card.
I’d cut the cake from sturdy paper so the candles stay upright.
Add the bow last, and size the pop-up so the card still closes flat. Writing a message on the interior panels, in any language, gives the recipient something to read after the surprise.
3. Floral Watercolor Birthday Card
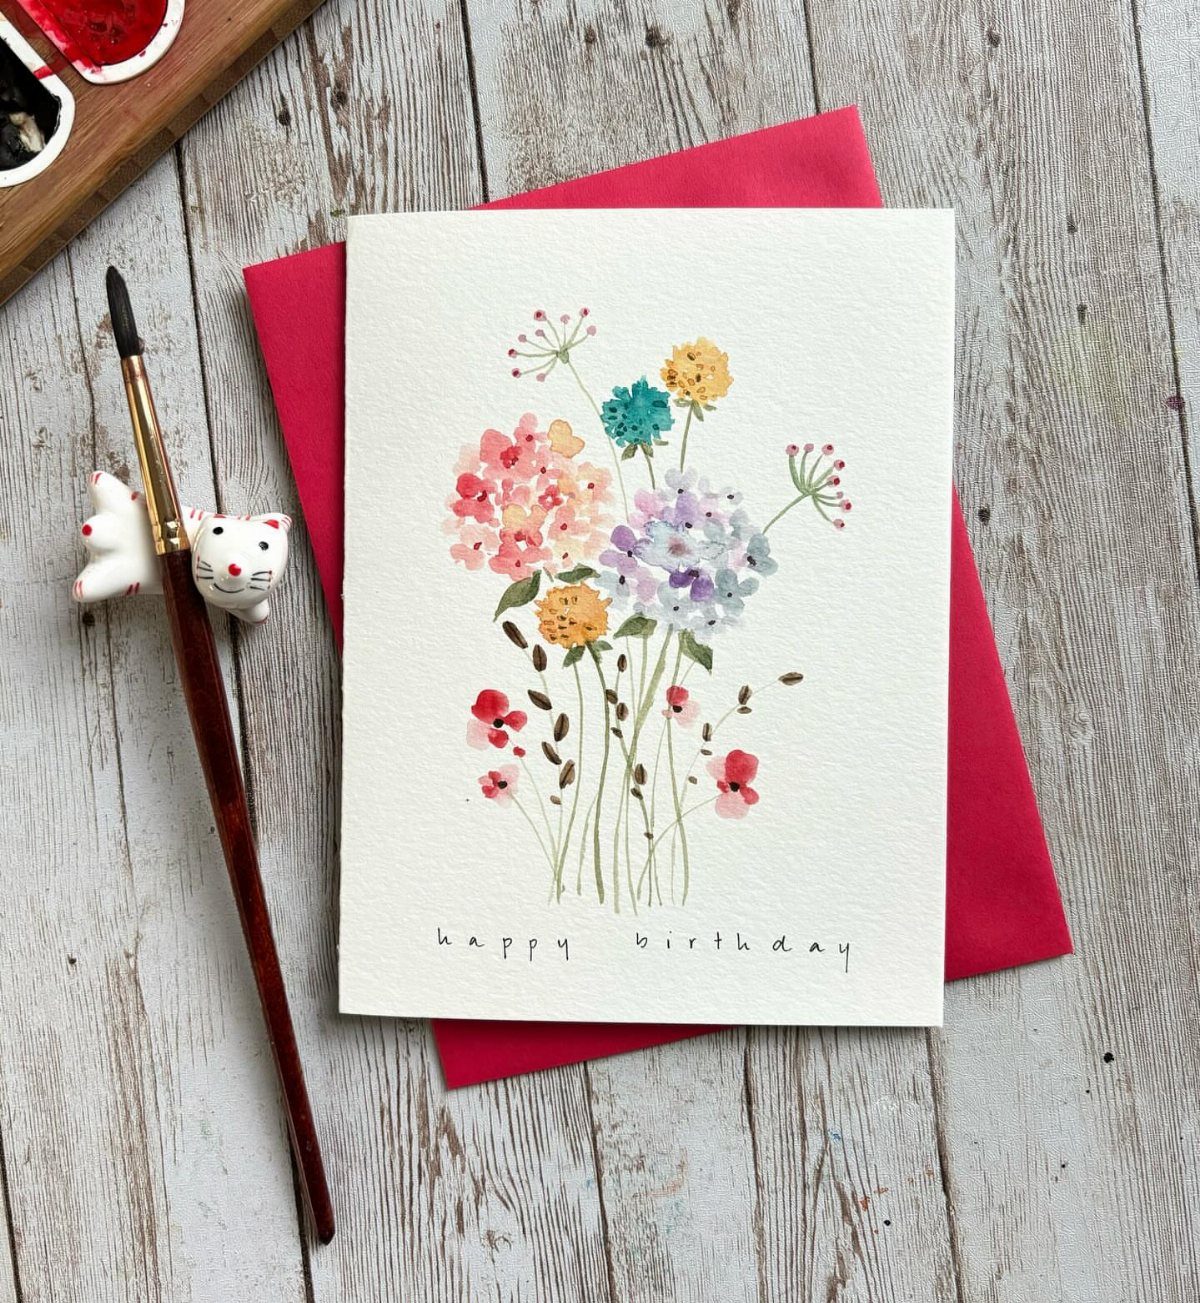
Loose watercolor flowers do the work here, and the soft edges are what make the card feel elegant rather than busy. Paint on watercolor paper, not plain cardstock, which buckles when wet.
Let each color dry before the next touches it, or the petals bleed into mud. Then add the "happy birthday" lettering in a thin pen once the paint is fully dry.
A floral watercolor birthday card is a good pick if you’d rather paint than cut and glue.
4. Photo Memory Birthday Card
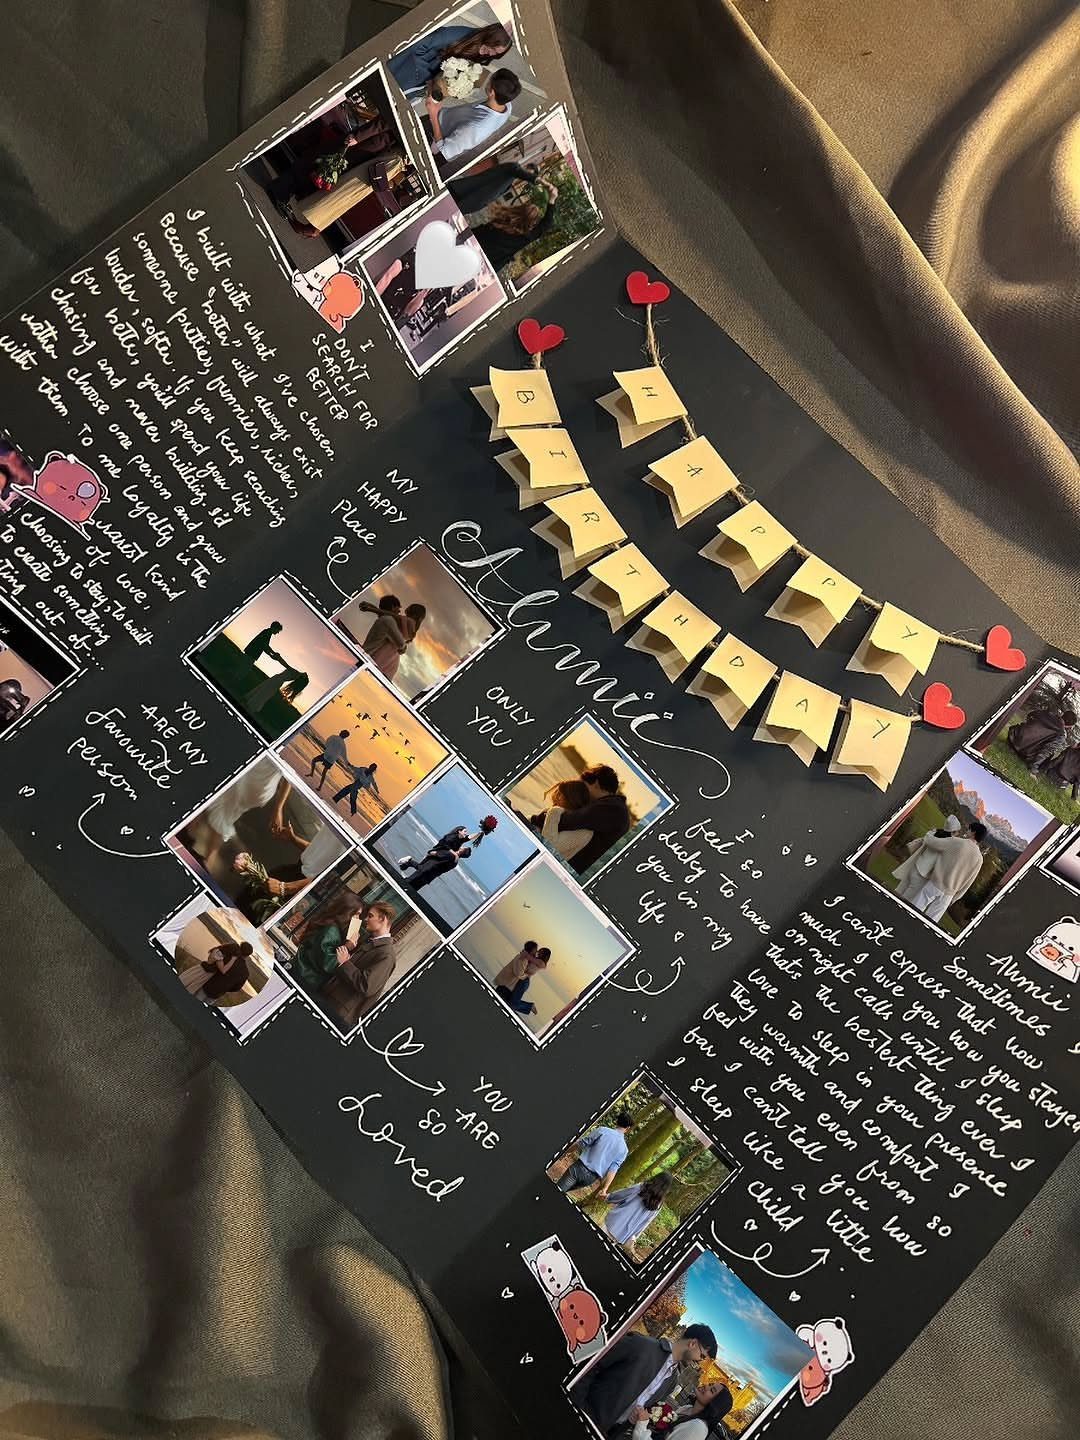
A black scrapbook card gives photos a dark ground that makes them stand out. Print the pictures small, mount them on the inside panels, and leave room for handwritten notes beside them.
I like this one for a partner or a close friend, since the photos and letters carry the meaning.
Use photo-safe adhesive so the prints don’t warp. Choose pictures you won’t mind giving away.
5. Layered Rubber Stamped Birthday Card
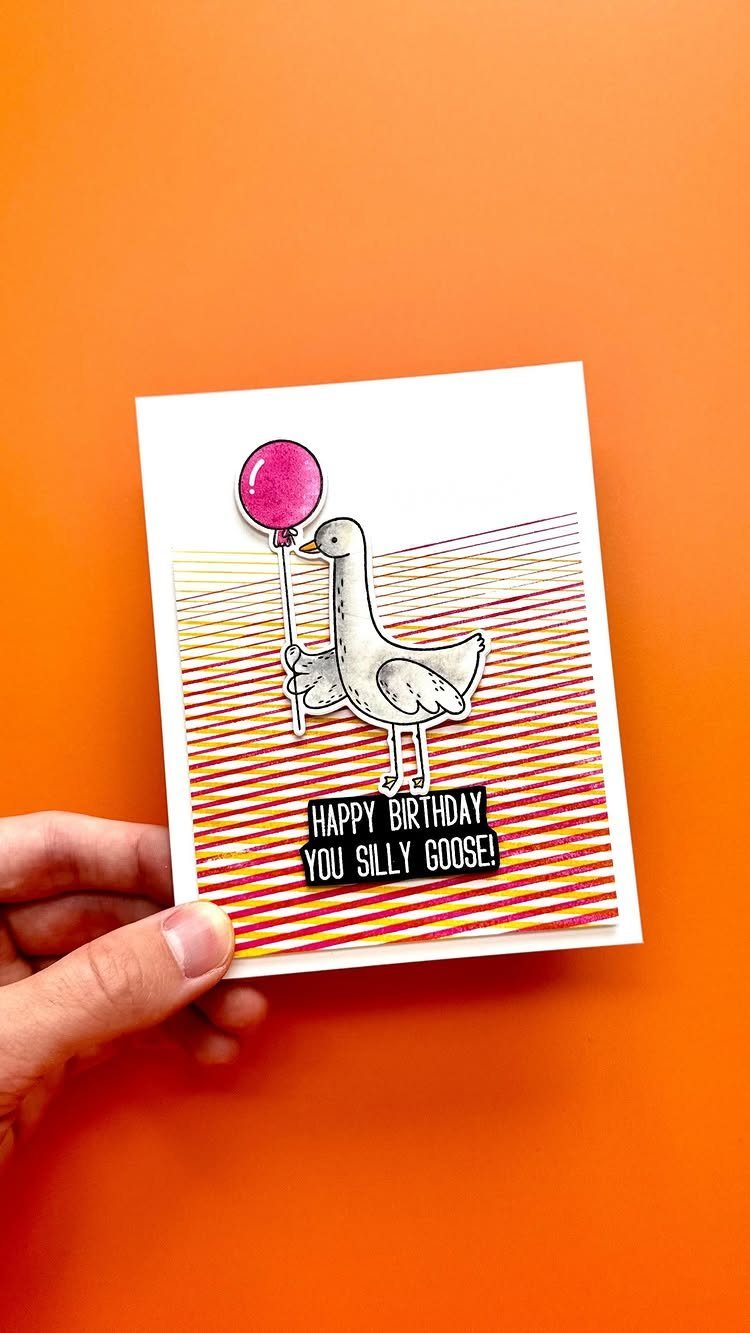
Stamping gives you the same crisp image every time, which makes this the best choice if you’re making several cards at once. A goose holding a pink balloon, paired with a "silly goose" greeting, turns the stamp into the joke.
Press firmly and evenly on smooth paper, and stamp onto scrap first to check the ink. Layer the stamped panel over striped paper and a colored base so the white card stands out against the orange.
It suits anyone with a sense of humor, and it asks for very little drawing skill.
6. Confetti Shaker Birthday Card
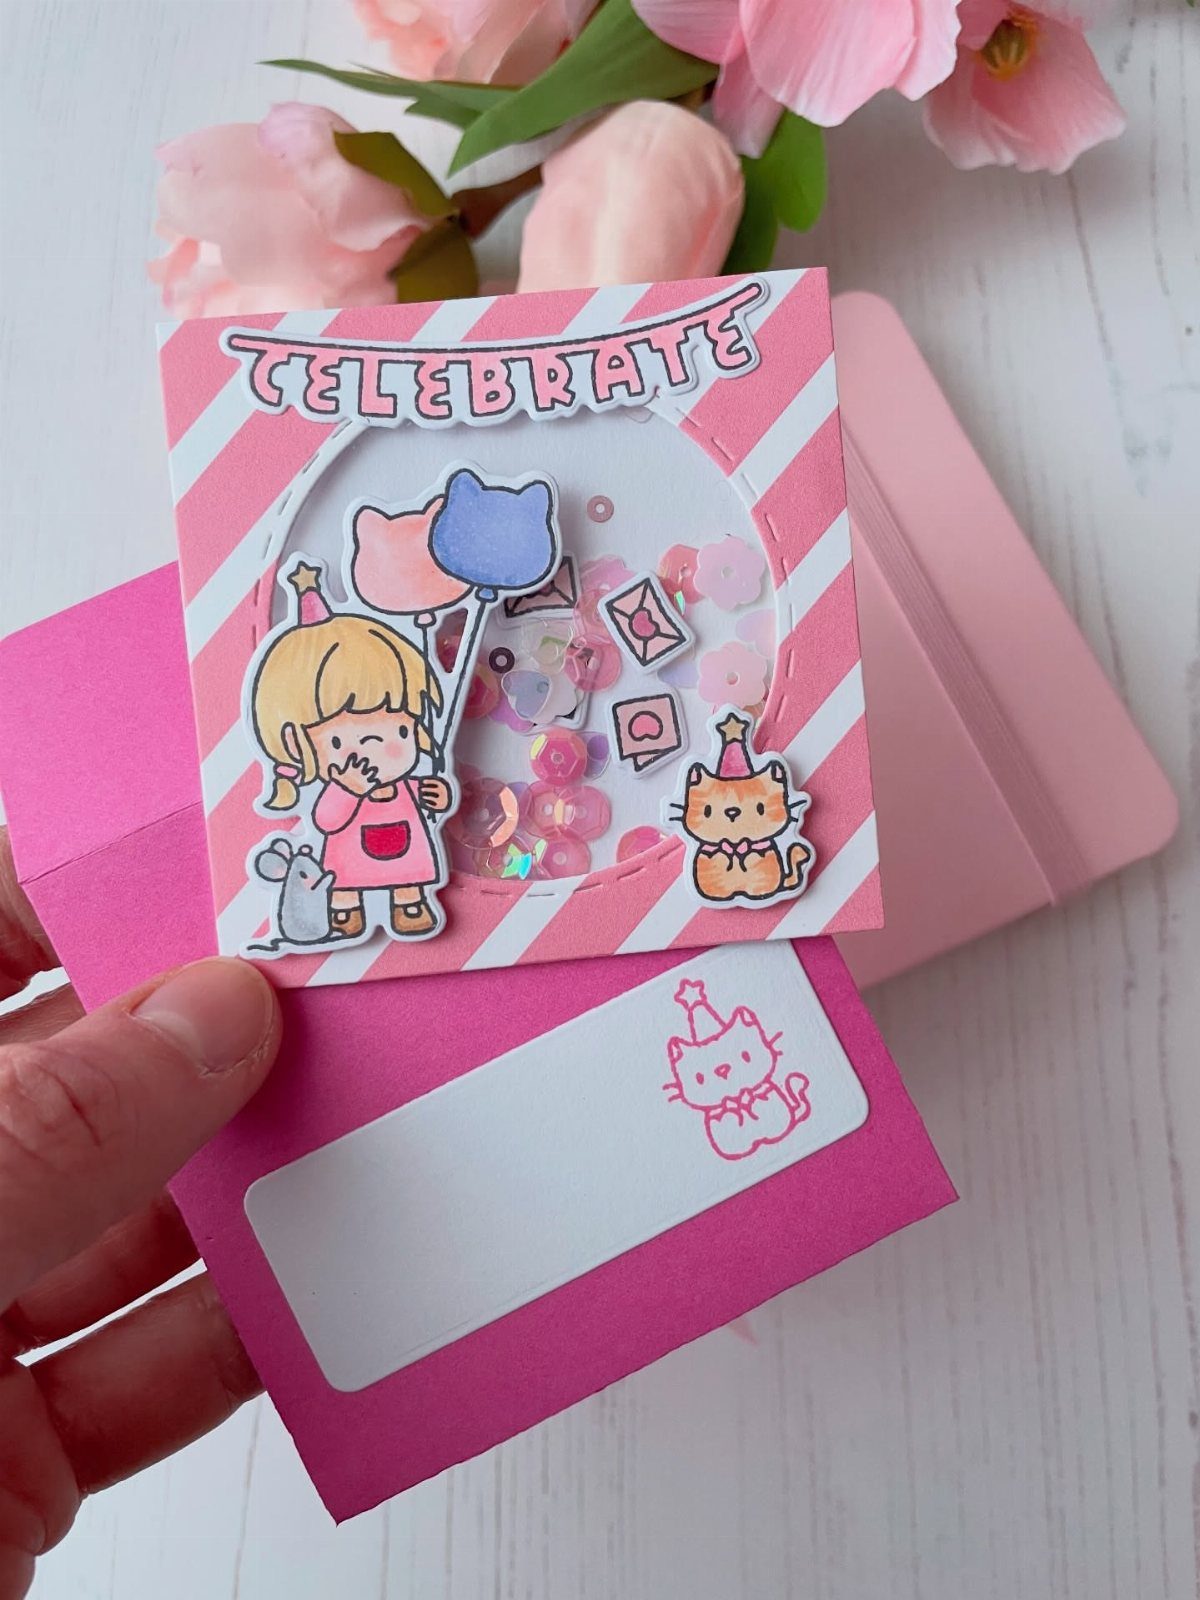
A shaker window holds loose confetti behind clear plastic, so the card moves and glitters whenever it’s tilted.
Build it by cutting an opening in the front, taping acetate behind it, and adding a foam frame to make a sealed pocket.
Seal every edge, because one gap and the confetti ends up in the mailbox. I’d keep the pocket small, with just a spoonful of confetti, so it still shifts around.
7. Dried Flower Card
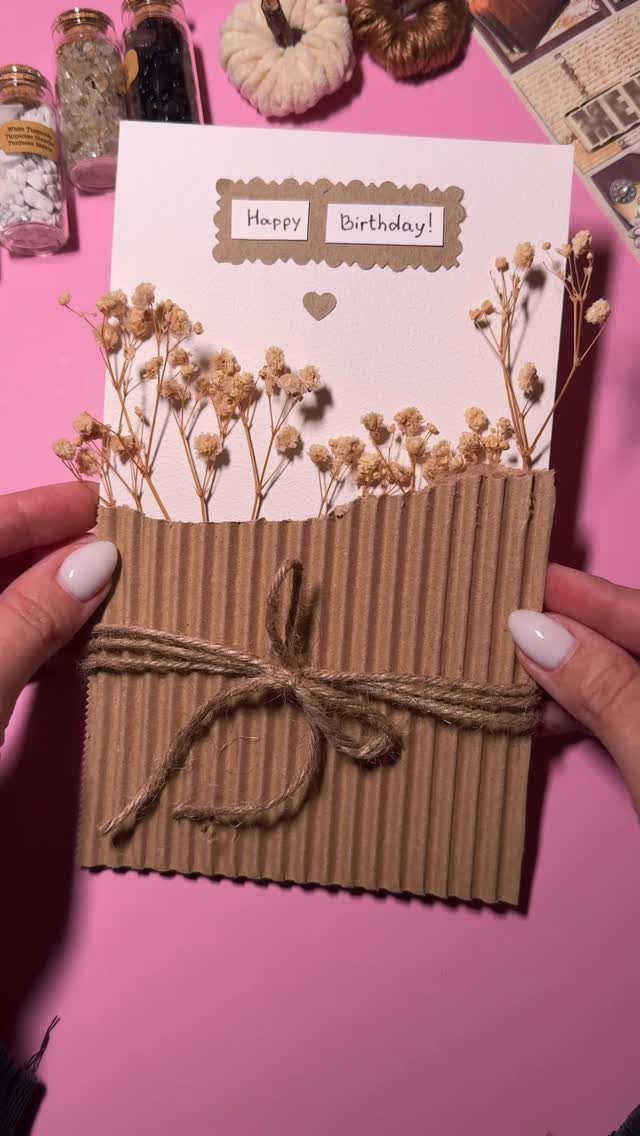
Real dried flowers on corrugated cardboard give this card a texture that printed paper can’t match. Small white blooms against the ridged brown surface, tied off with a twine bow, keep the look natural.
Press the flowers fully dry before gluing, and use a small dab of clear glue on the stem and back of each bloom. Tweezers are the safer tool for placing dried petals, because they crack at a touch.
A flat card is easier to mail than a bulky one, so keep the arrangement low.
8. Glitter Accent Birthday Card
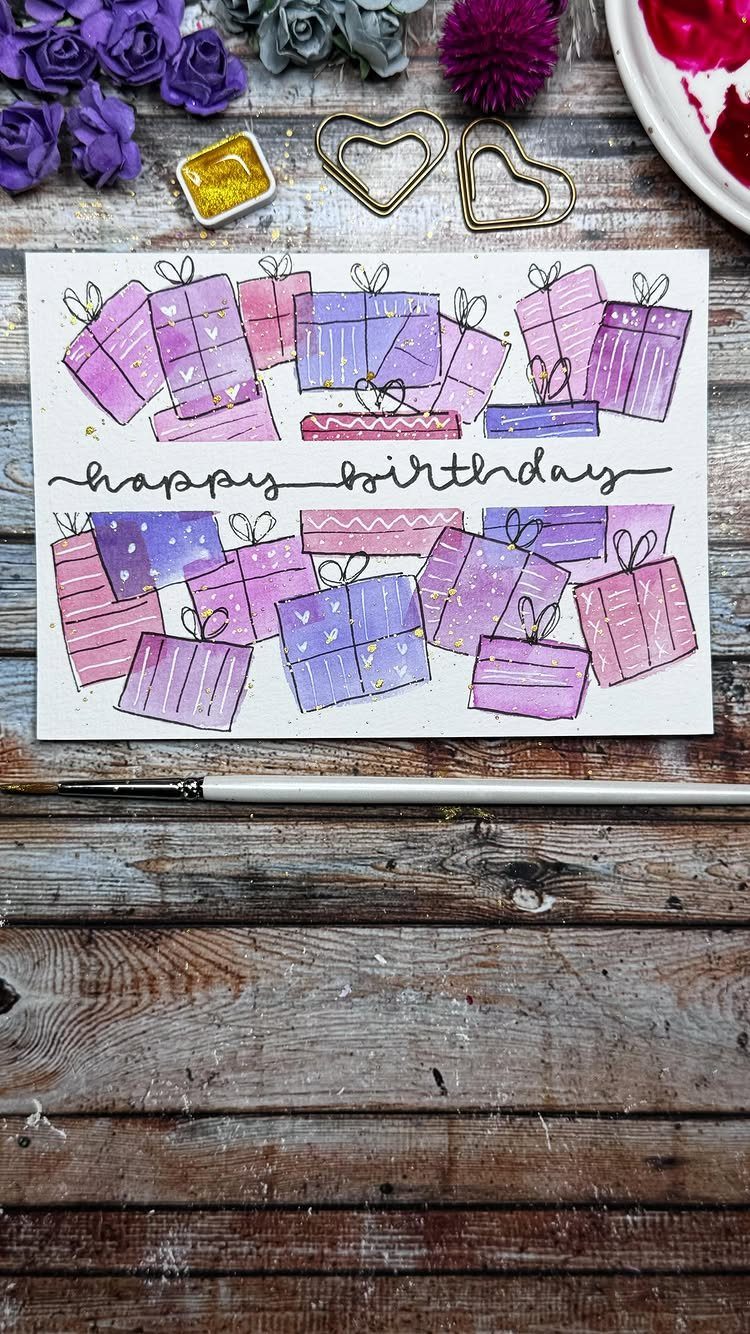
Gold glitter works best as a highlight, and here it sits on watercolor gift boxes so the paint stays the main event.
Let the paint dry fully, then brush glue only where you want sparkle: ribbon edges, a bow, the corner of a lid.
Tap off the extra over scrap paper and pour it back into the jar. Glitter spreads on its own, so I’d use less than feels right; small shining spots look deliberate.
Seal loose flecks with a light press before the card goes in an envelope.
9. Lace-Trim Kraft Birthday Card
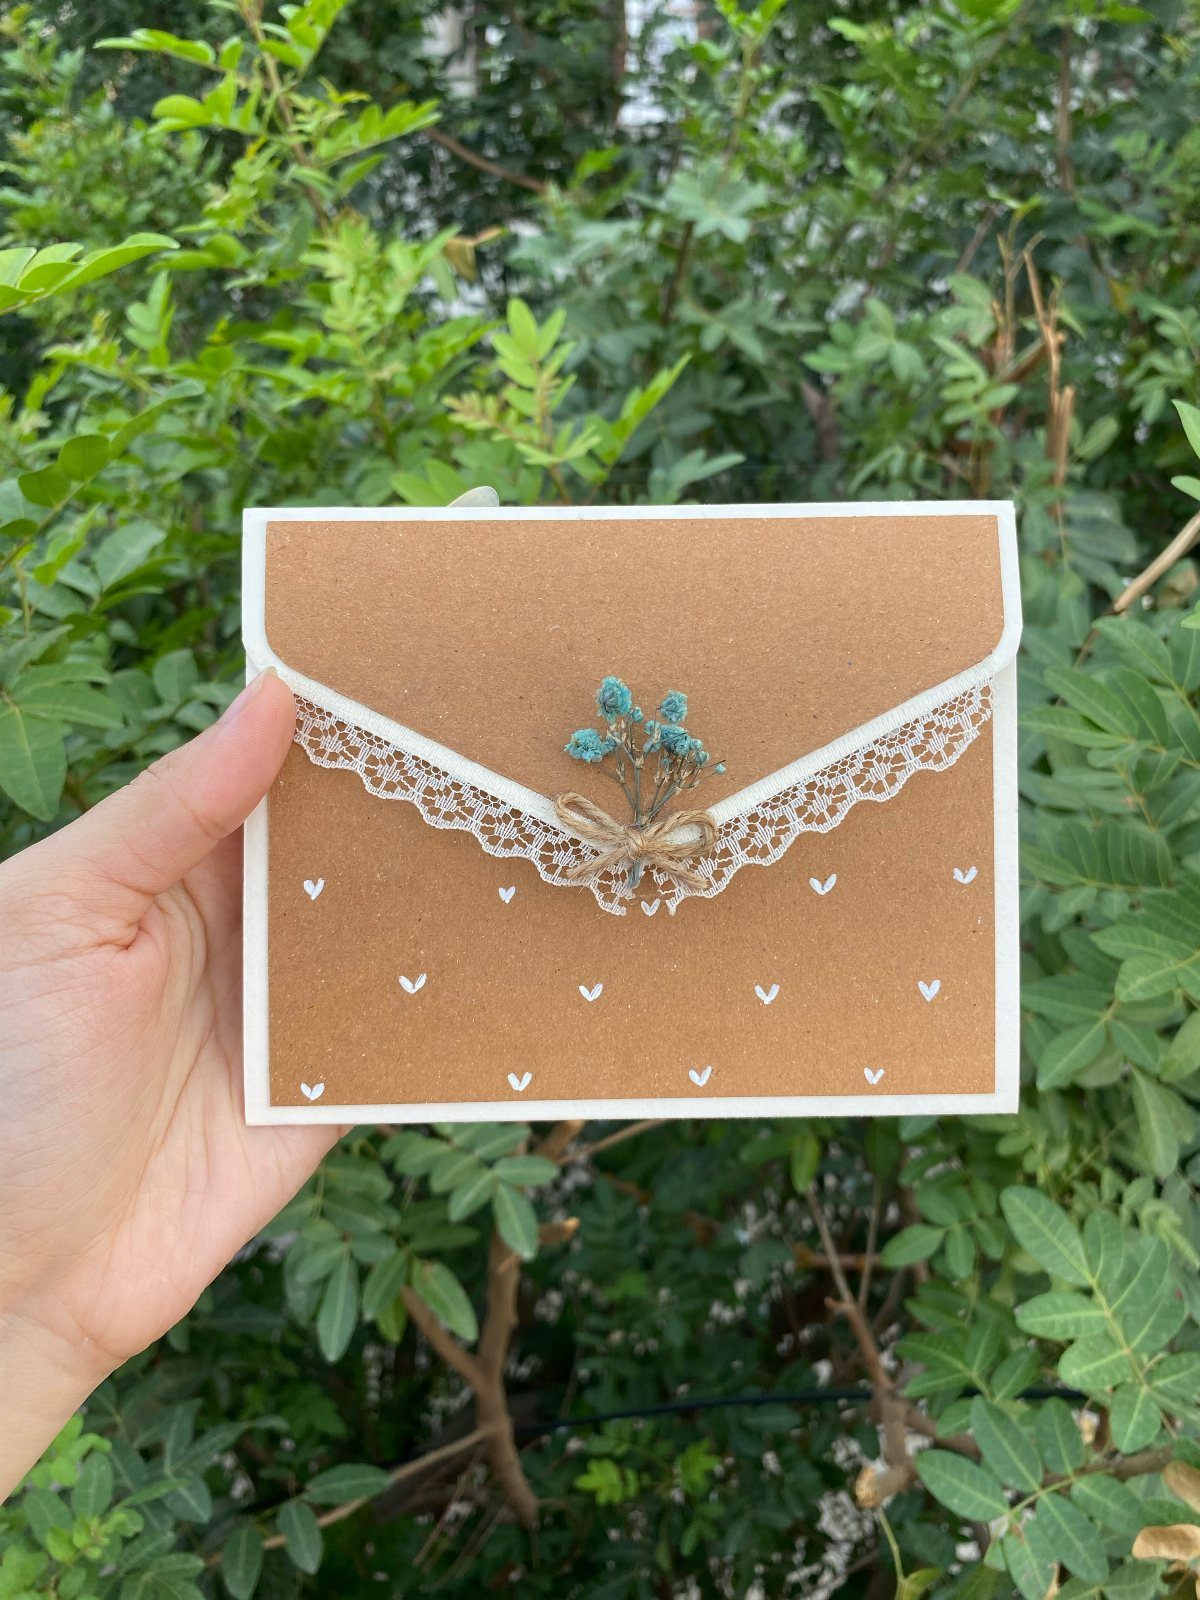
Kraft paper, white lace and a twine bow make a calm card that looks gathered rather than bought. The brown base lets small touches, like blue flowers and white hearts, stand out without any extra color.
Glue the lace trim along one edge with a thin line of tacky glue, and trim the ends flush with the card. Tie the twine bow separately, then attach it last.
I’d keep the lace-trim card restrained, because too many small accents crowd the kraft. Kraft is forgiving, but lace and twine pile up fast.
10. Minimalist Line Art Card
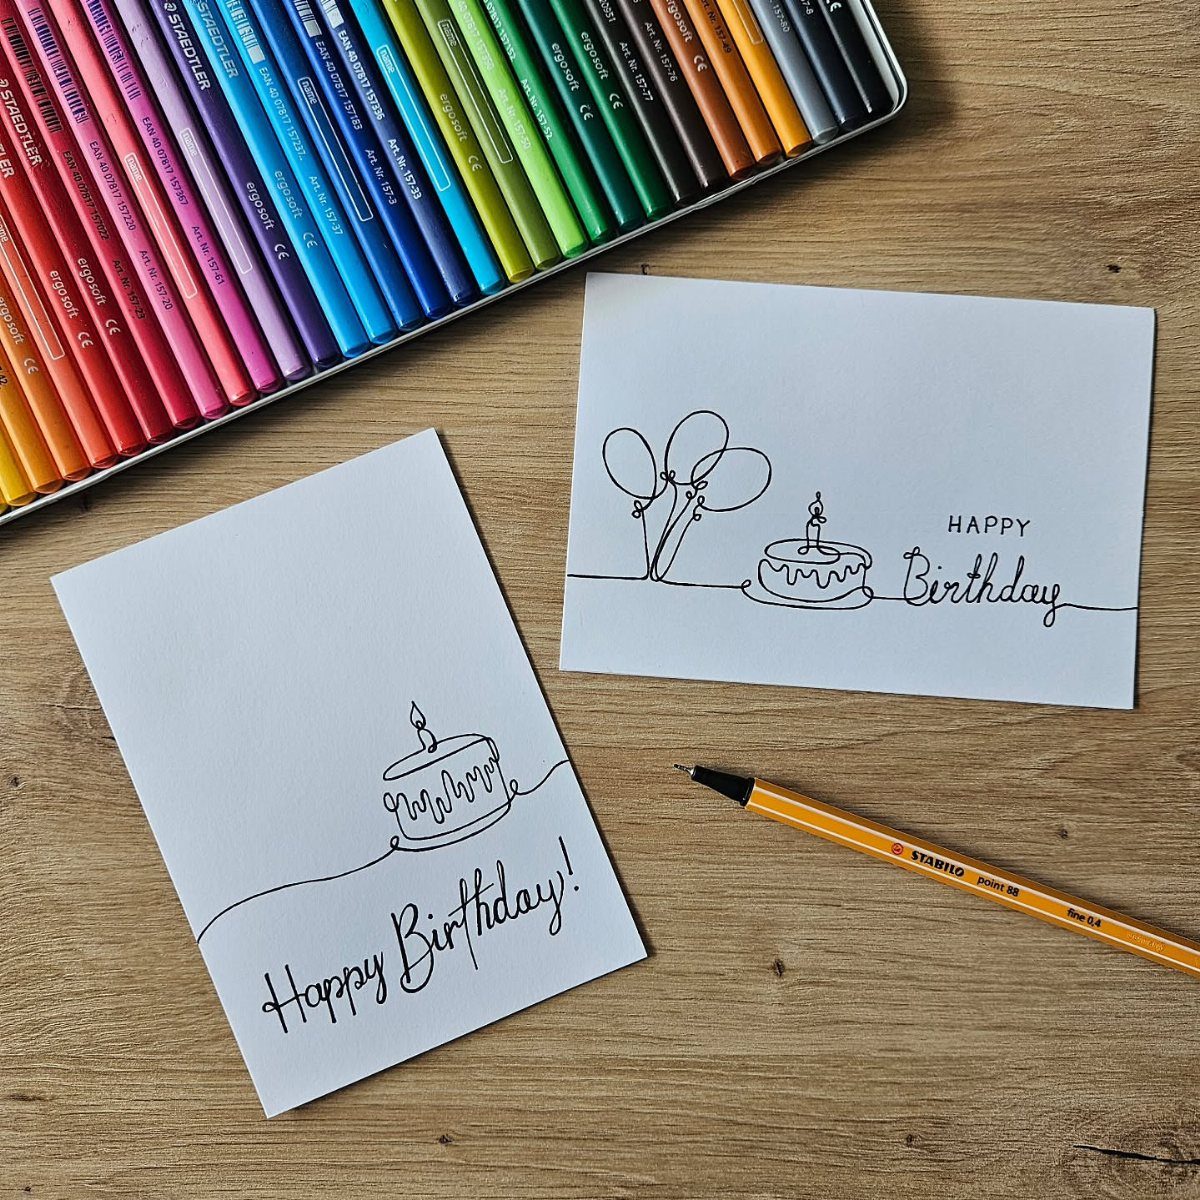
Black line drawings on white cardstock, with a cake in one corner and some balloons drifting above it, make a card that feels modern. The empty space is part of the design, so resist filling it.
Pencil the drawing first, then trace it with a fine black pen and erase once the ink is dry. Keep the line weight consistent across a set of cards.
This is the easiest idea on the list for anyone who owns a pen.
11. 3D Balloon Birthday Card
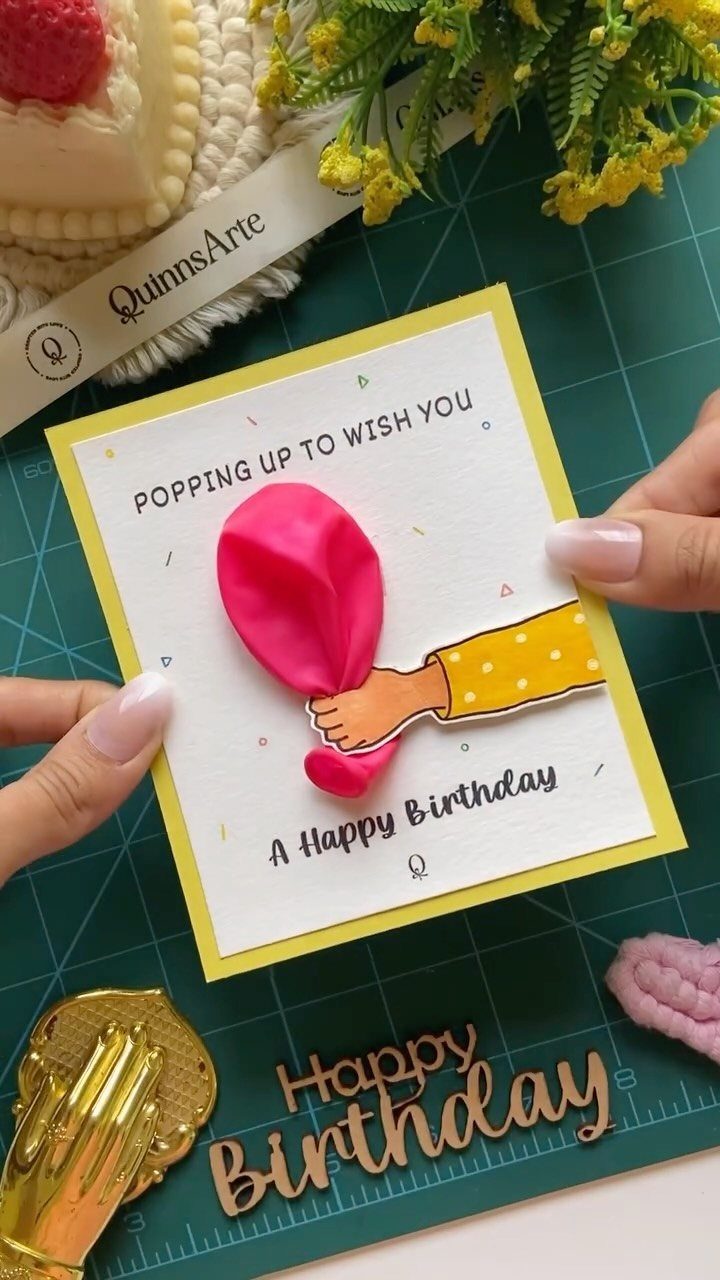
A balloon that lifts off the page is the whole joke of this card, and the "popping up" wording makes it land.
Cut the balloon from pink paper or fabric, then add a little padding or fold a tab behind it so it stands out from the surface.
Draw or tie on a string, and finish with a small bow at the knot. Keep the balloon modest in size so the card still slips into an envelope without crushing it.
Paper is cleaner to work with; fabric looks softer but frays at the edges.
12. Birthday Month Calendar Card
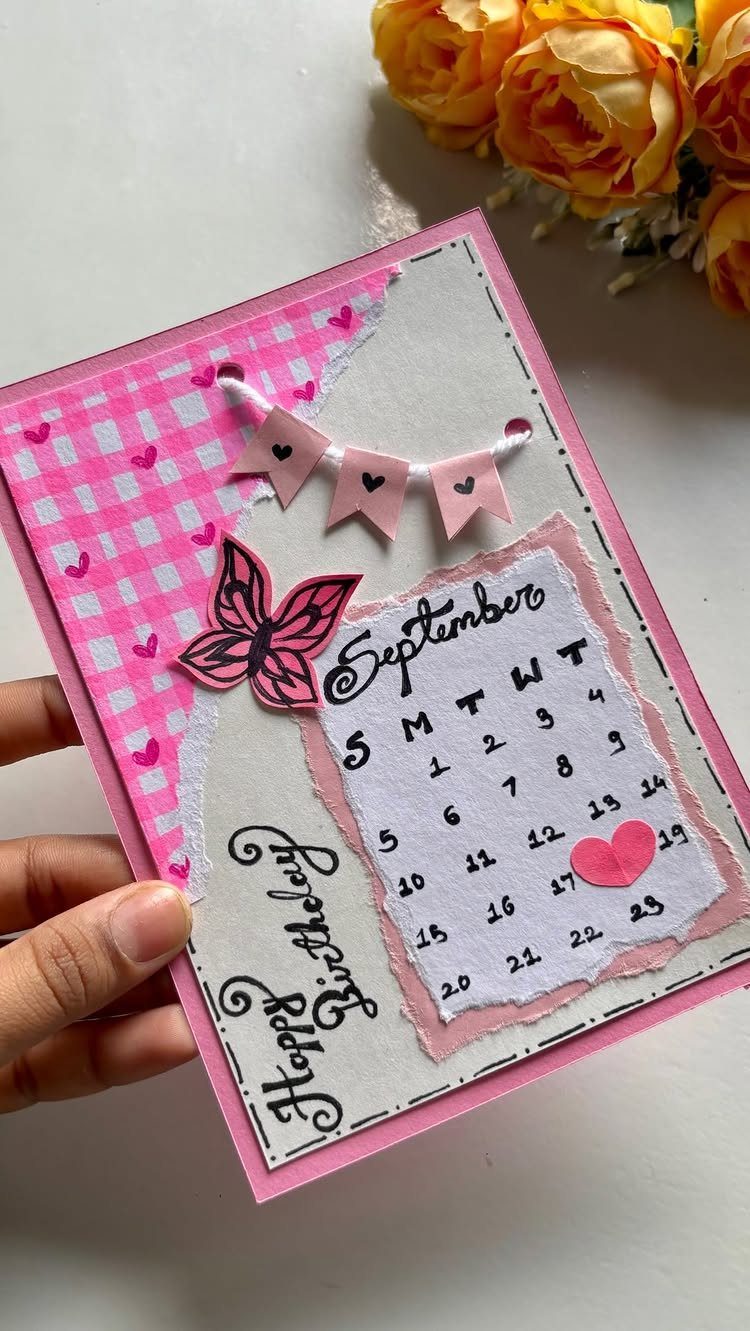
A single calendar page with one date marked turns a birthday into the star of the card. Here the month is September, with a heart on the 17th, so the recipient sees their own day first.
Draw the grid with a ruler, number the days in a fine pen, and place the heart last so it lands on the right square. Check the weekday alignment against a real calendar for that year.
Layer the page on a pink and grey base, then add a butterfly and a small bunting banner. Add those last, once the dates are correct.
13. Vintage Camera Card
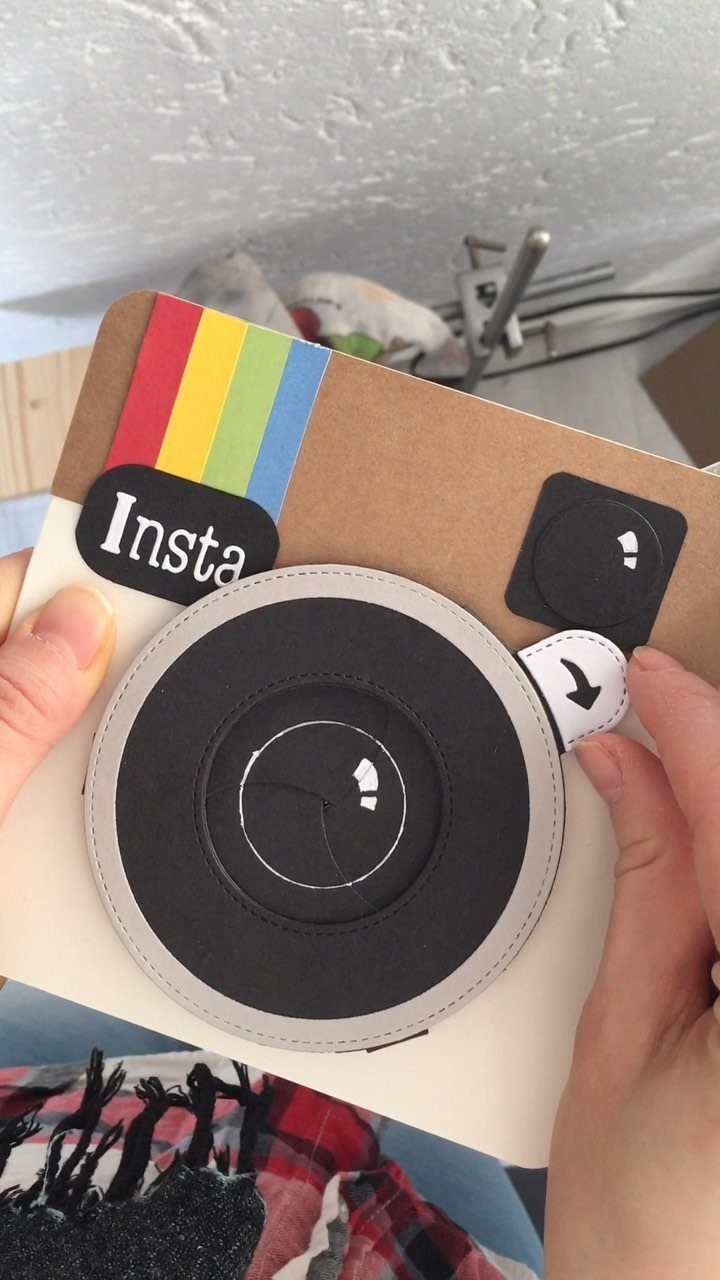
A card built as a camera, with a rainbow stripe across the front and a black lens, reads as an object before anyone opens it. That makes it a good match for a friend who loves photos or instant film.
Cut the body from sturdy cardstock so the shape holds, and layer the lens from a few black circles for depth.
I’d cut the rainbow stripe from colored paper strips rather than draw it, since crisp edges look more like printed film. Keep the "Insta" lettering small and neat.
Fold the card so the camera body opens like a book.
14. Cupcake Character Card
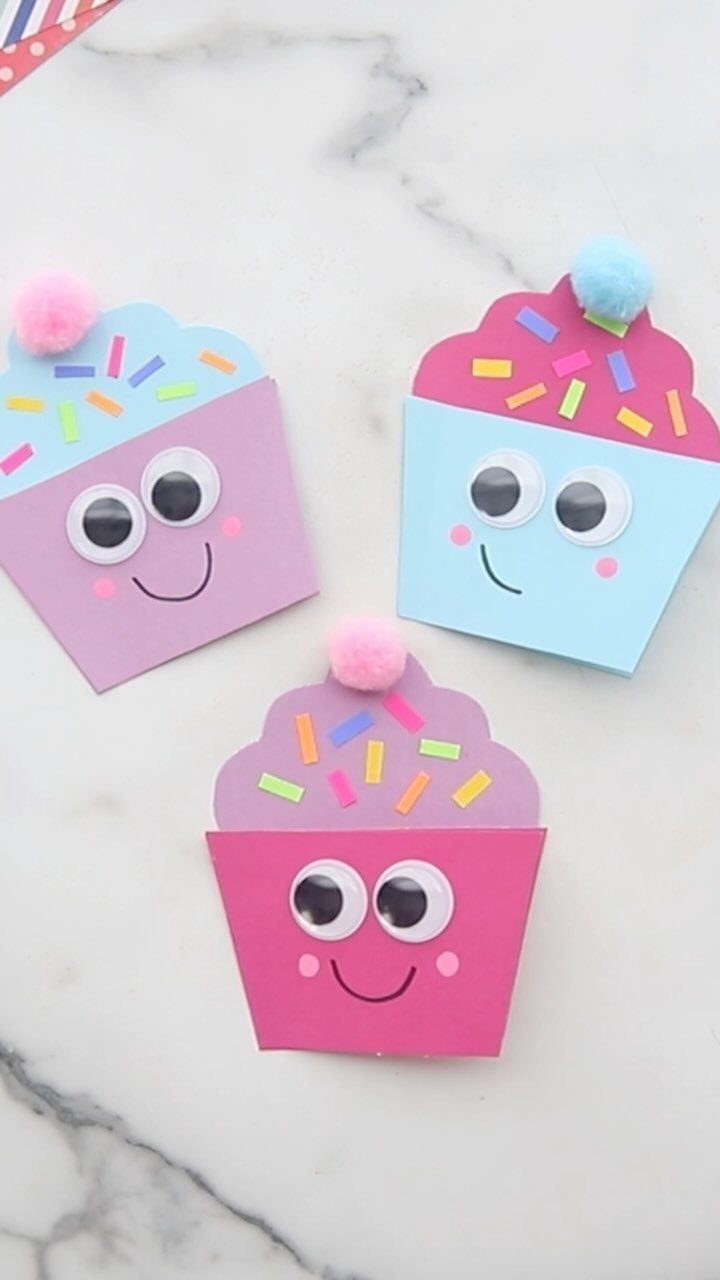
Cupcake-shaped cards with googly eyes and a smile give the recipient a little character instead of a greeting. They work well for kids, or for any adult who likes a silly gift.
Cut the frosting and wrapper as 2 pieces so each can be a different color, then glue them together.
Paper sprinkles and pom-poms add texture on top. Stick the googly eyes on last, with a dab of strong glue, since they slide around on wet paper.
Because the shape is simple, I’d make a batch of three or more in different colors. Each one takes little time once the template is cut.
Personalization Tips for Cards
Start with a short list of the person’s favorite colors, hobbies and one or two photos that mean something to them. A card built from that list says more than any technique does.
Handwriting does a lot of the work. A few lines in your own hand, about a shared joke or a specific memory, will outlast the decoration.
Black or navy paper calls for a white or metallic gel pen, which shows up sharply against the dark surface and dries within a minute or so, so your hand won’t drag through the letters.
Metallic brush pens stay opaque on dark stock, so they suit flowers and outlines. Hand lettering with a brush pen is a good personal touch, even for a beginner.
Simple raised pieces, like a bunting strip, add dimension without much skill.
Crafting Techniques for Beginners
Most beginner-friendly cards rely on basic techniques, and none of them needs expensive equipment. A glue stick, scissors and a ruler will get you started.
Make your first card from flat pieces: a cut shape, a stamp or a line of lettering. Once that feels easy, add one new skill per card, such as raised elements or hand lettering.
Test each new technique on scrap paper before it touches the real card. Your tenth attempt will look noticeably better than your first, and the early ones still make fine cards for family.
Materials for DIY Cards
Most of these cards start with a sheet of heavy cardstock, around 65–80 lb, because it holds a fold and stays upright on a shelf.
It holds cut-out hearts, letters, flowers and stars without sagging, and those 3D accents lift a flat card.
Die-cuts are a good shortcut. Dollar Tree and Michaels both carry plenty, so you can skip cutting and spend the time on layout.
If you plan to paint, switch to thicker watercolor paper. Thin sheets buckle, and a buckled card looks less polished.
Washi tape, buttons and flowers round out the kit. Buy a small amount of each and mix them across cards, so one purchase covers several designs.
Frequently Asked Questions
How do you make a good birthday card?
A card lands best when it is built around one person: their favorite colors, a hobby they can’t stop talking about, a photo or two that mean something to them, and a few handwritten lines about a joke only the two of you share.
Handwriting tends to outlast the decoration.
What is a cool and unique birthday greeting?
Pick a message that fits the recipient’s personality. Another option is a QR code on the card that links to a private audio or video message made for them.