Which card suits you depends on how much time you have before the party and how much fuss the supplies need, and the list below runs from a washi tape candle card to a shaker card with a sealed back.
A washi tape candle card needs one roll and no drying time, while a shaker card with a foam spacer and sealed back takes real patience, and an accordion card gives each friend a panel to sign.
Pick the card that matches your clock and your signers, then let the materials follow, since most simple cards need only 1–2 items.
1. Cupcake Doodle Birthday Card
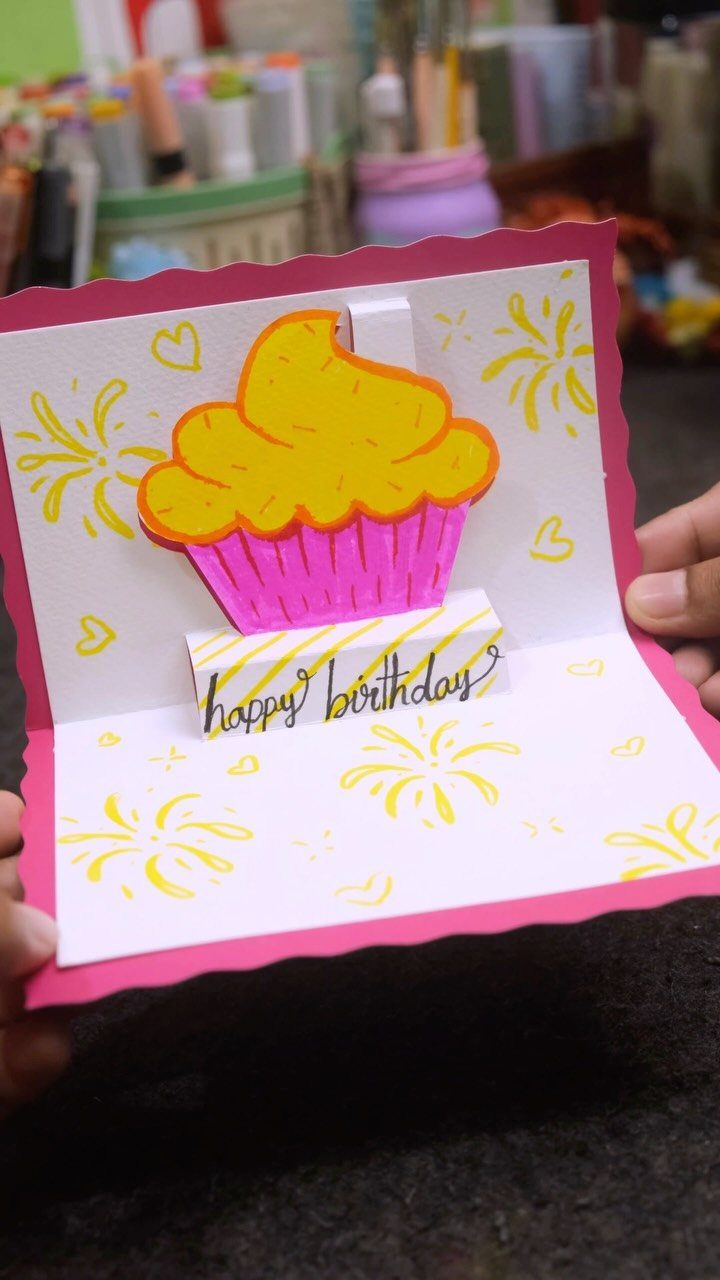
A cupcake drawn with a raised, pop-up frosting layer gives a flat card a surprise the second it opens. Cut the cupcake in yellow and pink paper, then fold it so it stands out from the page.
Keep the lettering simple. Cursive "happy birthday" in a single pen color lets the 3D cupcake do the talking, and it takes only minutes to add.
This suits beginners well, since one doodle and one fold carry the whole card.
2. Shaker Birthday Card
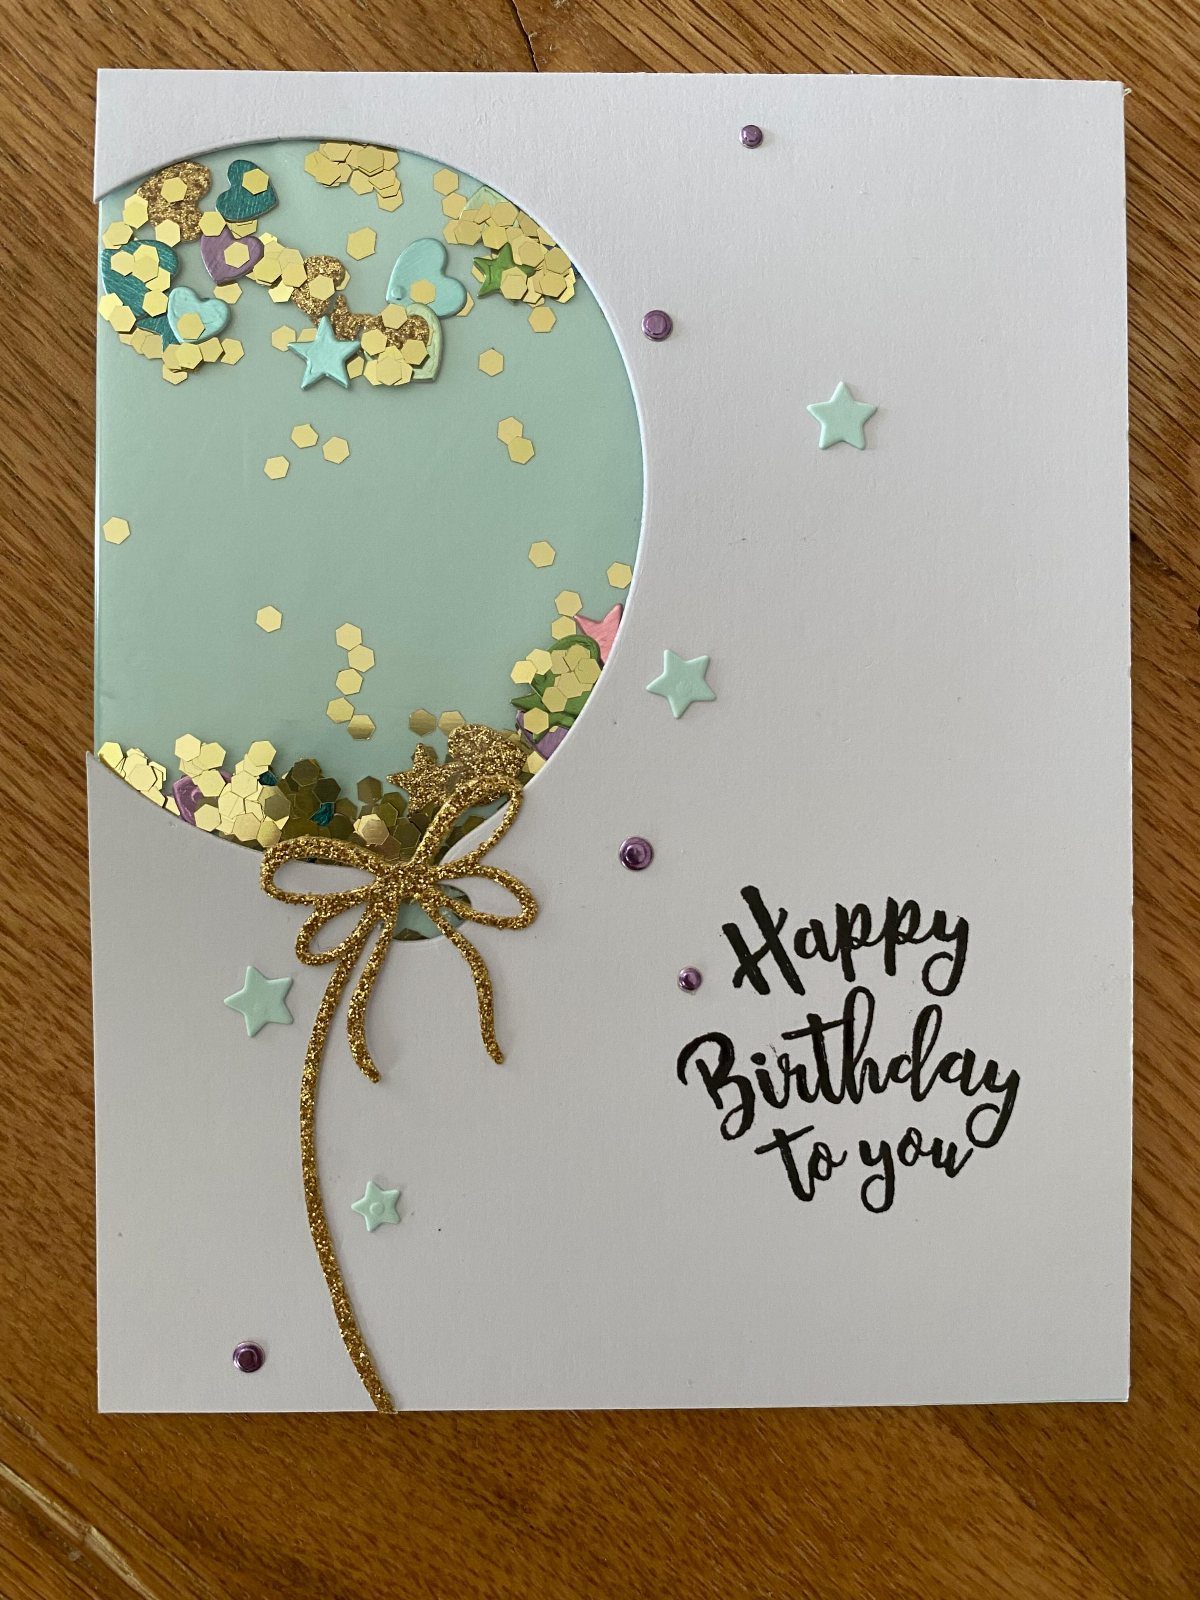
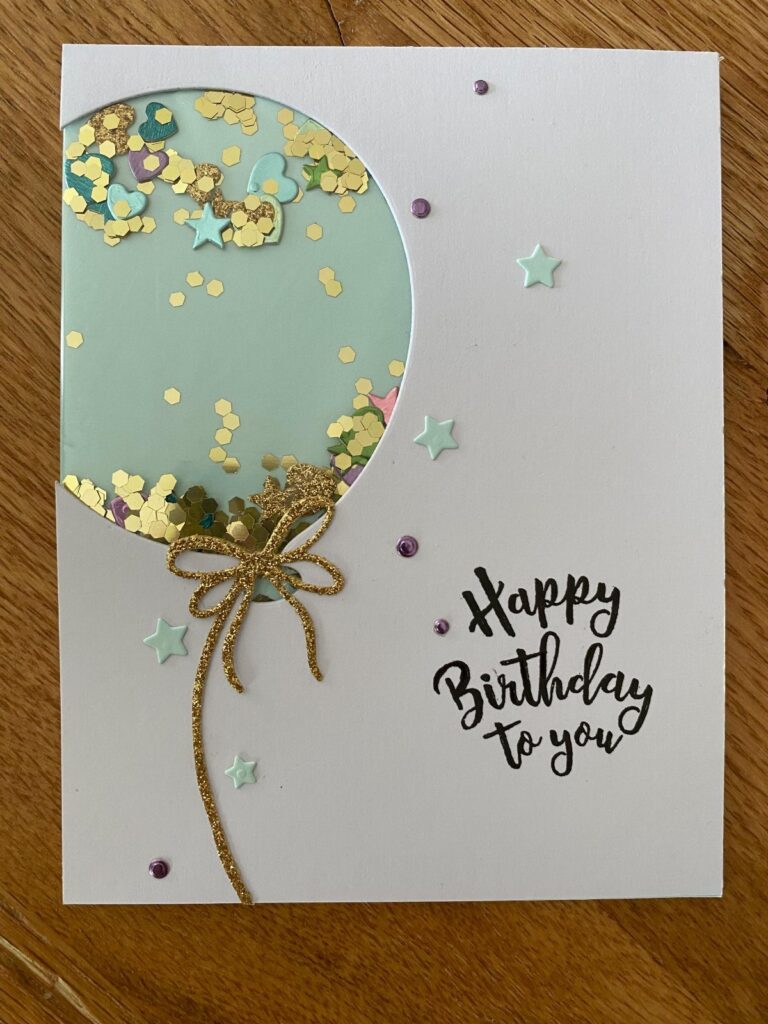
Sequins sliding around behind a clear window make a card people tilt back and forth before they read it. Here the window is balloon-shaped, framed in mint green on white, with gold and teal sequins inside.
Cut the window out of the front panel, tape clear plastic behind it, and add a foam spacer so the sequins have room to move.
Drop them in before you seal the back; loose ones will escape if you try to add them later.
A gold bow covers the balloon’s tied end nicely. Budget a little extra time, since this is slower than a drawn card.
3. Scrapbook Sticker Birthday Card
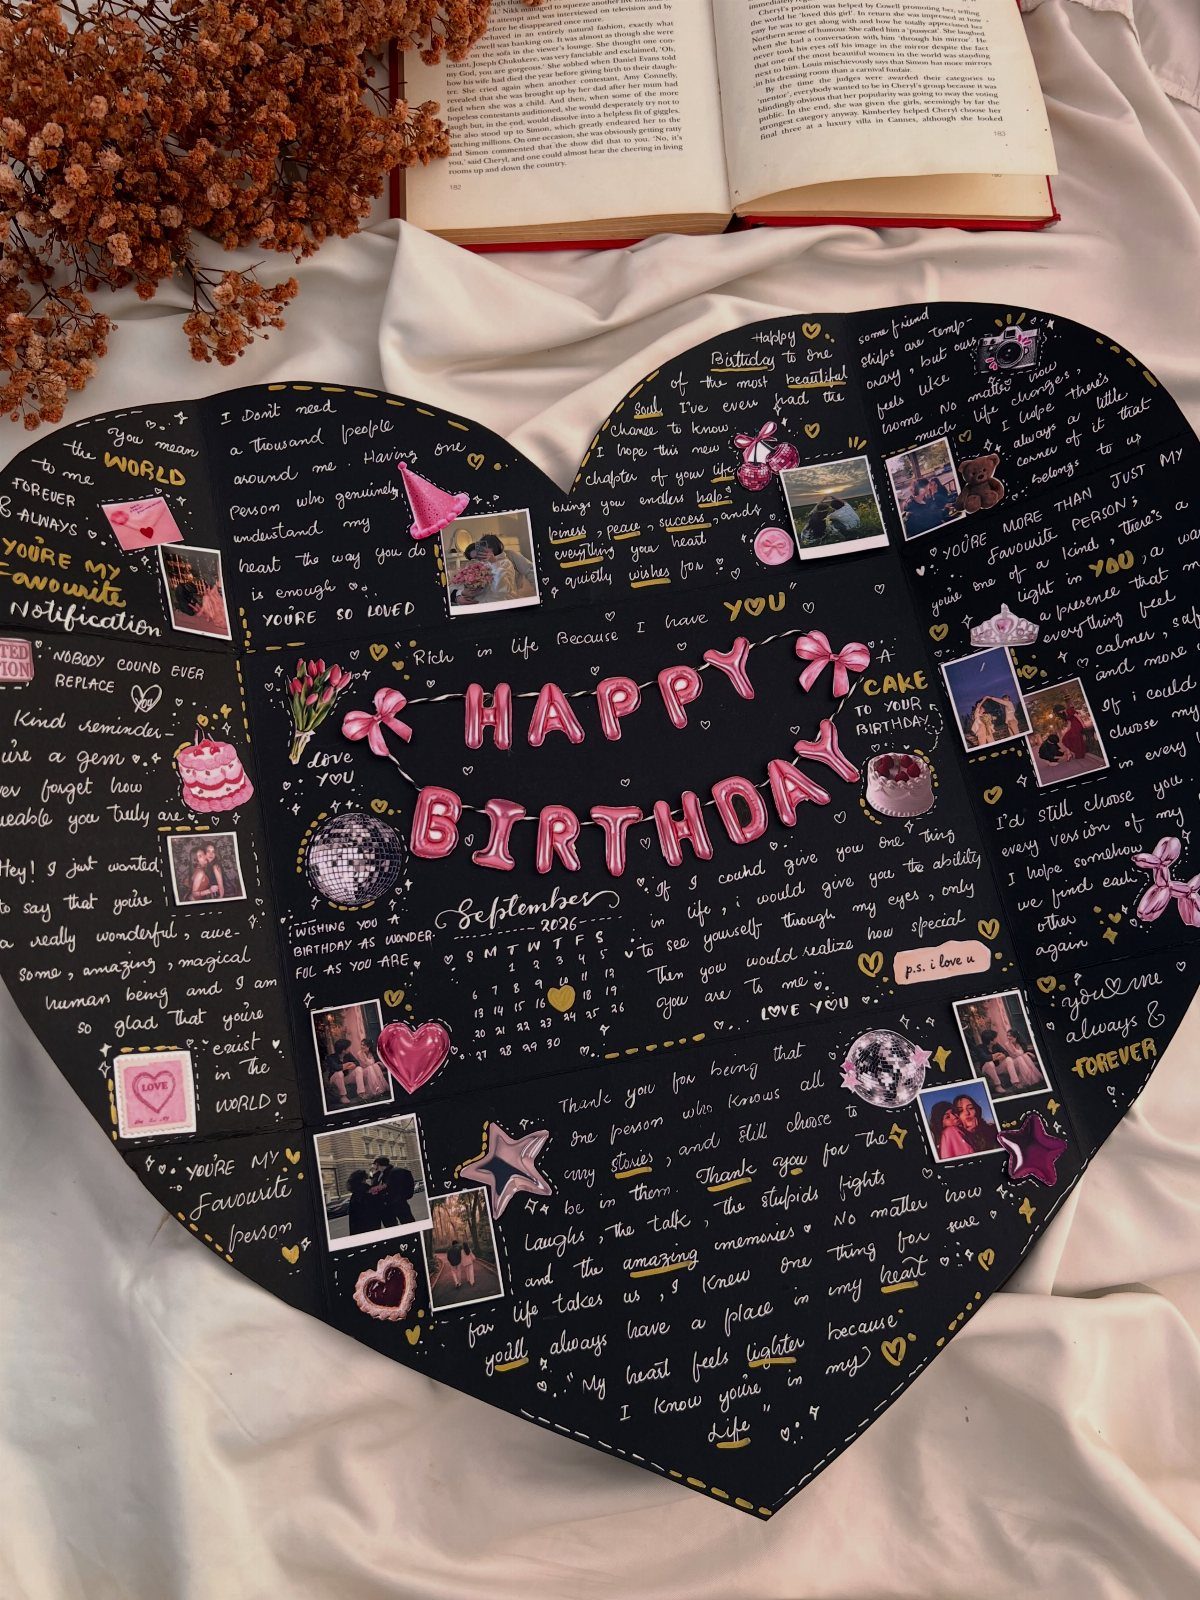
Because the surface is dark, light and bright pieces stand out without much effort.
Leave blank patches for handwritten messages. Passing the card around so friends can add their own lines makes it a keepsake rather than a quick greeting.
I would print the photos small, about the size of a sticker, so the heart doesn’t crowd. Cheap stickers and a pink paint pen cover the rest.
4. Glitter Birthday Card
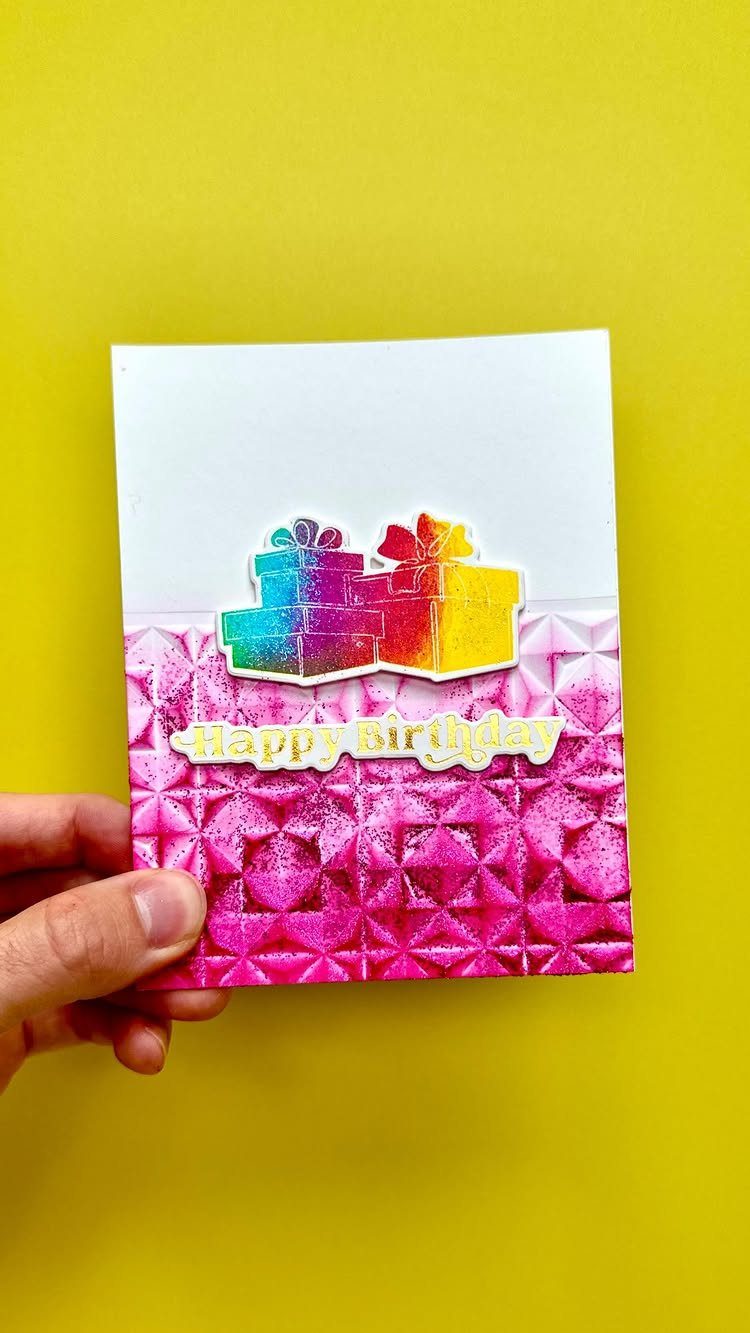
Glitter on only the bottom half of the card is the move I like here. A full-coverage sparkle card sheds everywhere; half a card looks deliberate and sheds half as much.
Brush white craft glue across the lower section, press on pink glitter, and tip off the excess over a sheet of paper so you can reuse it. Let it dry fully before you add anything else.
Draw the rainbow gift boxes on the plain upper half, where they stay crisp against the yellow. Spraying a light sealer over the glitter is optional but helps keep it in place.
5. Modern Calligraphy and Doodles Card
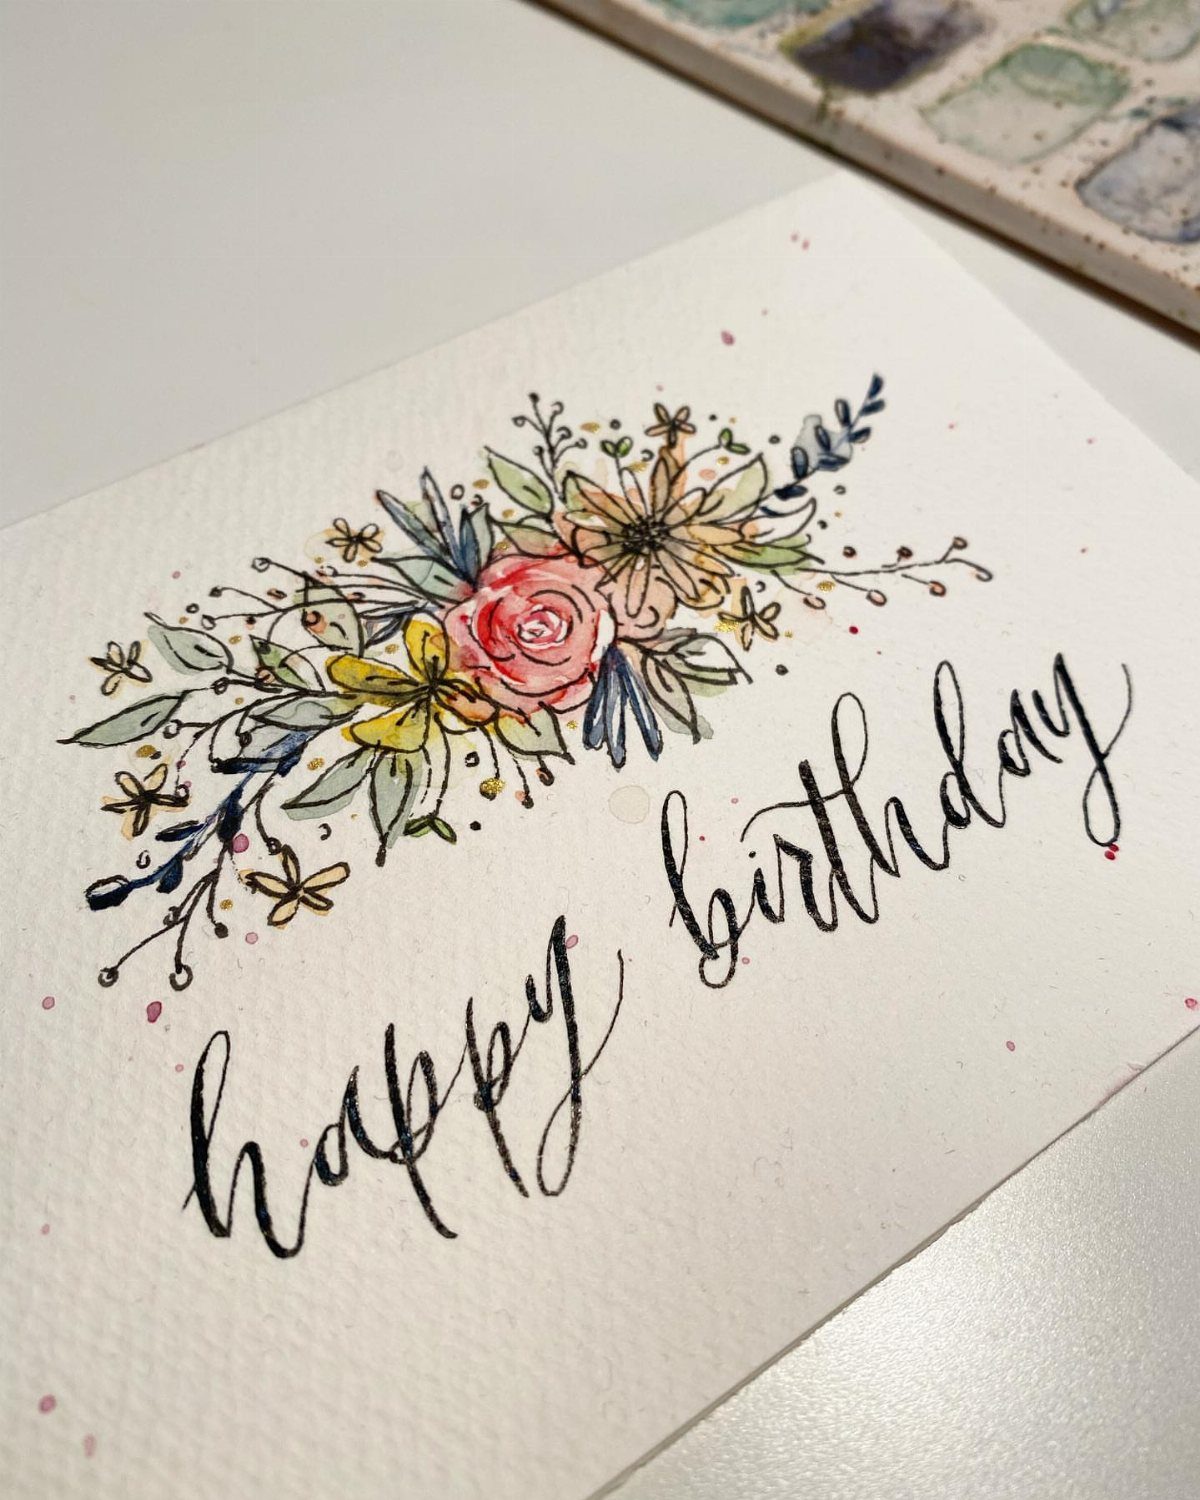
Black modern calligraphy over loose watercolor flowers is the card to make if you want it to look store-bought without the price. The contrast is what makes it: thin, wet color underneath, one confident dark line of lettering on top.
Paint the flowers first and let them dry completely, or the ink will bleed.
Practice "happy birthday" on scrap paper a few times before the real card. Lettering mistakes can’t be erased.
6. Birthday Confetti Card
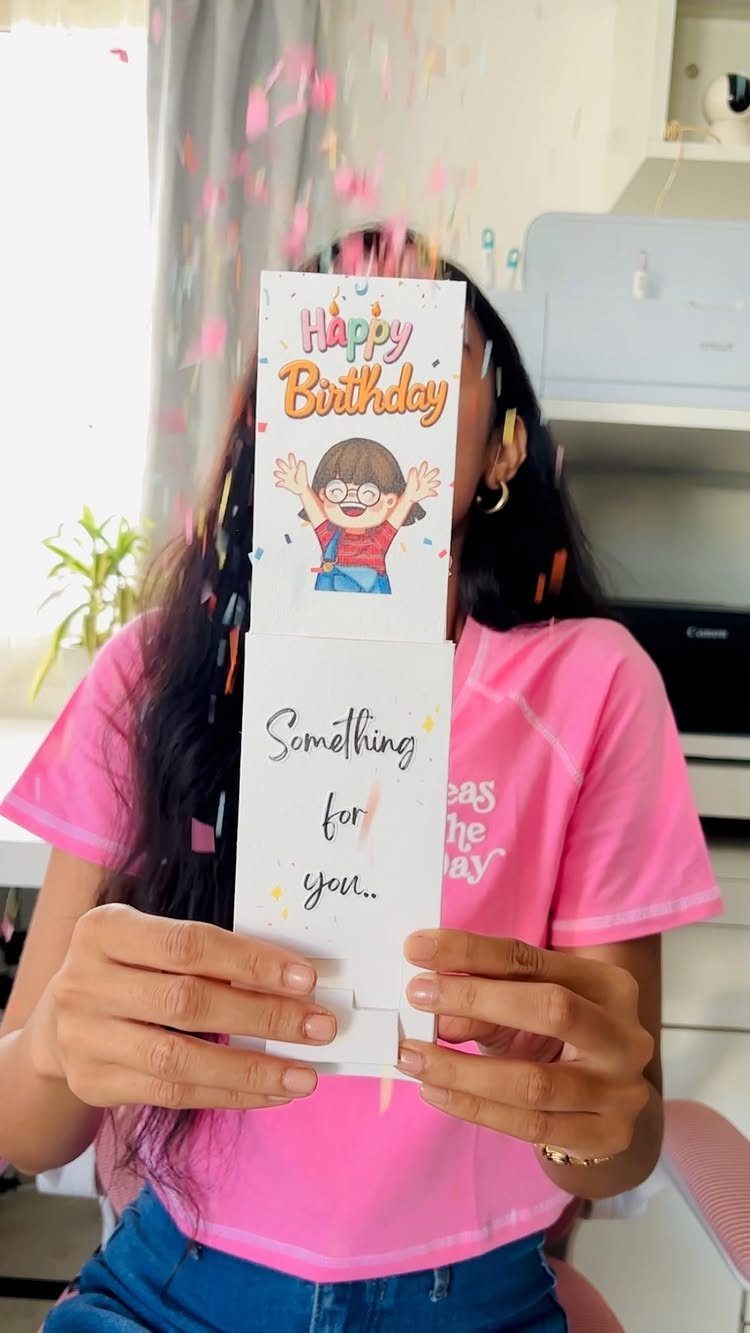
Confetti tucked inside a card turns the opening into the party. "Something for you…" on the front sets up the surprise, and "Happy Birthday" waits on the other side.
Make a small pocket or envelope inside, sealed on 3 sides, and fill it with colorful confetti. Keep the amount modest so the card still closes flat.
My honest warning: the recipient will be sweeping paper dots off the floor. Hand it over outdoors, or use a larger-cut confetti that is easier to pick up.
7. Washi Tape Candle Card
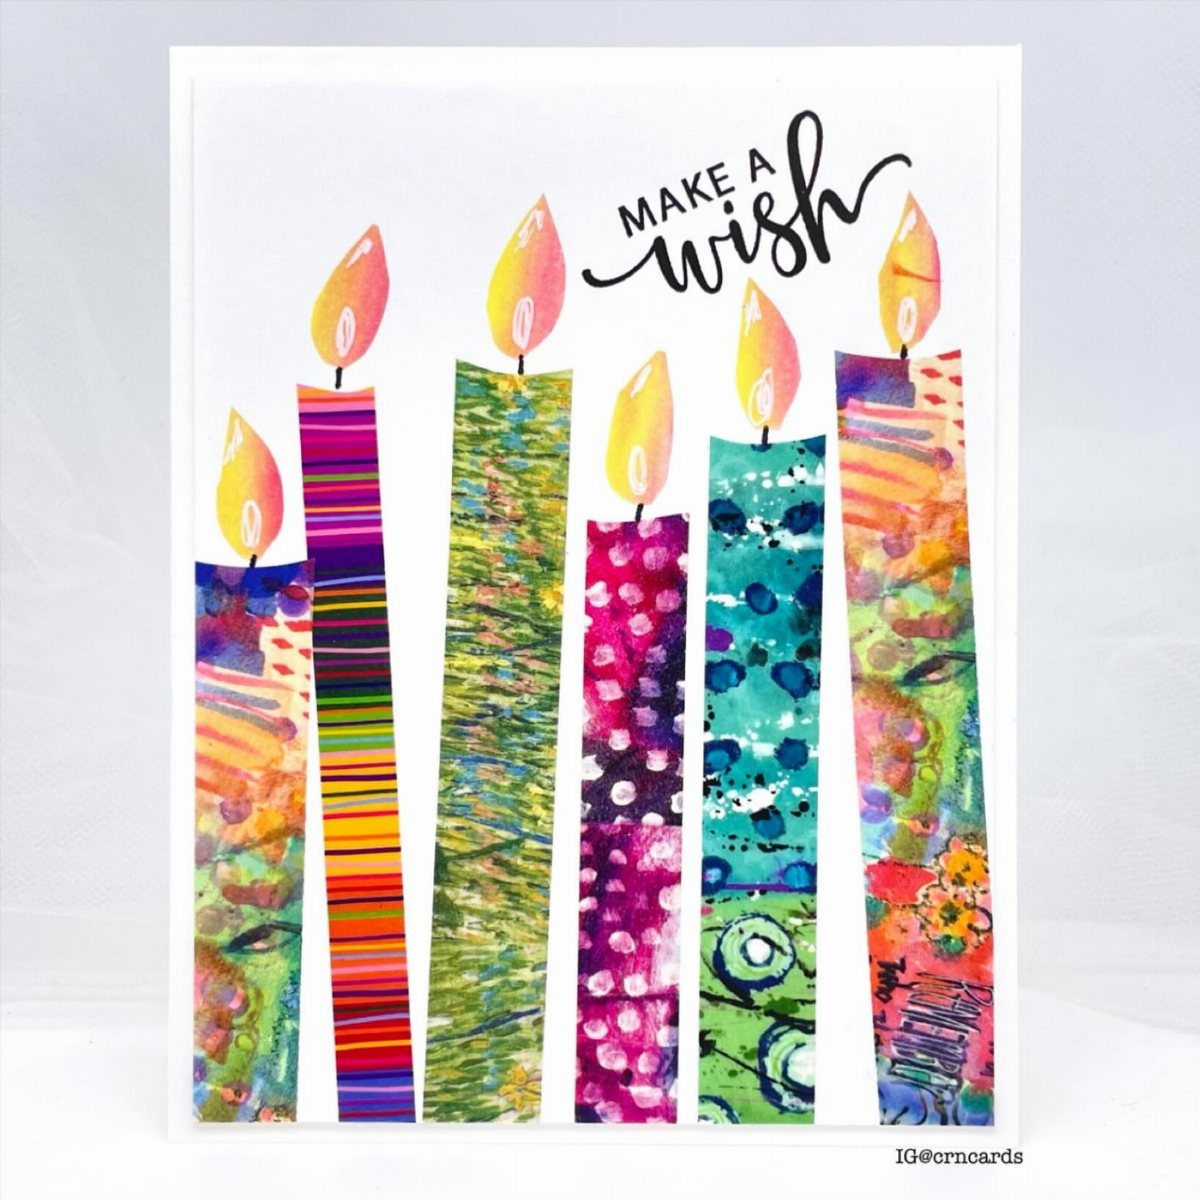
Washi tape strips standing in for candles make about the cheapest card you can build, since a single roll covers the whole thing.
Cut each strip to a slightly different height, round or flatten the top, and draw a small flame above each one with a pen.
Mixing patterns across the strips keeps the row lively against the white card. Calligraphy for "Make a Wish" goes underneath, so pencil a light baseline first and erase it once the ink dries.
Tape sits flat and needs no drying time, which makes this a good last-minute card.
8. 3D Balloon Birthday Card
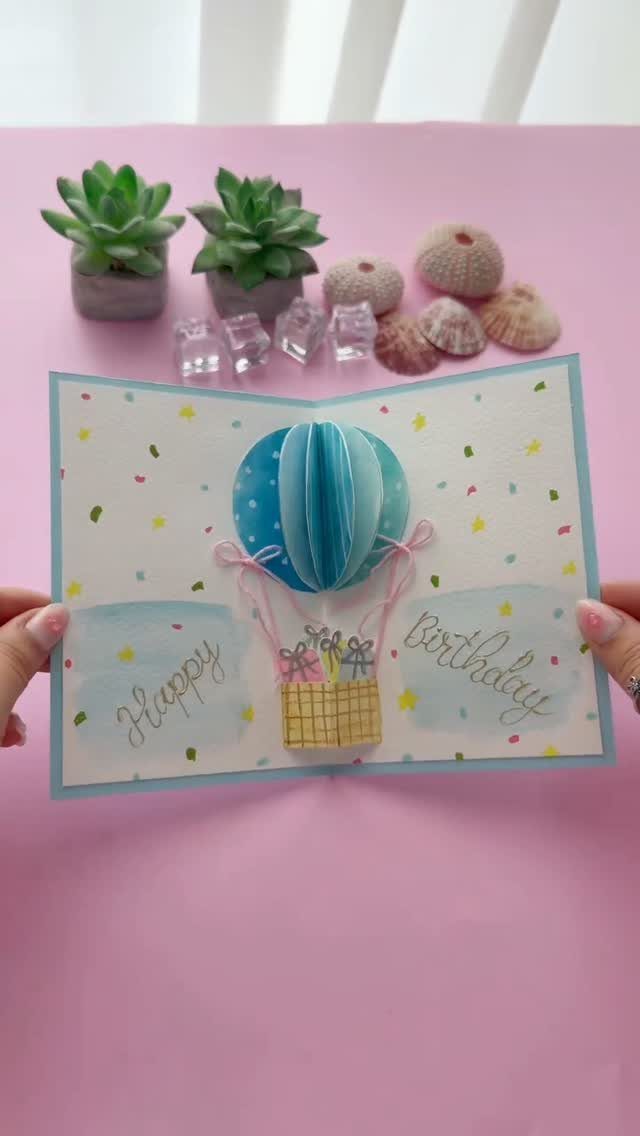
A hot air balloon that lifts off the page is the version I would pick for the 3D balloon idea, because one raised shape gives you the whole effect.
Cut the balloon in 2 layers, then attach the top layer with foam squares so it stands proud of the card.
Keep the background busy but low, and let the balloon be the only dimensional piece. Confetti around it adds motion without extra height.
Foam squares are the cheap shortcut here. Check that the card still closes flat before you glue anything else on.
9. Polka Dot Candles Card
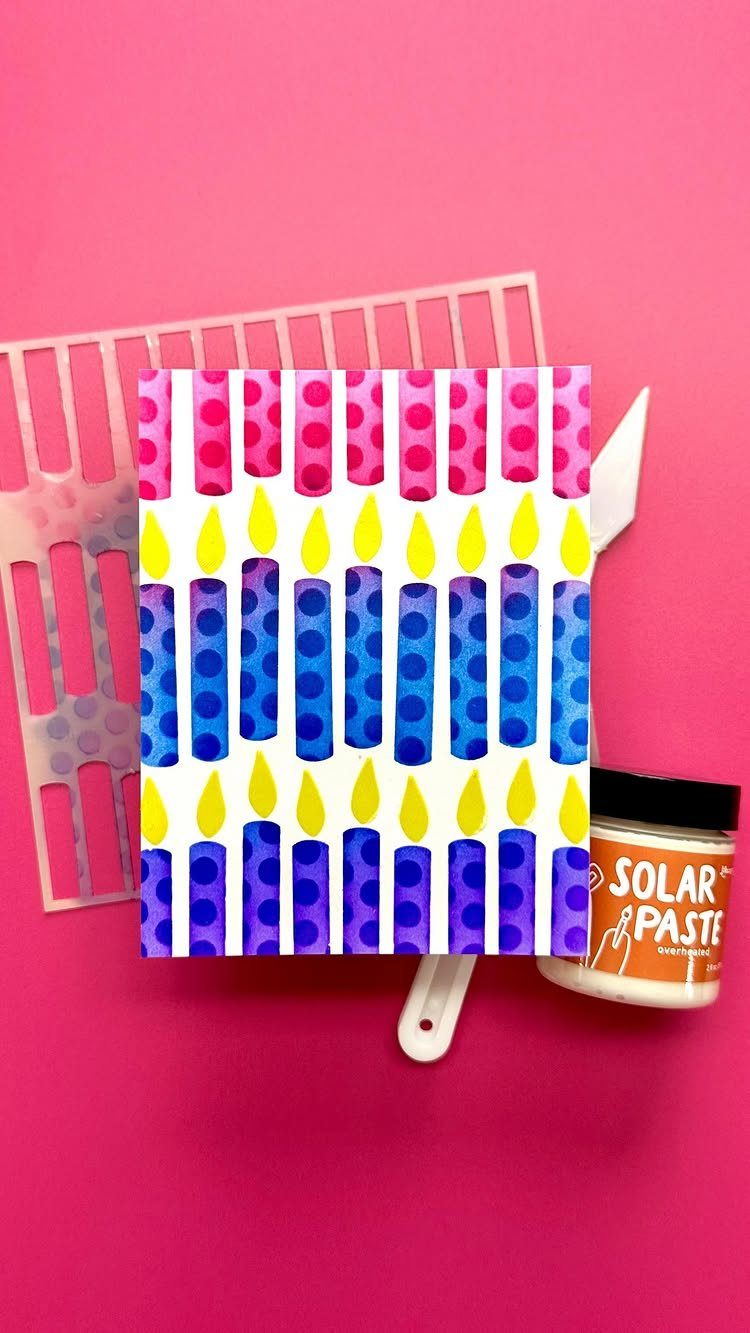
Polka dot candles are stenciled, not cut, which is why the edges come out so even. Tape a stencil over pink cardstock, then spread paste across it with a palette knife in one pass.
Lift the stencil straight up while the paste is wet to keep the dots crisp. Wash it right away, or the openings clog.
Use blue and purple on separate candles so each reads clearly against the pink. Let everything dry before you draw wicks or add a message.
10. Birthday Banner Card
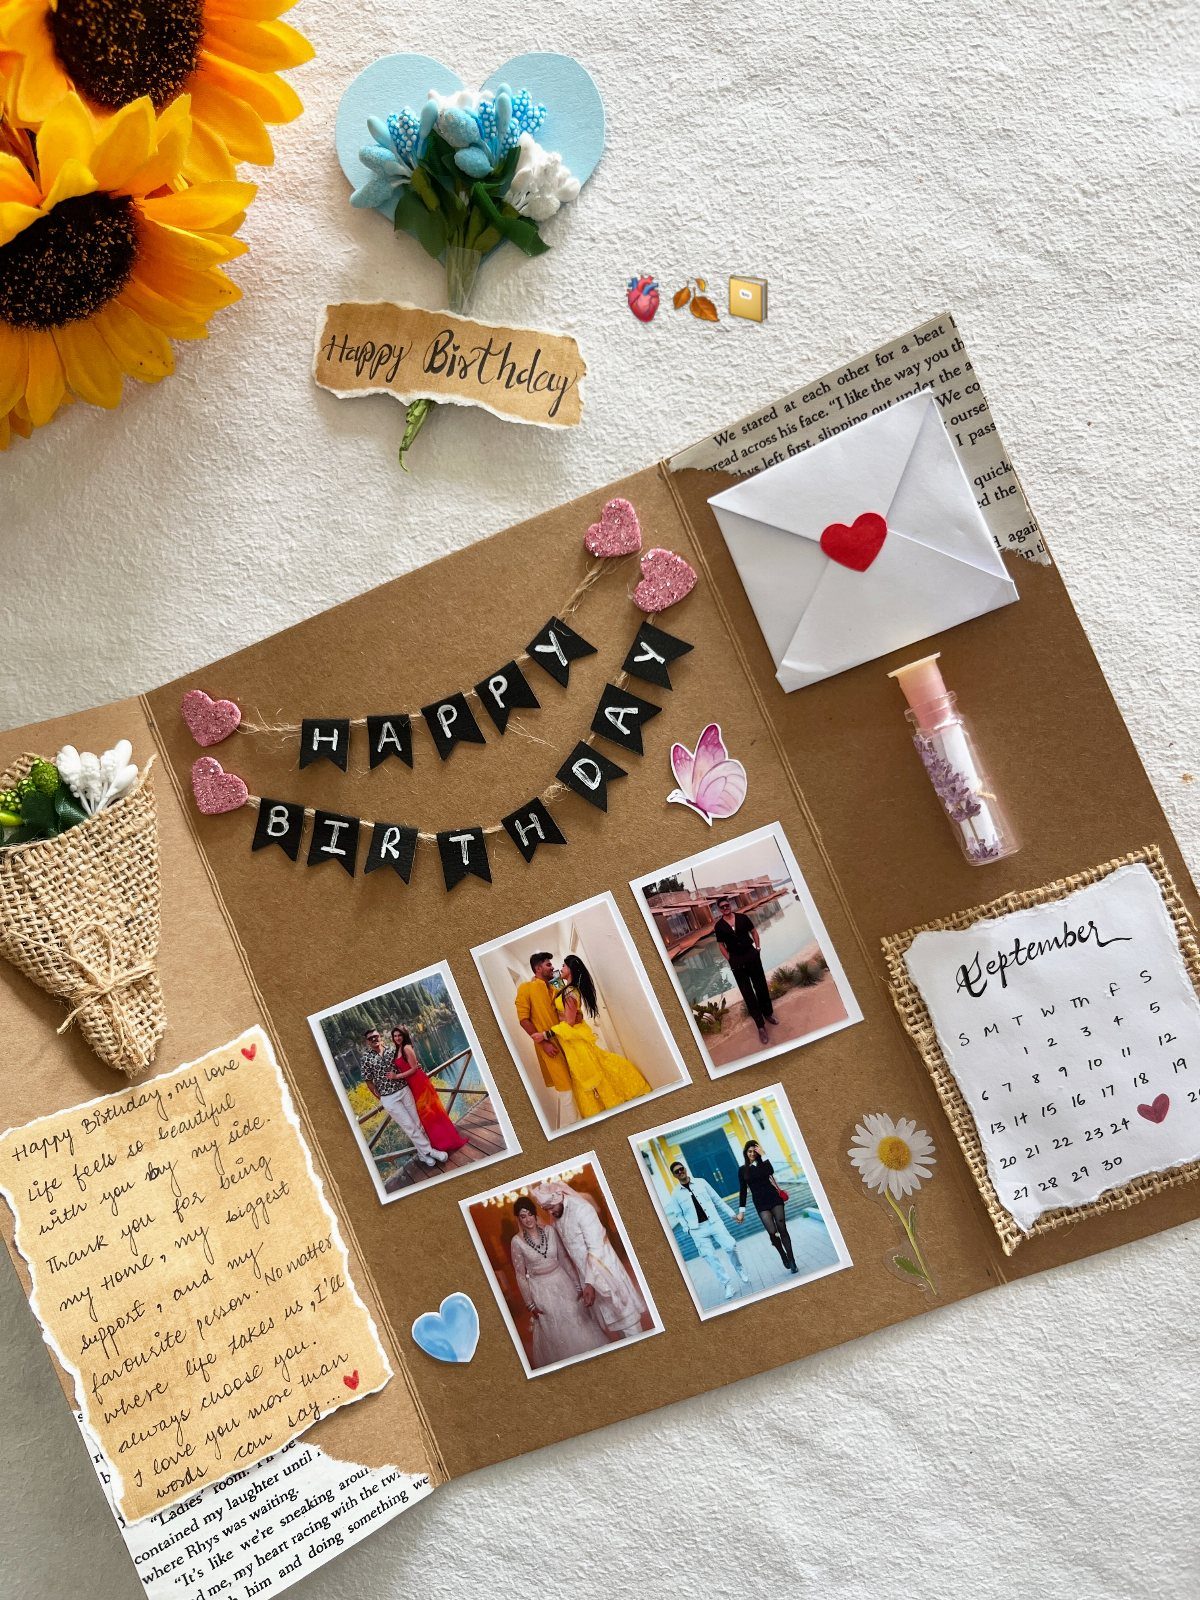
A banner strung across the front does the greeting for you, so the rest of the card is free for photos. Cut a strip of black paper, notch the ends, and write "HAPPY BIRTHDAY" in white or gold pen.
I like a brown base because it makes the black banner and any flowers stand out. Glue the banner only at its ends and corners so the strip sits slightly lifted.
Keep the photos to a few. A crowded front hides the banner you just made.
11. Accordion Card
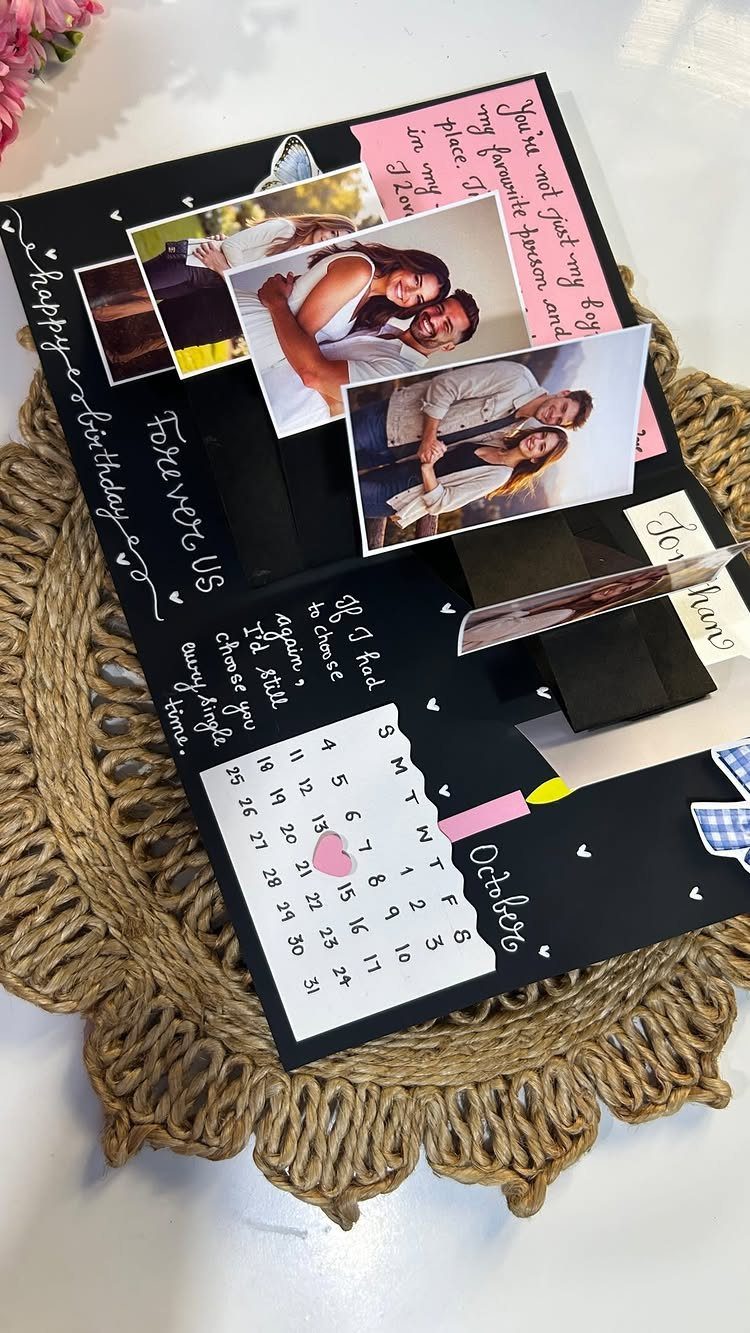
An accordion card gives every friend their own panel, which suits a birthday signed by several people. Fold one long strip of cardstock in even zigzags, then glue a photo or message onto each section.
Score every fold with a ruler and a dull tool first. Sharp creases keep the card standing on a shelf, and soft ones let it sag.
Black paper looks sharp, but it needs a white or silver pen for messages. Add a small calendar page on one panel to mark the date.
12. Vintage Scrapbook Birthday Card
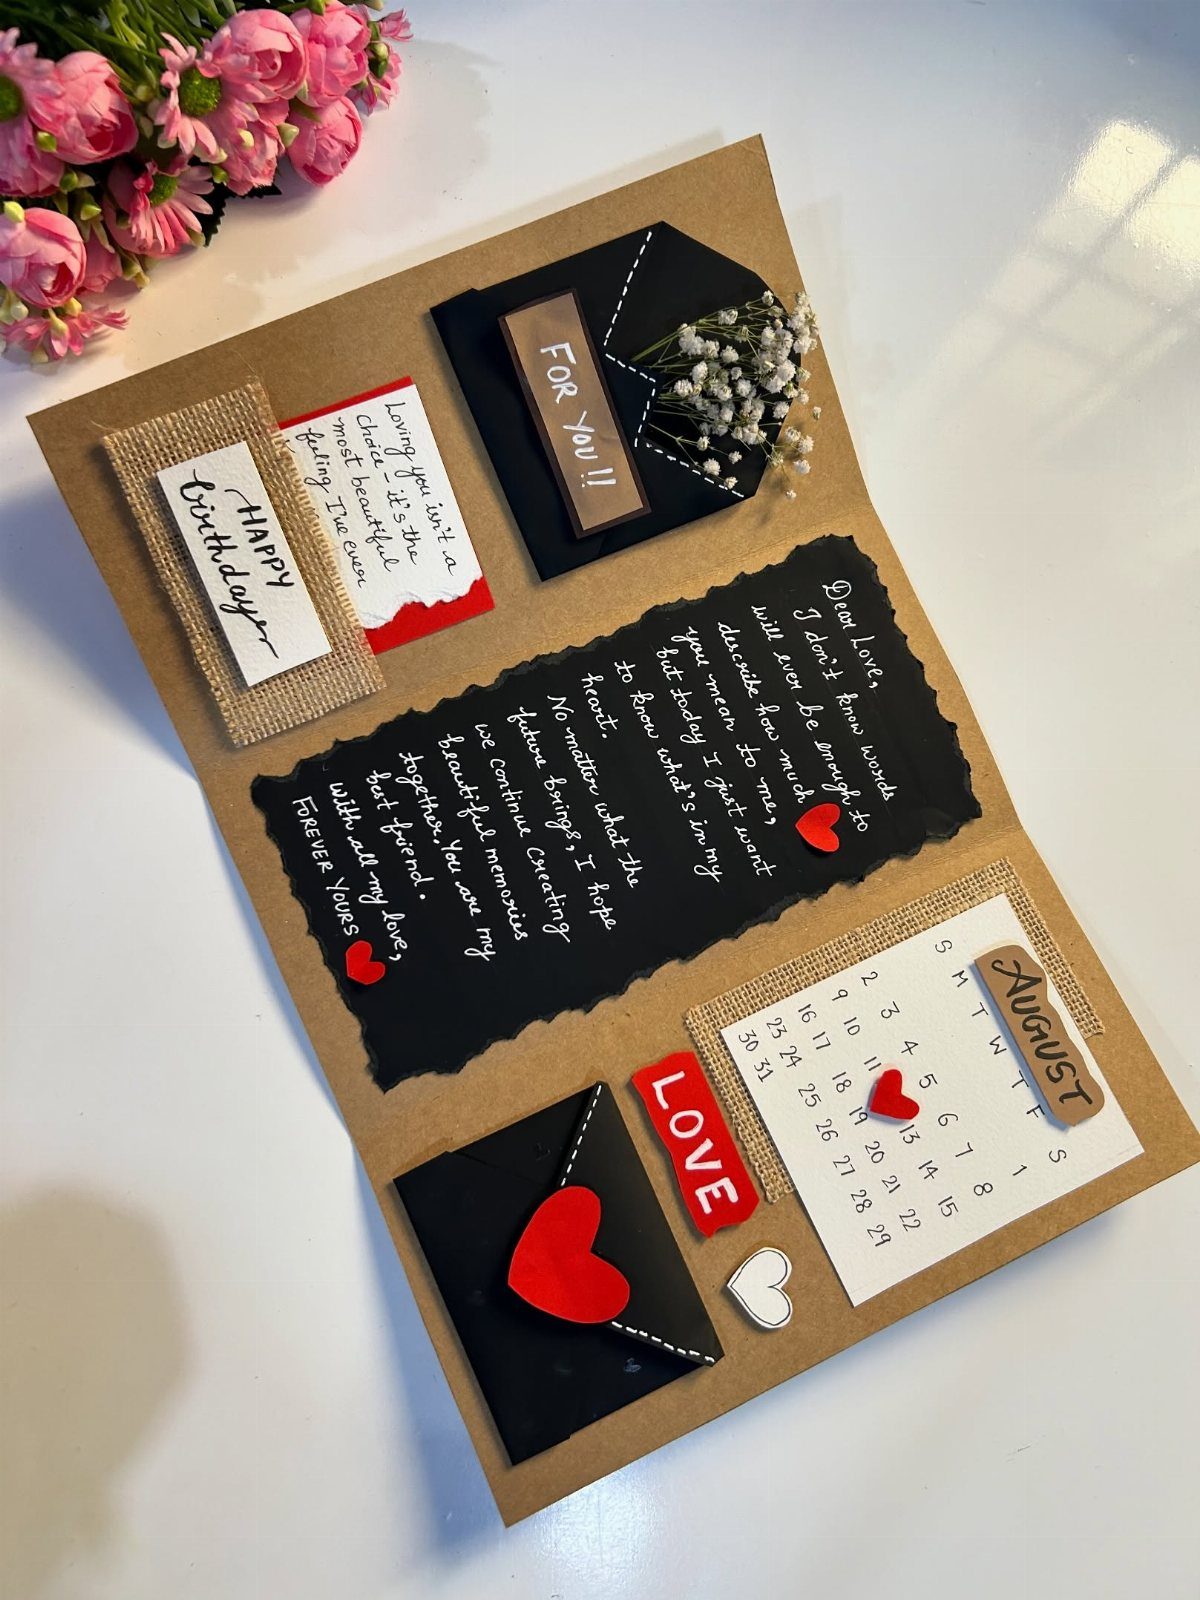
Kraft paper is the right base for a vintage scrapbook card, since its warm brown makes everything pasted on it look aged.
Gather a mini handwritten letter, a calendar page, small envelopes and a few dried flowers, then glue them in layers.
Place the largest piece first and let smaller ones overlap its edges. Tuck a short note inside each envelope so the card holds something to read.
Dried flowers are fragile, so use a small dab of glue and press them flat. Write "Happy Birthday" last, once the layout is settled.
13. Cartoon Puppy Gift Card
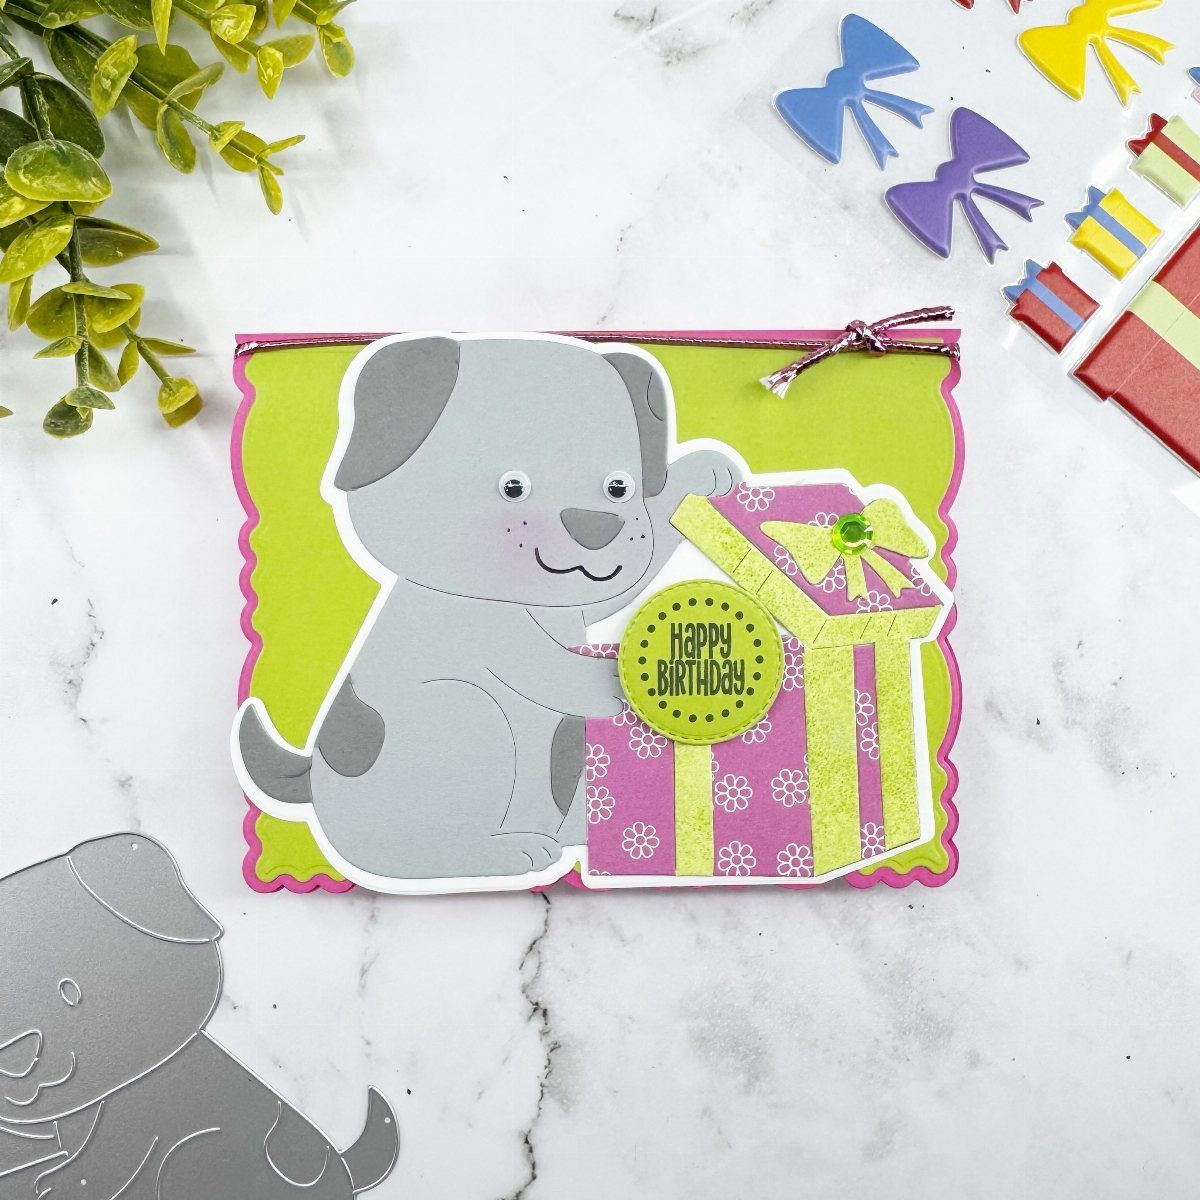
With a puppy holding the gift box front and center, the picture carries the greeting by itself, so the lettering can stay small.
Draw the grey dog in simple shapes, with the box large enough to carry "HAPPY BIRTHDAY" across its front.
The scalloped border is what makes it look finished. Trace around a coin or a small cup to get even curves, then cut along them.
Pick a box color that contrasts with grey.
Pink and yellow reads clearly, and a purple box works too. Outline everything in one pen so the drawing holds together.
14. Party Character with Ribbon Bows
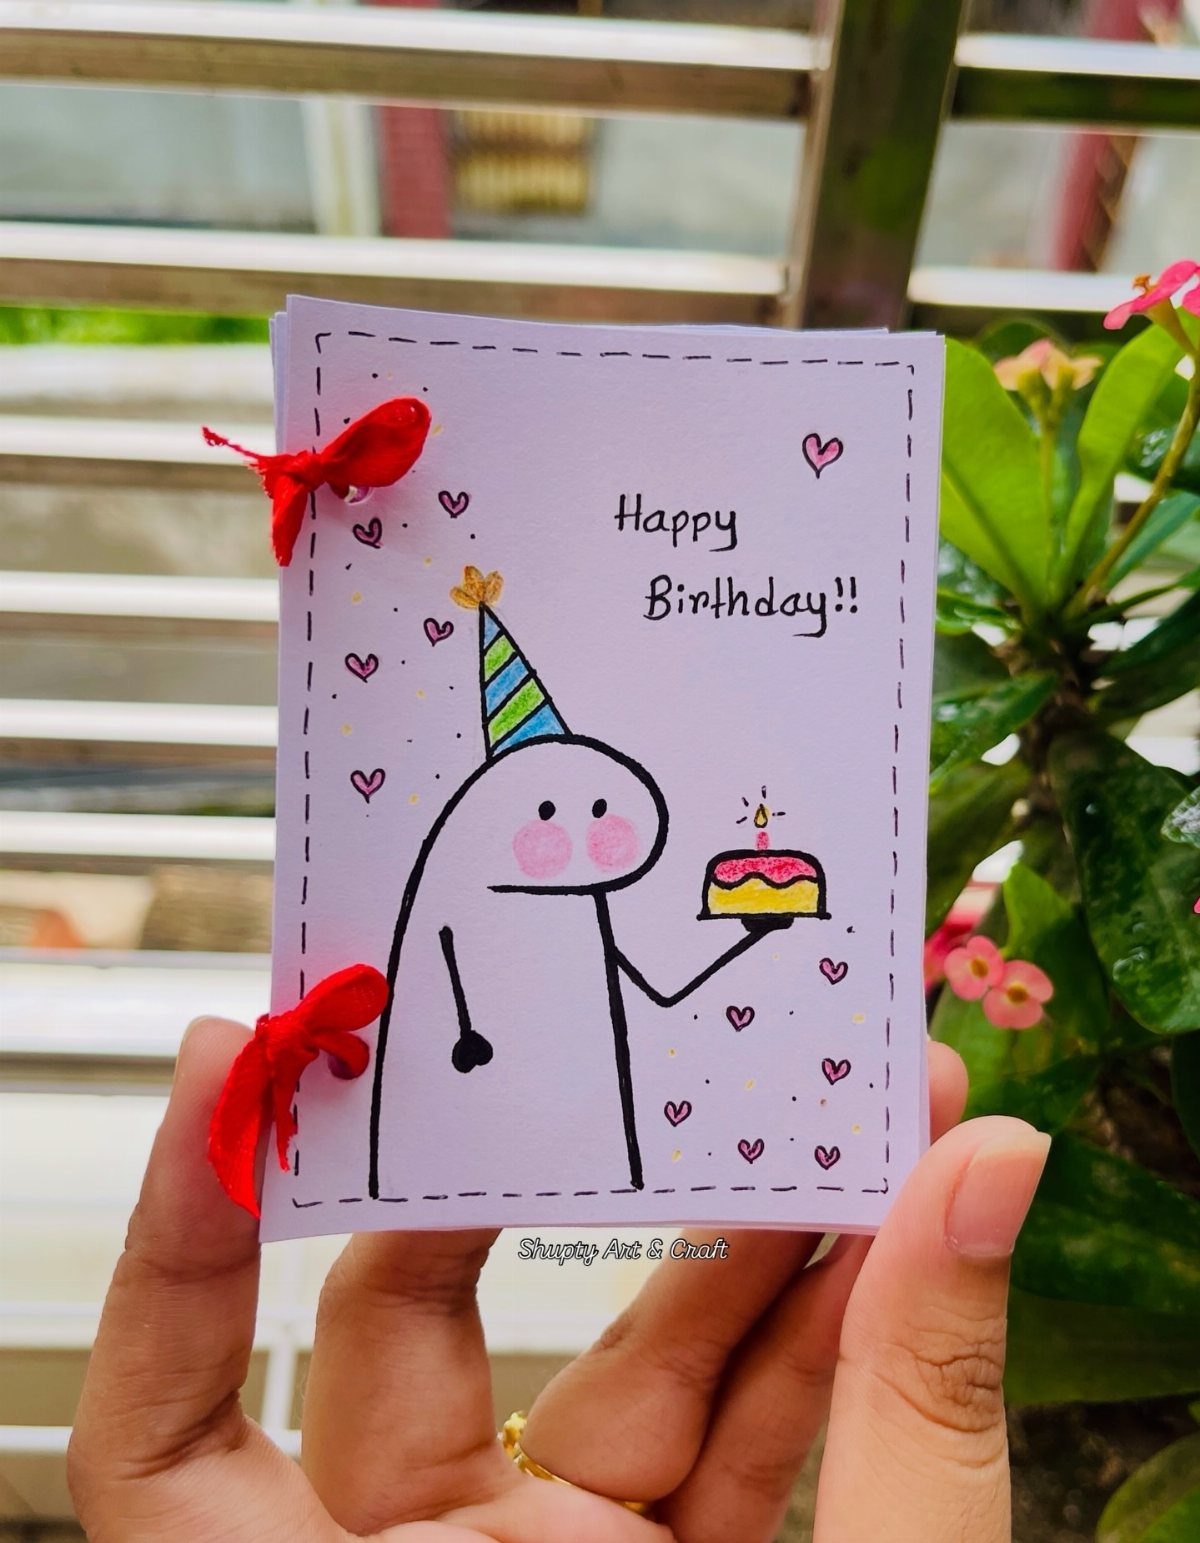
Red ribbon bows tied along the edge of a purple card give it a gift-wrapped look before anyone reads a word. Cut short lengths, tie each into a small bow, and glue them in a row down one side.
The character can be very plain: a round head, a party hat and a small cake held out front. Purple paper gives a drawn face plenty of contrast.
Glue the bows by their knots only, so the loops stay puffy. I would keep them to one edge so the drawing keeps its space.
15. Paper Heart Message Card
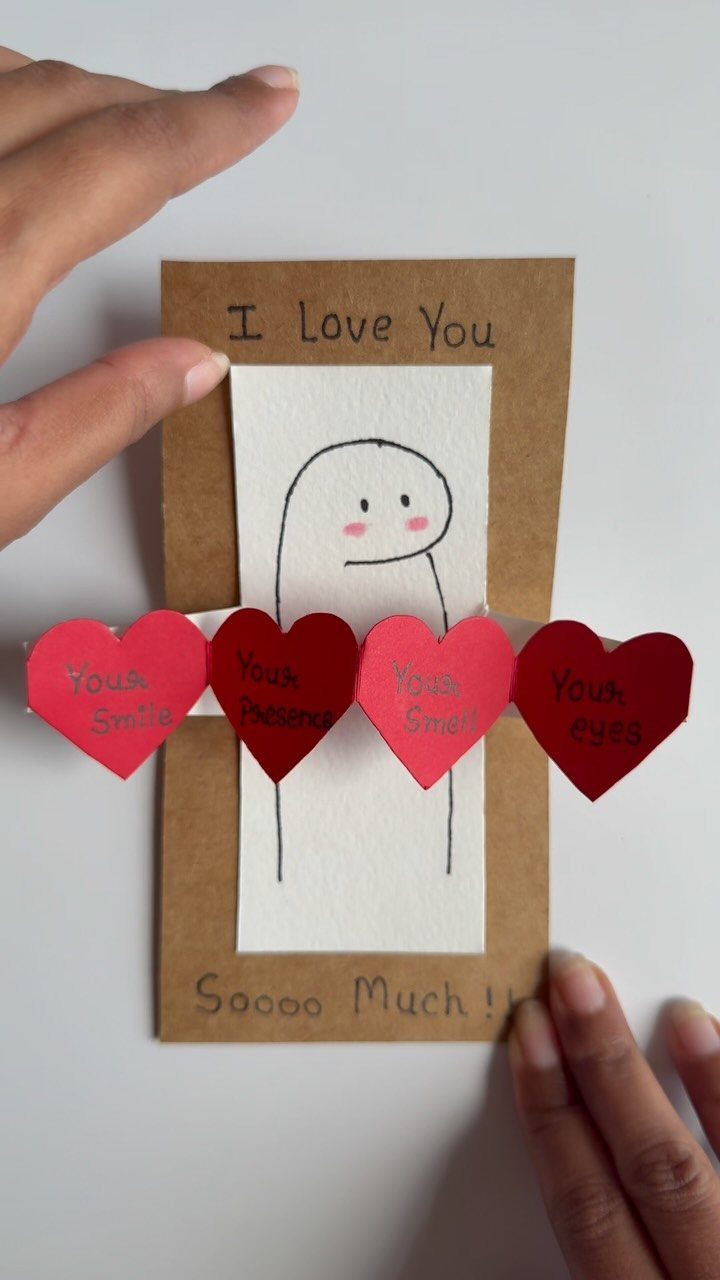
Four red paper hearts, each hiding a short message, turn a card into a list of reasons. Cut the hearts from red paper, write one line on each, and layer them on kraft cardstock beside a small doodle character.
Brown cardstock keeps the red from looking harsh. Write the messages first, then glue each heart along its top edge only, so it lifts like a flap.
Keep each line to two or three words. Short phrases fit the small hearts, and they read faster.
Materials for Card Making
Buy white.
Paper and fabric embellishments take ink, markers and chalk, so a stash of white pieces can become any color the moment you need it. A drawer of pre-colored extras mostly collects the wrong shade.
Cardstock, ink, stamps, brads and paper flowers make a solid starting kit. Keep the cardstock in basic colors so it works for any recipient.
Scraps count as supplies. A paper grocery bag and leftover paper can make a gender-neutral card, which suits a batch you keep on hand for last-minute birthdays.
Tips for Quick Card Making
A long supply list looks worse than it is. Apart from heat embossing, most simple cards need only 1–2 items, so buy by card, not by catalog.
One birthday stamp set can cover a whole stack of cards, since you can mix its images, greetings and ink colors into many different designs for a single purchase.
Pair it with a few punches, such as a 1-inch triangle or balloon, and a 3/8-inch circle punch, and you can turn out several cards in one sitting.
Baker’s twine and adhesive foam squares add polish with no skill required.
Heat embossing is the one step that needs extra gear: a heat tool, an embossing inkpad, powder and a tray. Skip it when time is short.
Personalization Ideas
A handmade card lets you tailor the message, and that works at any age, including the non-milestone birthdays like 36 or 68. Those are the ones that rarely get a thoughtful card.
Write something only this person would recognize: a shared joke, a nickname, a place you both know. A generic line on a lovely card still feels generic.
Pick the recipient’s favorite color for the base. Then bring in a hobby with items already at home, such as buttons or candles, glued on as part of the design.
Pair the card with the gift, so the two feel chosen together.
Sure, social media birthday wishes are quick, but there’s something special about receiving a handmade birthday card, sent via snail mail or delivered in person. Homemade cards let you personalize the message and are perfect for any age, even those non-milestone birthdays like 36 or 68.
Frequently Asked Questions
How to make a birthday card easy and beautiful without glue?
Washi tape is the best glue-free route. Vary the strip heights, trim the tops round or flat, and add a tiny drawn flame on each so the row reads as a set of candles.
Tape lies flat, skips the drying wait, and saves a card you started the night before.
What is a cool and unique birthday greeting?
Pick a detail only the recipient would catch, like an inside joke, a nickname, or a spot you both remember. Tying the message to a hobby or favorite color adds to the effect.
What to use instead of a birthday card?
A handmade gift tag or a creative envelope can stand in for a full card.
Another option is a small pocket of confetti or a few short messages tucked into paper hearts, attached to the gift itself. Pairing the note with the present makes the two feel chosen together.
How do you make a good birthday card?
Personalize the message, pick one standout element, and keep the rest simple.
A single raised cupcake, a shaker window, or half a card of glitter does more than a crowded front. Base the card on the recipient’s favorite color, and check that it still shuts flat after you add anything raised.