Guest count steers the choice: digital invites and ribbon-tied cards scale up cheaply, while pop-out layers, boxed cards and wax seals take more time per piece and work better for smaller gatherings.
The spread runs from a digital file sent in minutes to a folded card with a wax seal that arrives in your guest’s mailbox. Style follows the guest of honor, from illustrated characters to milestone numbers on acrylic.
1. Illustrated Characters Birthday Invite Card
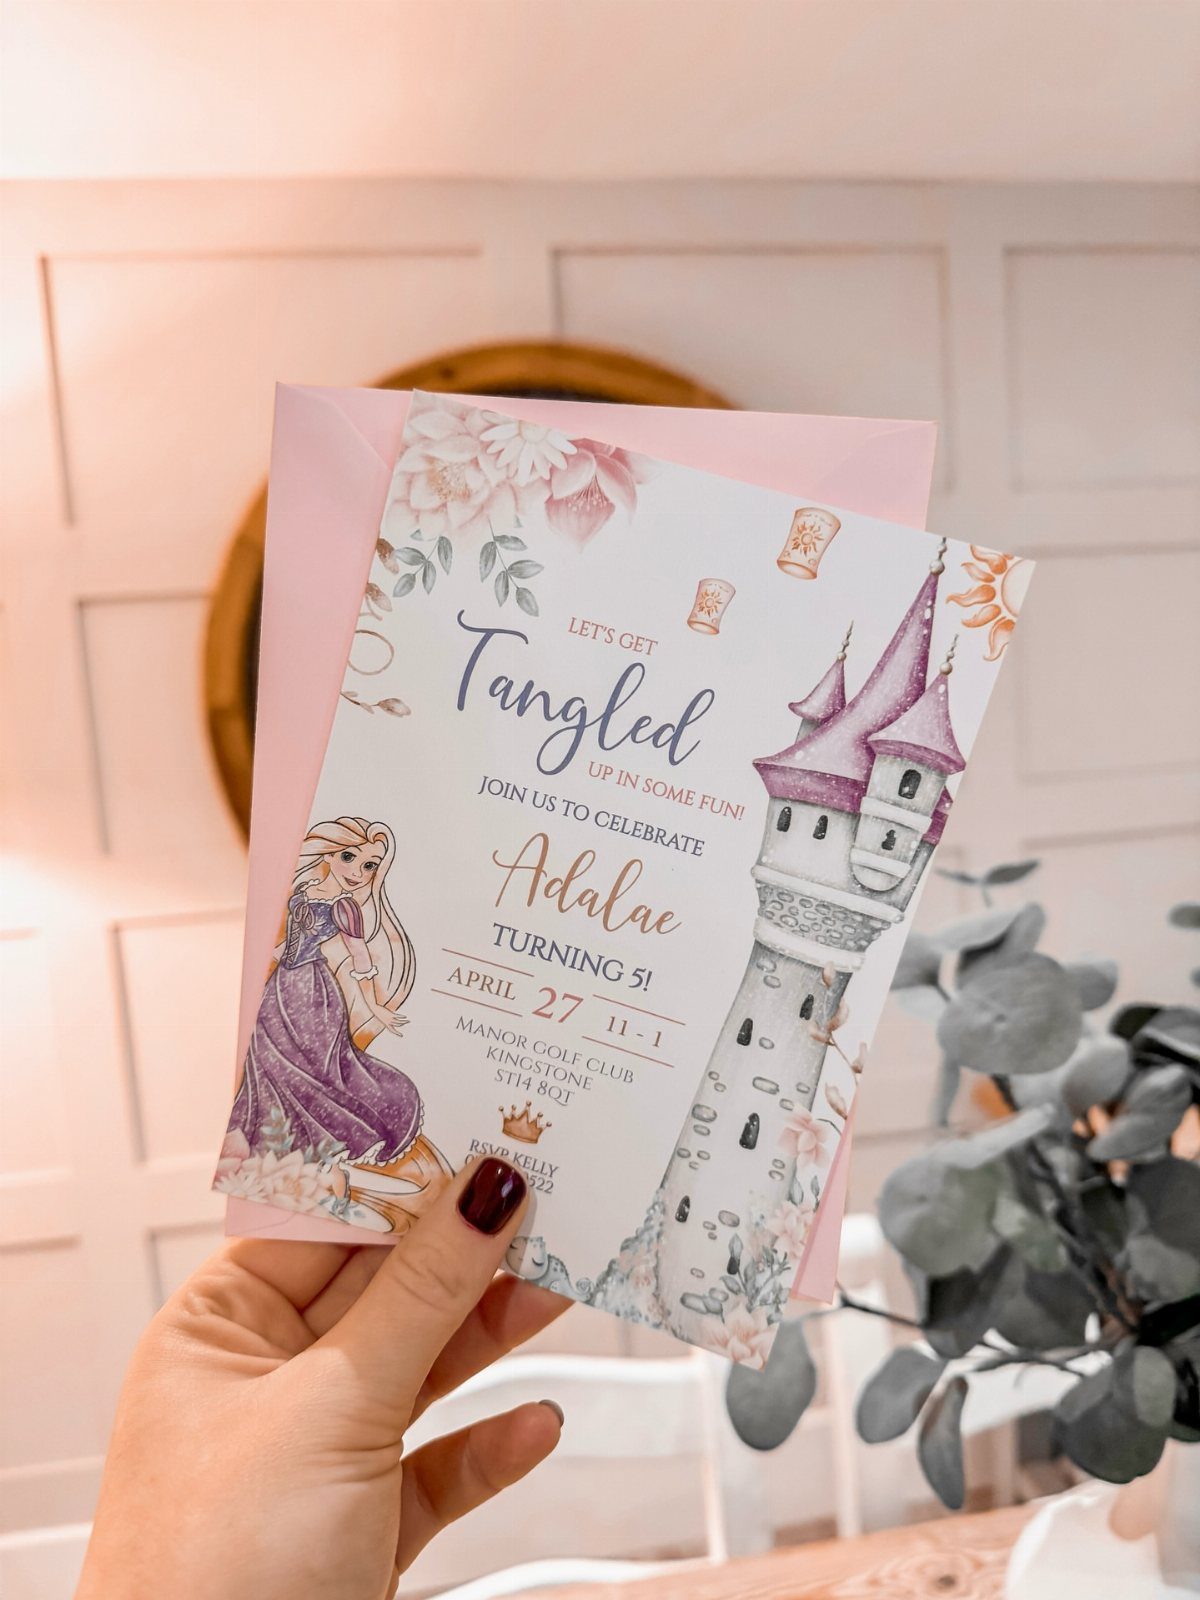
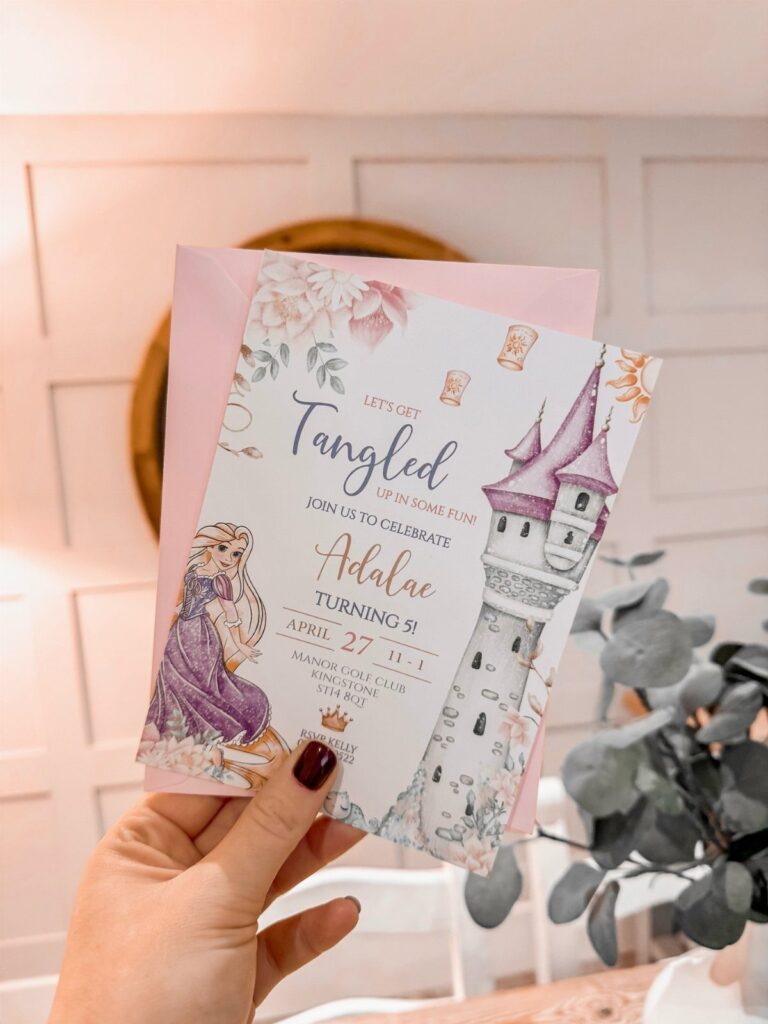
A princess, a tower and a name are enough to make a young child’s invitation feel like a storybook page.
Pick one character as the focus and give her the most space; a crowd of figures shrinks everyone to stamp size.
Keep the date and address in a plain, readable font below the art, since the illustration already carries the decoration.
A castle tower leaves natural room for the party details, so set the text inside or beside it instead of squeezing it into a corner.
2. Milestone Birthday Invitations
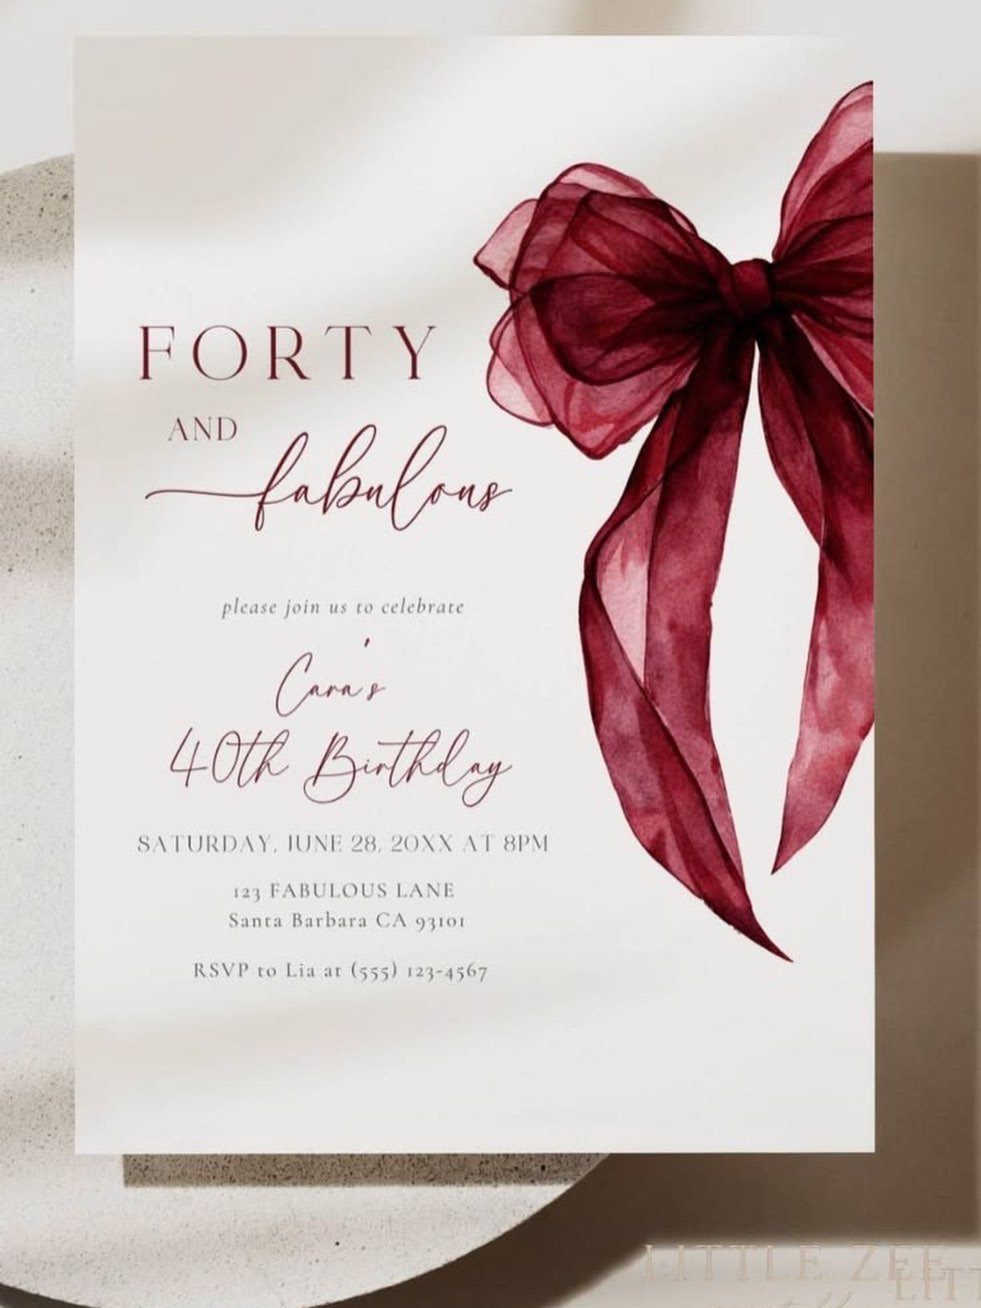
"Forty and fabulous" does the work of a whole theme in three words. The large burgundy watercolor bow gives a milestone card a softer, more grown-up look than balloons and confetti would.
Put the age in the title and the guest of honor’s name right under it. Then keep the layout quiet: one strong image, a clean line for the date and city, and white space around it all.
3. Photo Birthday Invite Card
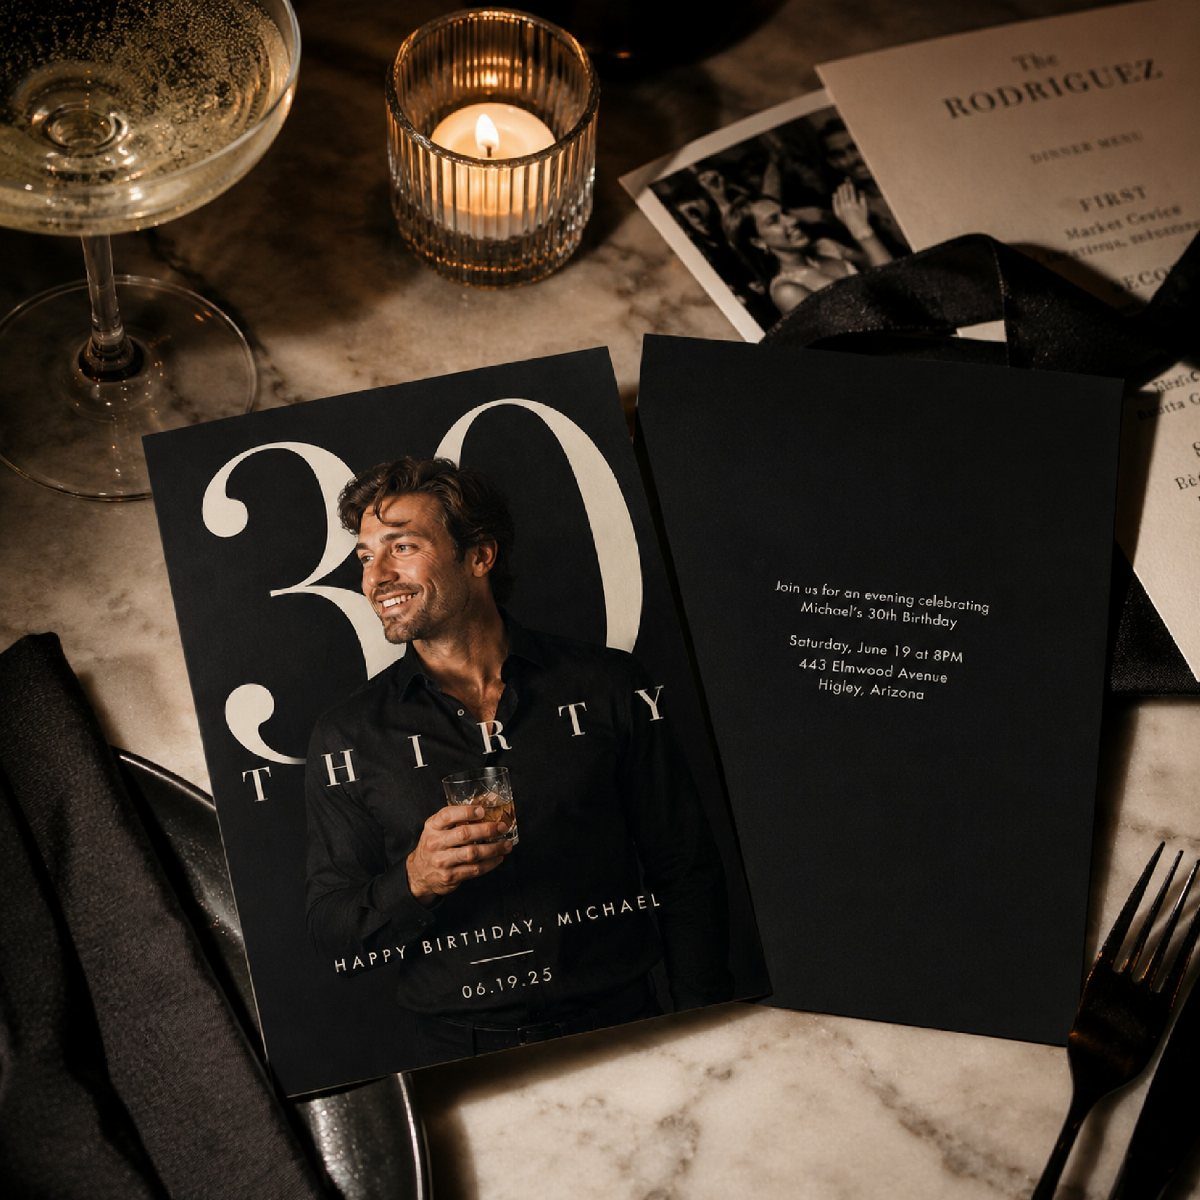
On an adult’s photo card, let the picture be the loudest thing on the page and keep the type quiet around it.
Against a black background, one clear shot of the guest of honor, a big "30" and a short greeting say everything.
Choose a photo with an uncluttered backdrop, so the face still reads at invitation size. I would skip a collage here; one good picture beats a grid of small ones.
4. 3D Layered Pop-Out Card
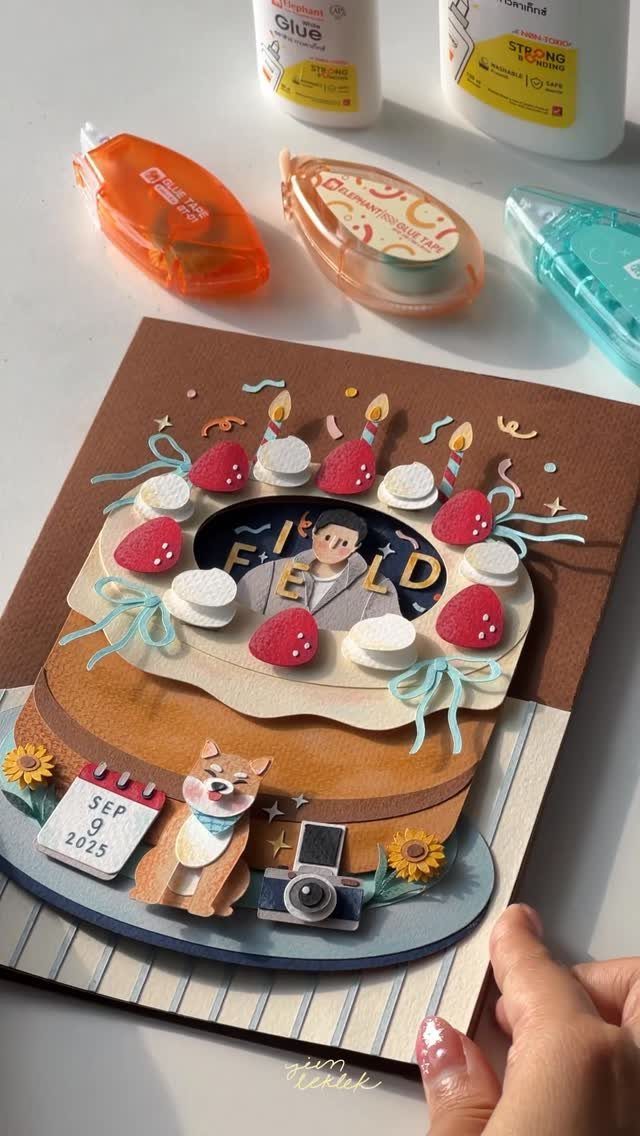
A cake built from layered paper, with a photo tucked inside, a dog beside it and a camera on the side, turns a flat card into a tiny diorama. It suits crafters with patience and a glue tool.
Cut each element separately and stack the pieces with foam adhesive so the shadows show depth. Keep the date on the front layer, where nobody has to hunt for it.
Expect this one to take real time per card, so it fits a short guest list.
5. Themed Birthday Invitations
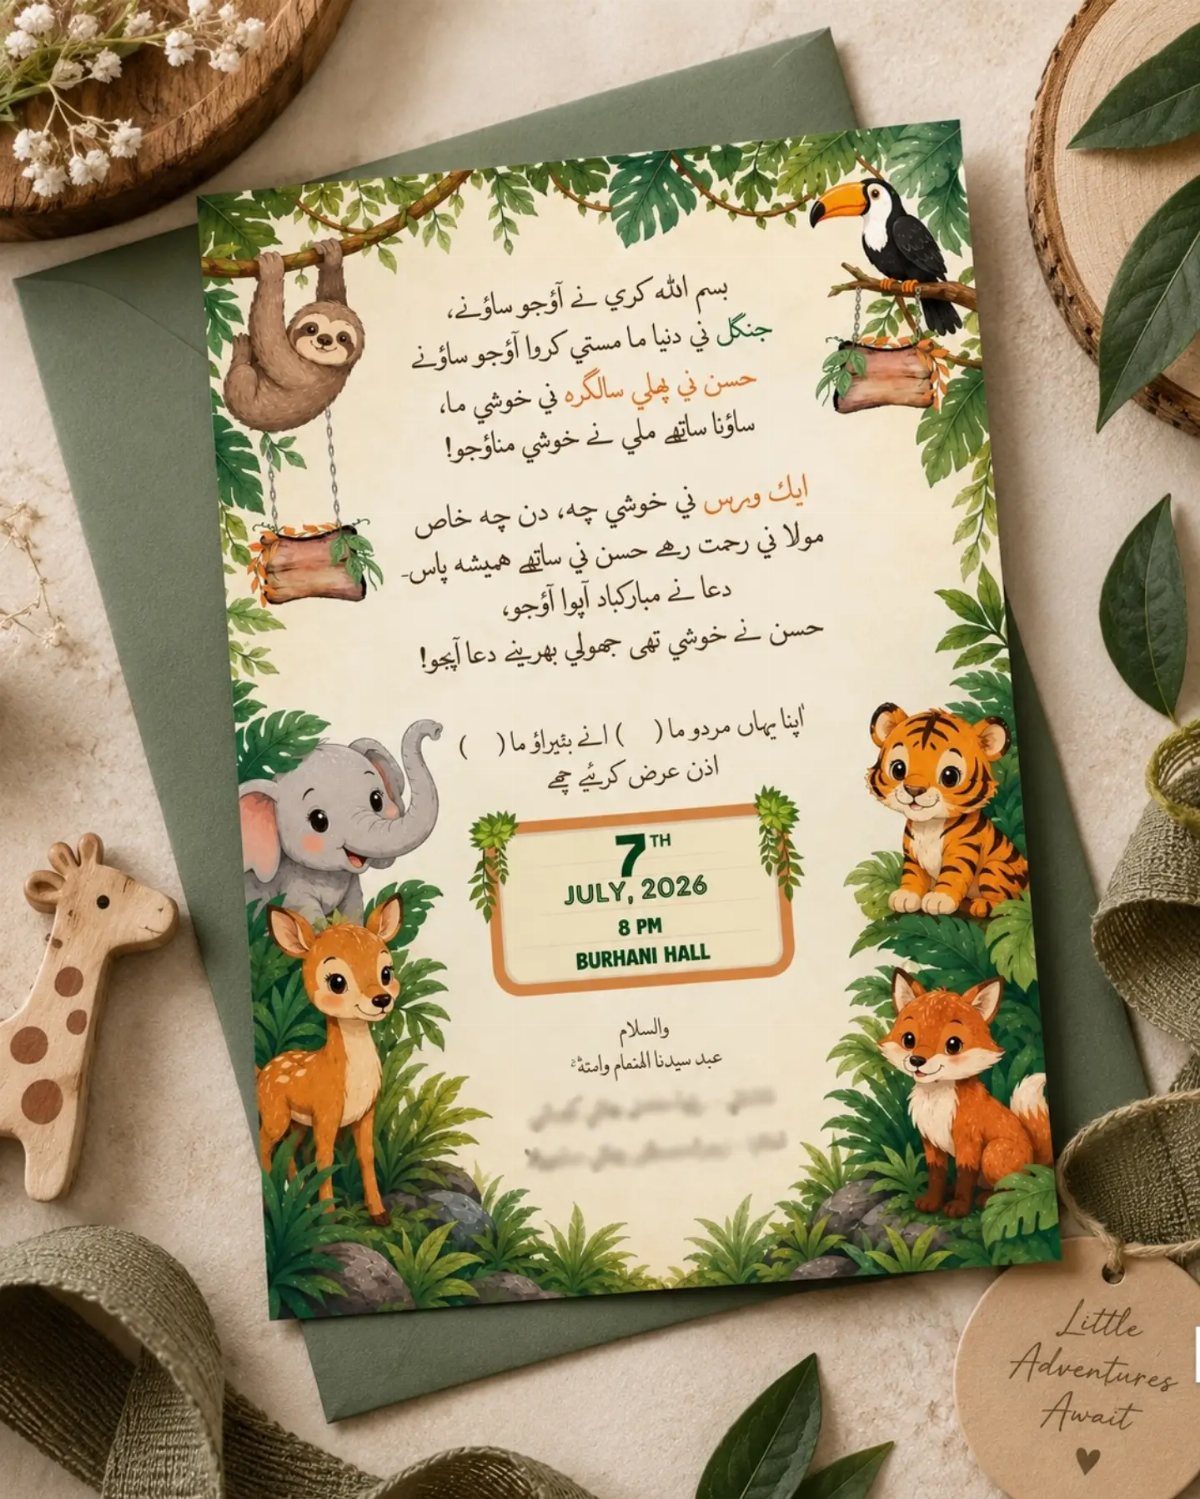
Pick one animal-filled setting, like a jungle, and let it run edge to edge so every character shares the same foliage. The scene sets the party’s mood before anyone opens a door.
Bilingual text, as on this card, is a smart move when guests read different languages. Give the date, time and hall name their own clear lines so the art never crowds them.
6. Clear Acrylic Birthday Invitation
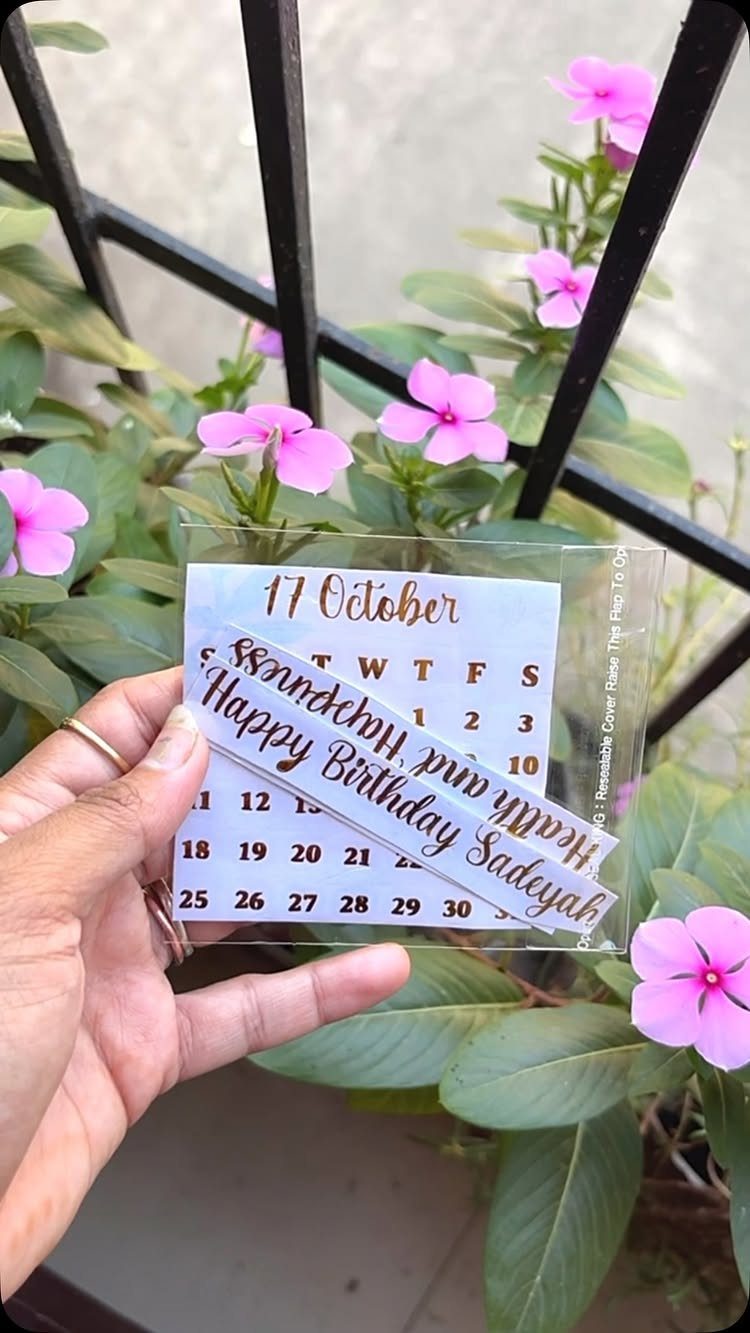
Clear acrylic makes the invitation feel like an object guests will keep rather than a card they will recycle.
Gold calligraphy, a small calendar with the date circled and a few floral accents are all it needs, since the transparency is the main design feature.
Gold on clear reads best when held over something darker or leafy, so tell your photographer to shoot it that way. This is a purchase more than a DIY, so expect it to cost more than paper.
7. Wax Sealed Folded Invitation
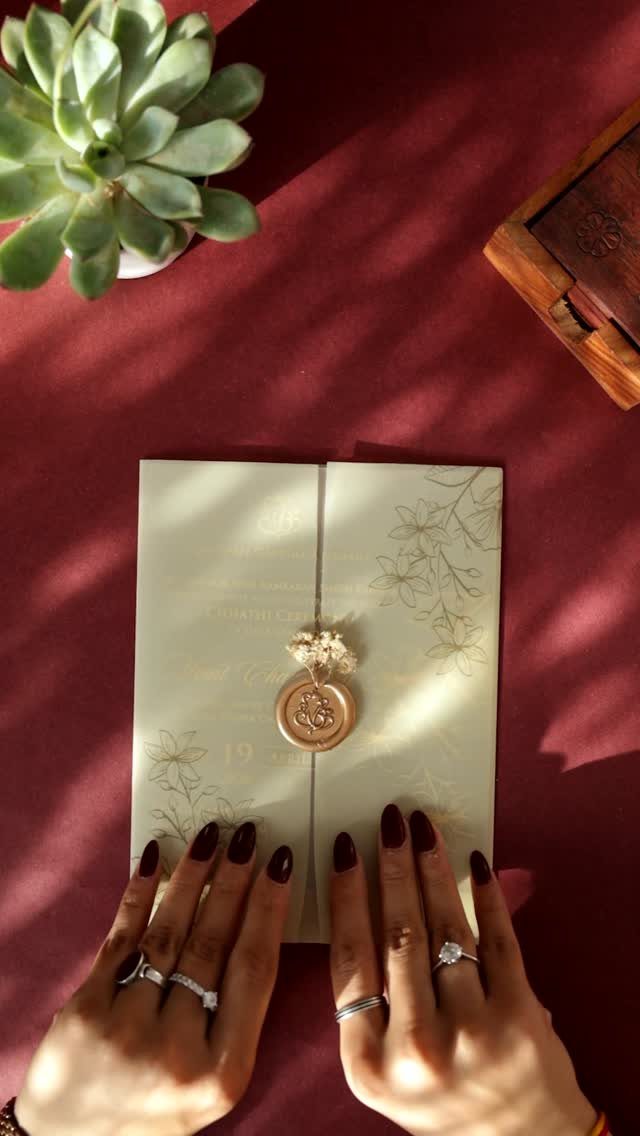
A gold wax seal turns a plain folded card into something that feels sealed with intent. Cream stock lets the metallic shine stand out, and a sprig of greenery tucked under or beside the seal keeps it from looking stiff.
Press the stamp once the wax has lost its first runny gloss, so the impression stays crisp.
Do a test seal on scrap paper first. This works for a small guest list, since each seal is done one at a time.
8. Boxed Birthday Invitation
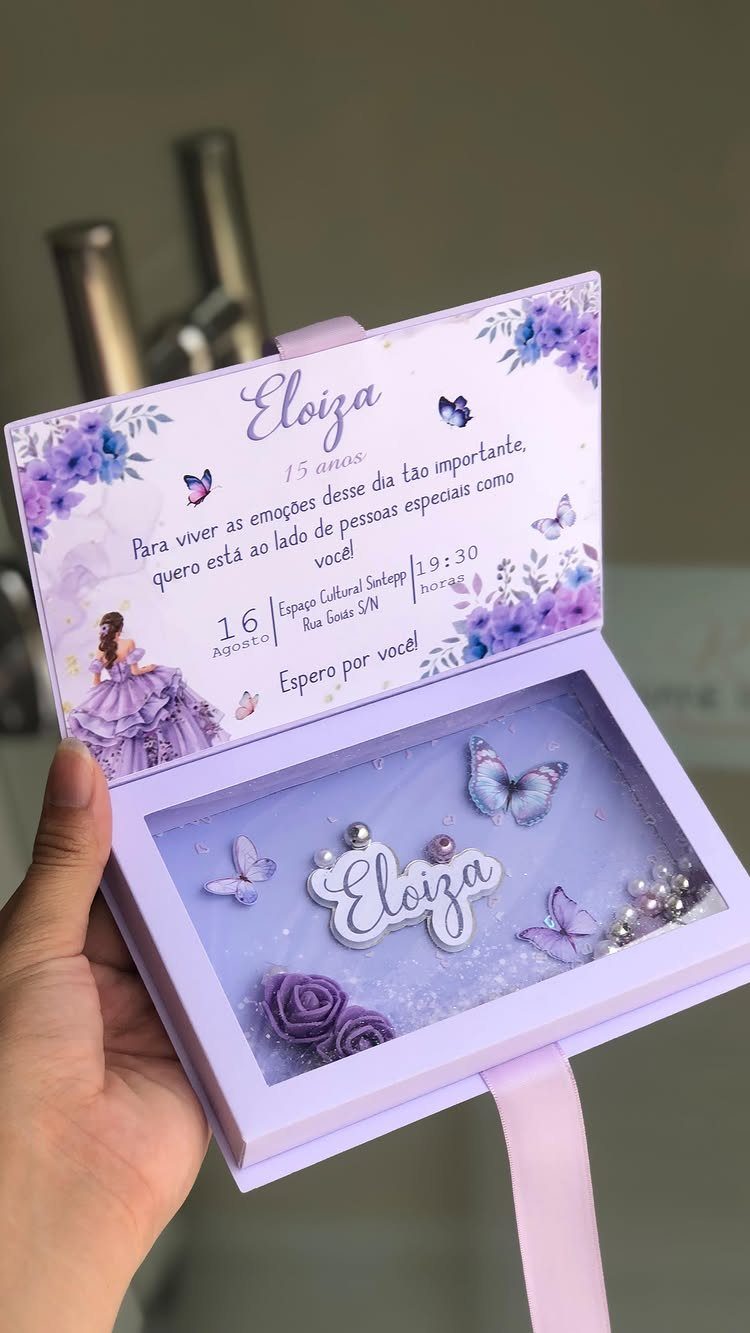
Eloiza’s 15th gets a whole small gift rather than a card: a lidded box holding the invitation and a 3D piece that pops up when the lid opens. Guests meet the party before they read a word.
I would keep one color family across box, card and decoration, as purple does here. Put the name on the 3D piece and leave the printed card for date, time and place.
Boxes cost more to make and mail than flat cards, so hand-deliver them to a short list of close guests.
9. Gold Foil Lettered Invitation
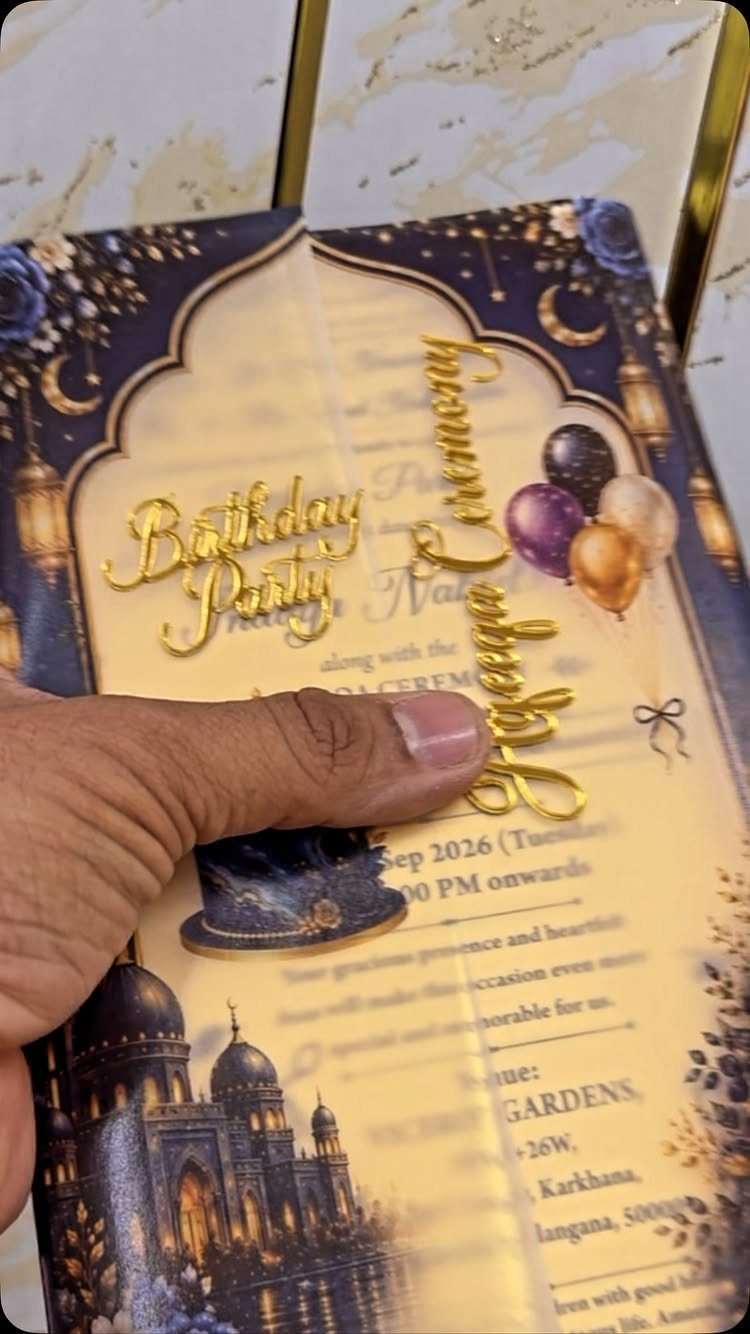
Foil is the one detail that makes a printed card feel expensive, and gold against blue is a pairing I like.
Foil belongs on the title and the date alone; the balloons and palace illustration work best in flat color, which gives the shine a clear job.
Order foil from a print shop; it is not a home craft.
Check the proof closely, because small foil type can fill in. Keep the lettering large enough to read at a glance, with "Sep 2026" easy to spot.
10. Digital Smartphone Invitation
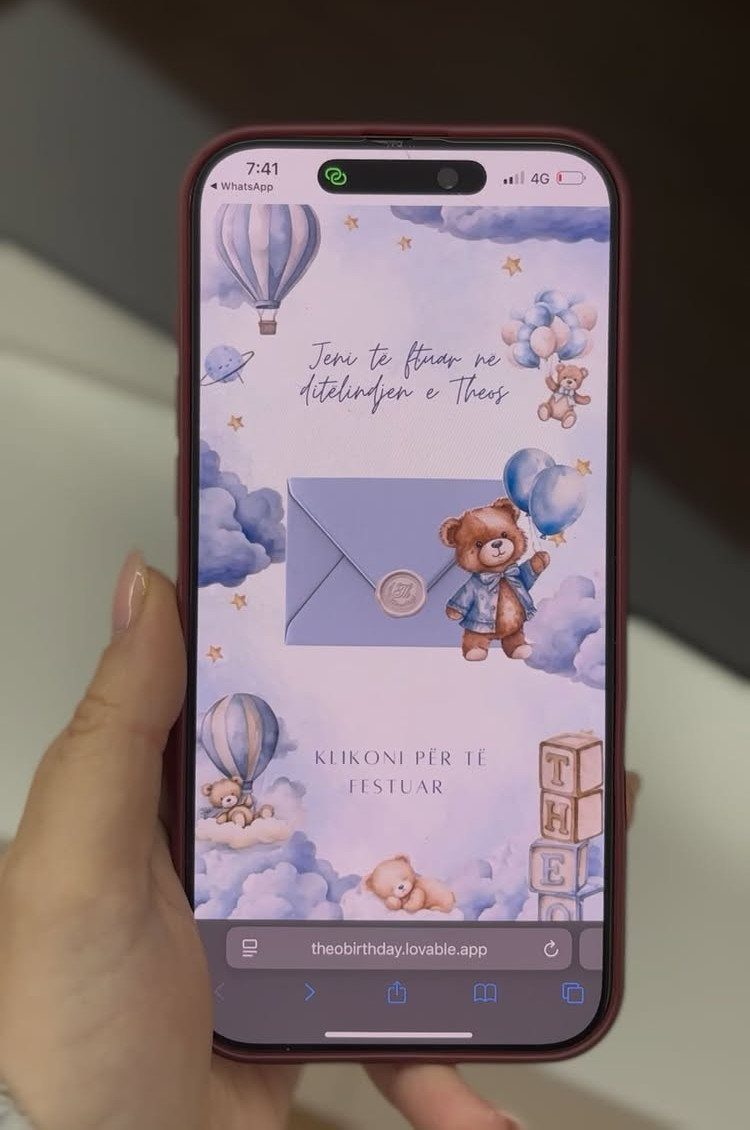
A phone invitation lives at a web link, so one text sends it to every guest.
Teddy bears and balloons on blue give it a gentle baby-birthday feel, and the text on screen can be in whatever language your guests read.
Put the date, time and place near the top of the page, before any scrolling. Keep the link short, and test it on both an iPhone and an Android before sending.
A phone invitation costs next to nothing and goes out in minutes, which makes it the right pick for a big or far-flung guest list.
11. Ribbon-Tied Invitation Card
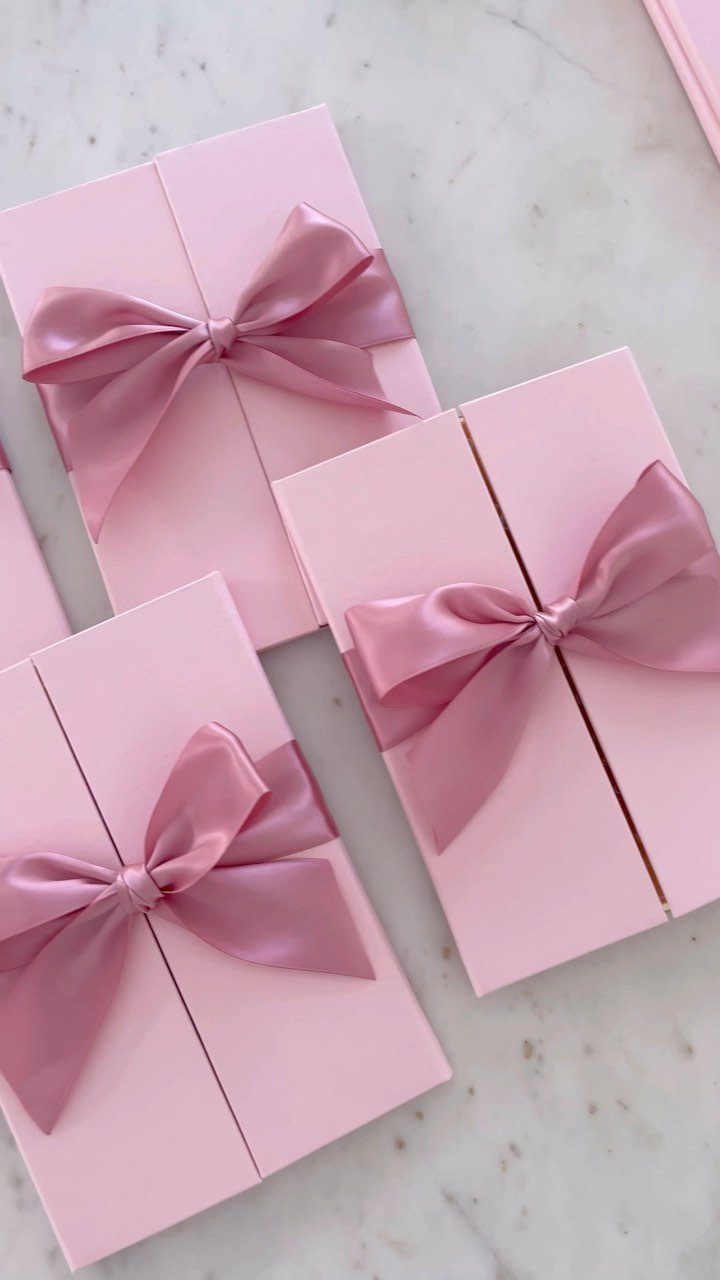
Satin ribbon is the quickest way to dress up a stack of plain cards. Pale pink cards tied with a shimmering bow of the same shade look unified, and each one reads as a little present.
Tie every bow by hand, and cut each ribbon length at the same measurement so the loops come out even. A spot of double-sided tape keeps the knot from slipping.
This is easy enough for a beginner and cheap enough for a large guest list, since ribbon costs little per card.
Frequently Asked Questions
Can ChatGPT create an invitation?
I can’t vouch for that from my own testing, so I’d treat it as a wording helper at most.
What makes an invitation work is the design: one strong image or character, the age and name up top, and the date, time and place on clear lines.
Where can I find free birthday invitation templates?
Craft communities publish downloadable designs, including reusable cut files for laser cutting and papercraft. One file can print a whole guest list, and you personalize the name, age and party details.