Your choice comes down to the look you want and how much assembly time you can spend, because these ideas range from a single stem in a bottle to a greenery runner that needs floral wire and a pair of hands at every table.
If you plan to build with others, finish one complete version first so everyone works from the same model. Either way, divide your total budget by the number of centerpieces first, and let that cost per centerpiece settle the rest.
1. Mason Jar Centerpieces
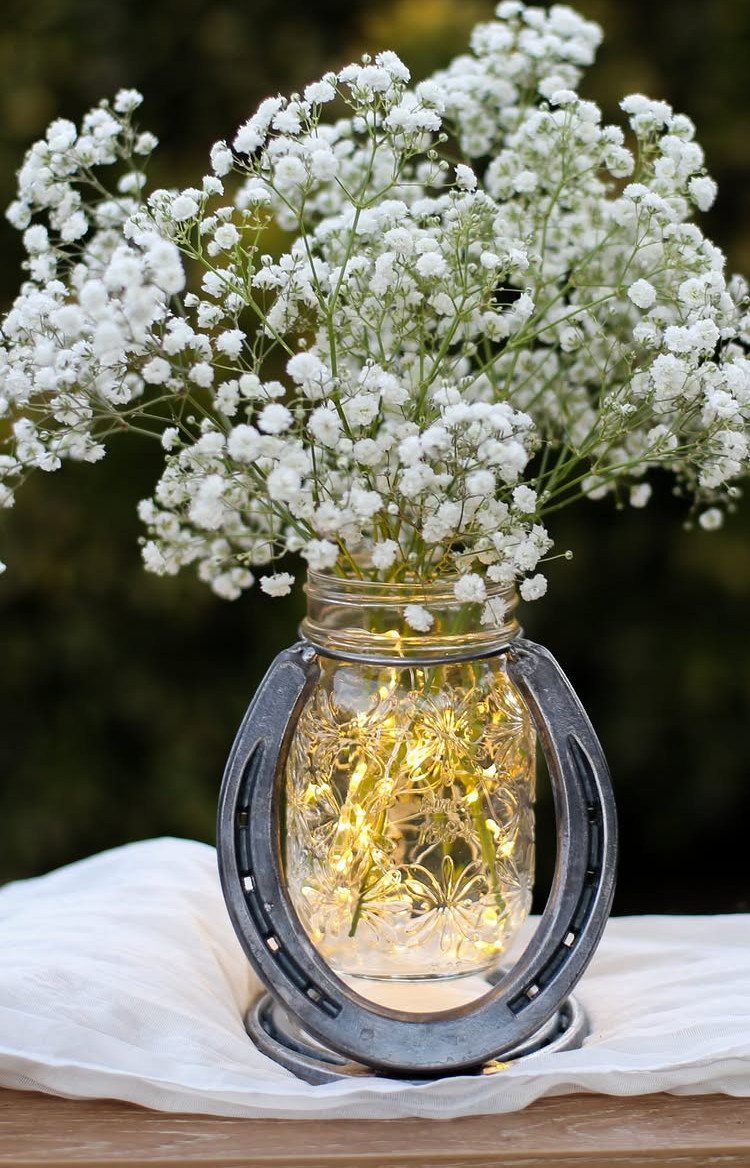
A mason jar holding baby’s breath and a short strand of fairy lights is about as cheap as a centerpiece gets, and it reads rustic without any extra work.
Baby’s breath fills a jar fast and looks full with few stems. Coil the lights loosely so the battery pack hides behind the jar or under the cloth.
A metal horseshoe around the jar gives it a western edge. I’d skip it if your theme leans soft and romantic.
2. Single-Stem Flowers in Small Vases
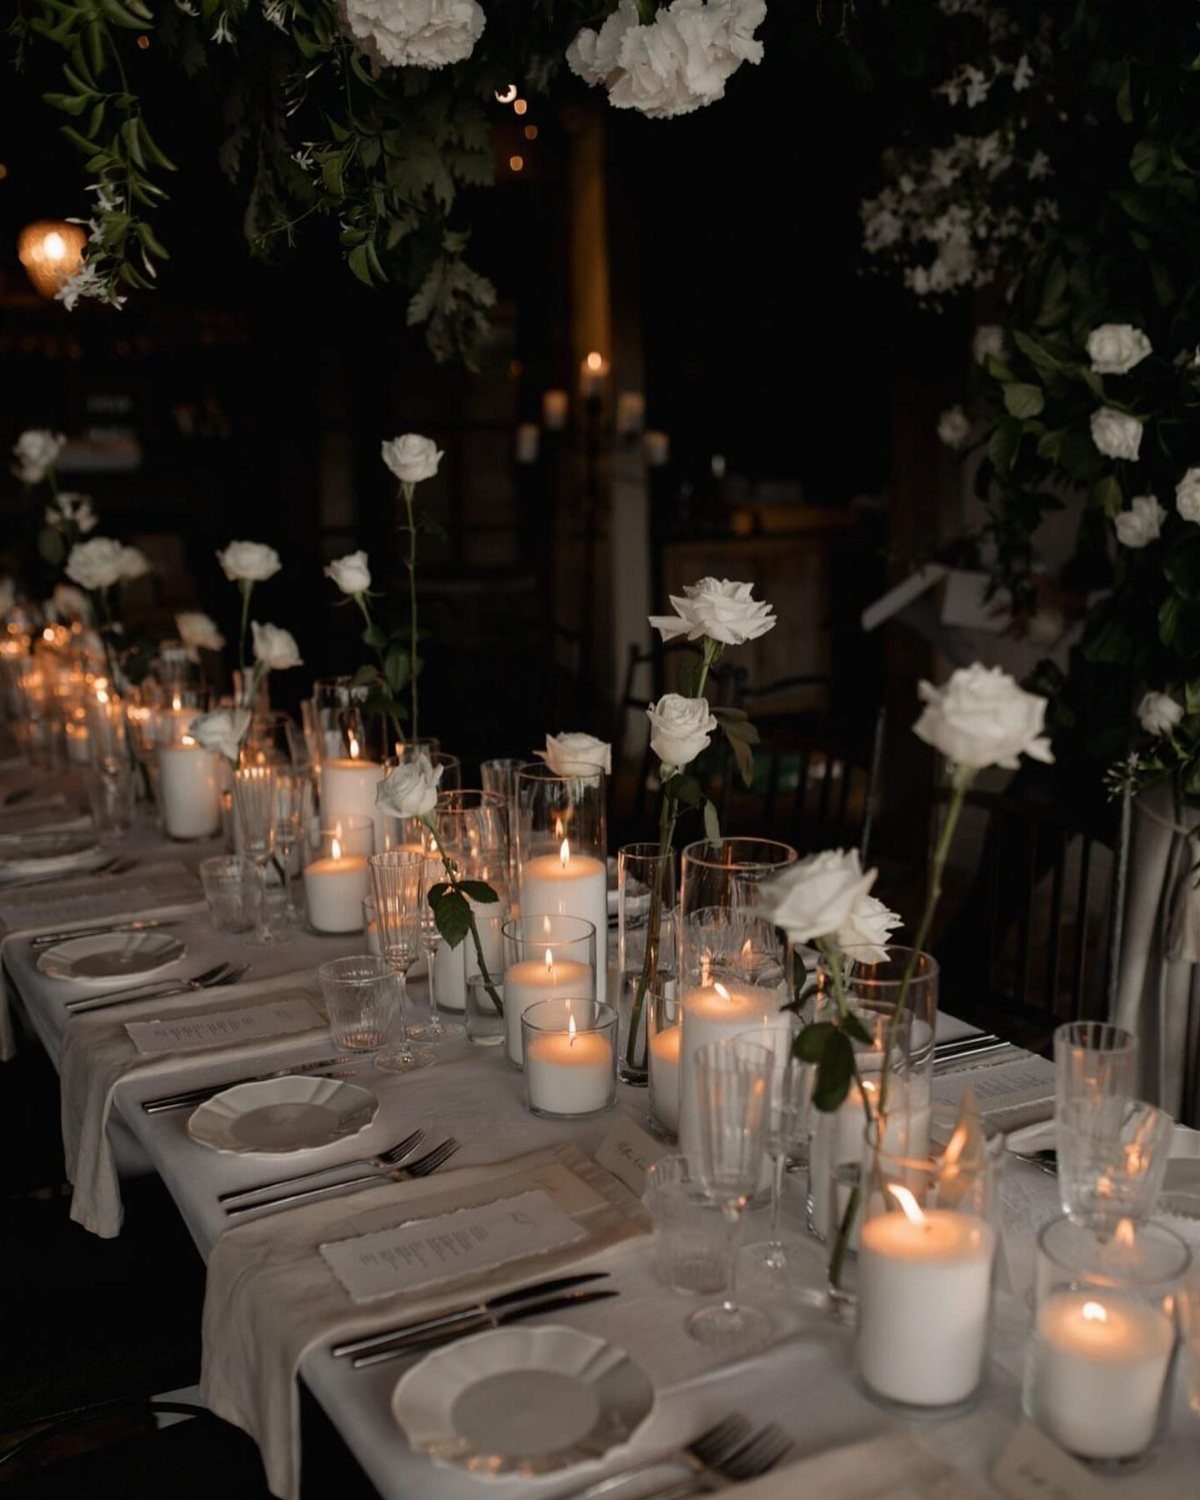
Single stems suit couples who want a long table to look full without paying for full arrangements. One white rose per small glass vase, repeated down the table, does the work.
Repetition is what makes it look planned, so use matching vases and space them evenly. Candles between them add height and glow.
Fewer stems per table also means less to prep, which helps when you’re doing this yourself.
3. Bottles as Centerpieces
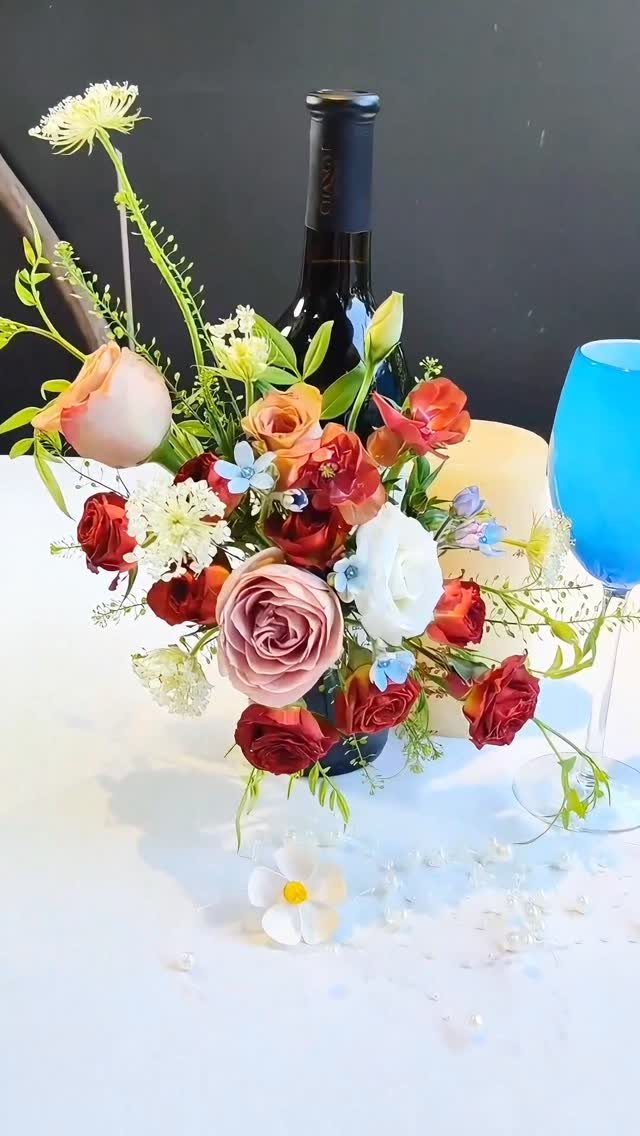
Saving wine bottles through the year turns a free item into a vase, and a dark glass bottle makes red and pink roses look richer by contrast.
A bottle’s narrow neck holds a small bunch upright, so a few full-headed roses are plenty. Peel off the label and rinse the bottle well before you add water.
I’d gather bottles in the same shade; a mix of colors tends to look accidental.
4. Candle Centerpieces
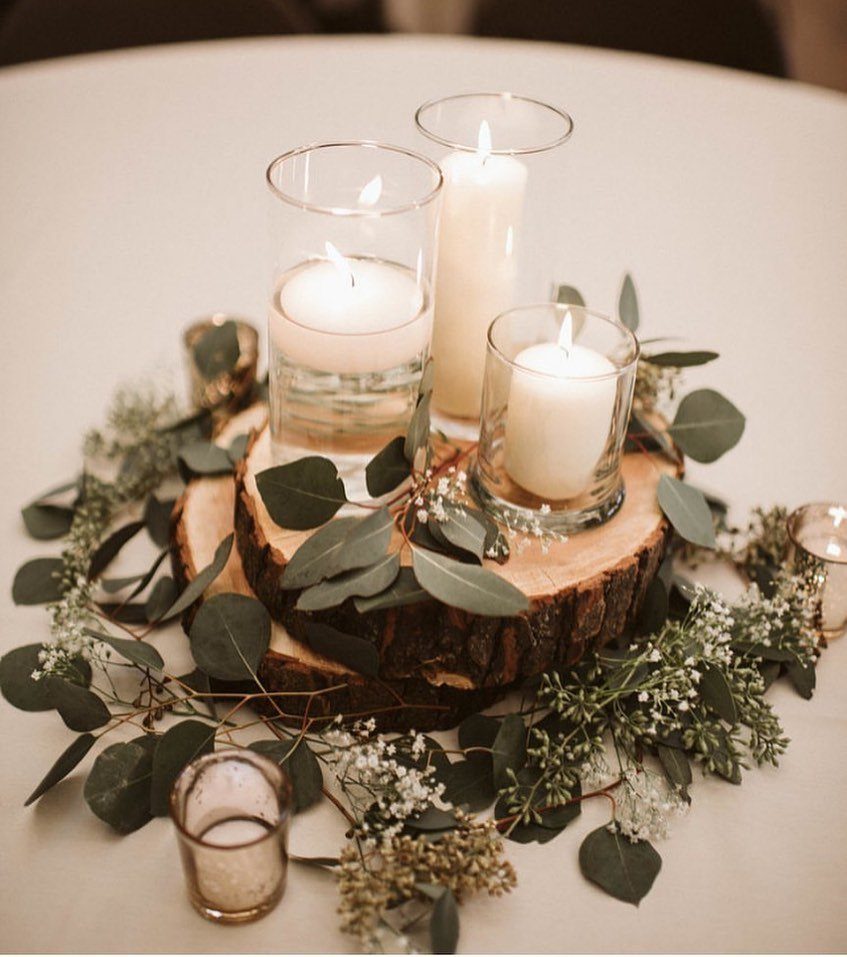
Glass keeps the flame sheltered and the look clean.
Group the holders on a wood slice, then tuck eucalyptus and baby’s breath around the base to soften the edges. White candles keep the whole thing calm and romantic.
Build one and test it before you commit to a full set of tables.
5. Low and Lush Greenery Runners
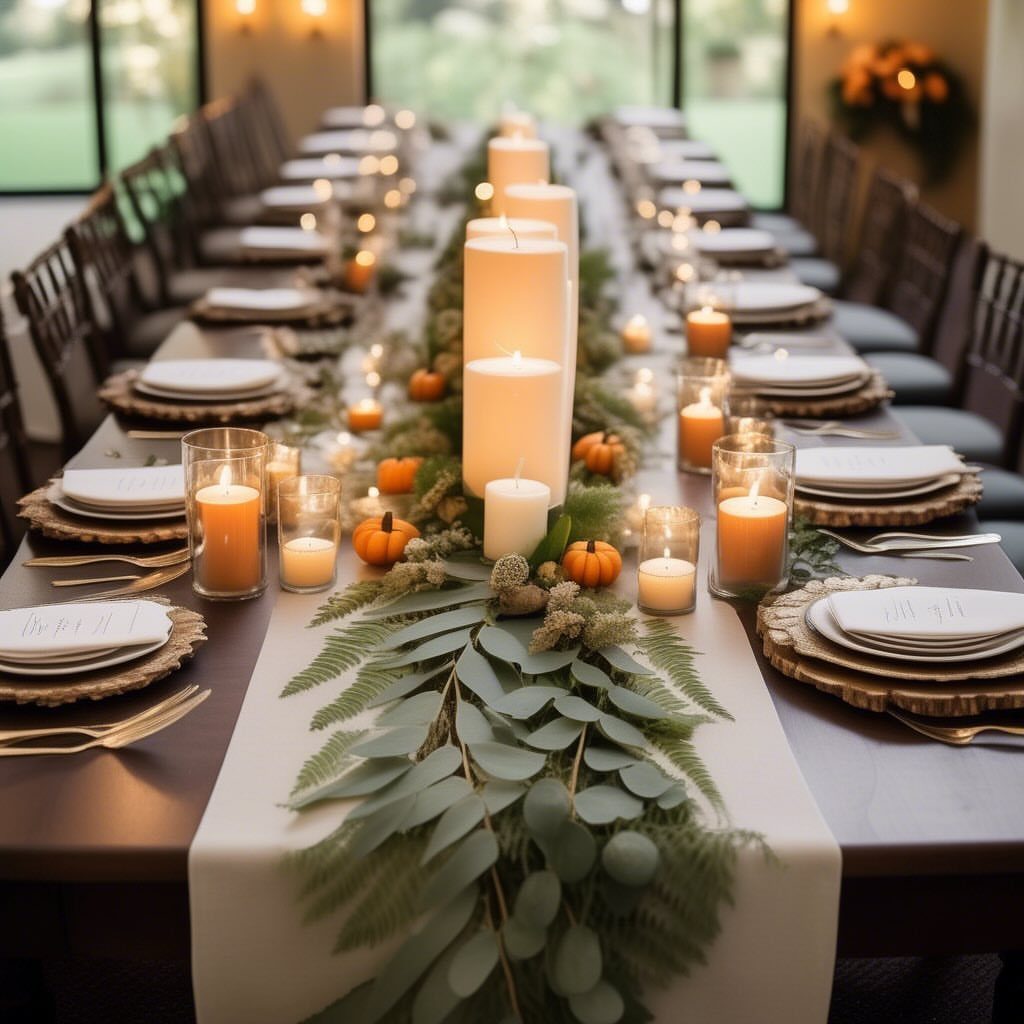
A runner of eucalyptus leaves lies low along the table, so guests can see each other across it. That is its best argument over tall arrangements.
Lay the greenery end to end down the center, then add white pillar candles at intervals. Small pumpkins fit an autumn wedding and are easy to swap out for other seasons.
Leave room on either side for plates and wood chargers.
6. Wood Accents
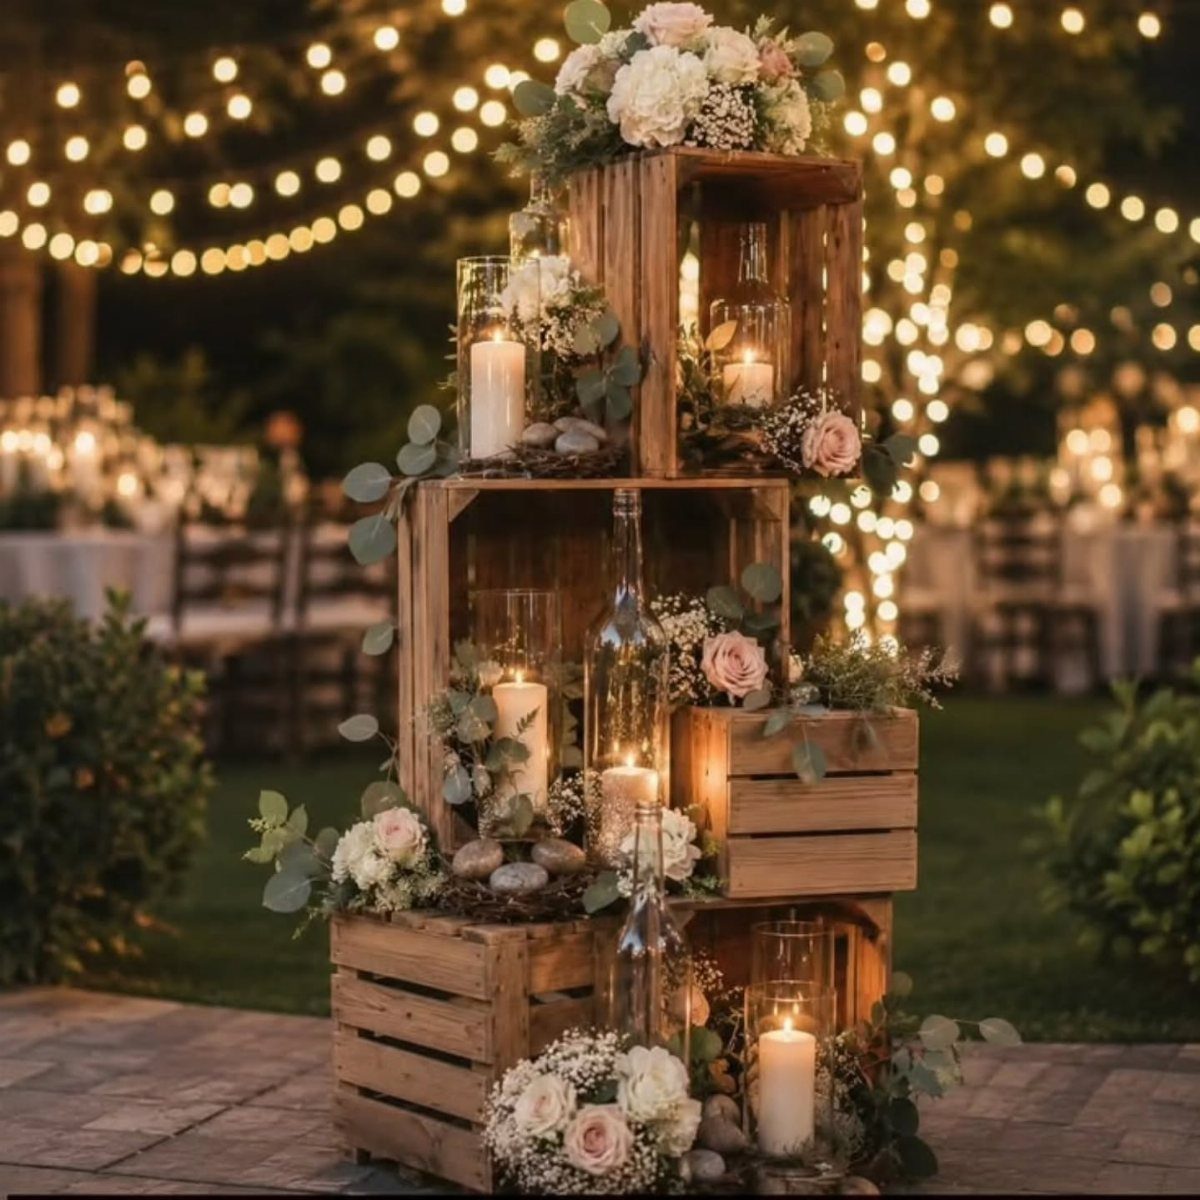
Stacked wooden crates give a centerpiece height without buying tall vases. Stack the slices at different heights, then tuck white roses, greenery and candles into the gaps.
Crates suit an outdoor evening reception, especially under string lights, where candlelight sits well against the wood. Set candles in secure holders so nothing tips.
Because crates are bulky, I’d use them for a few key spots, like a sweets table or head table, rather than every table.
7. Personalized Table Numbers
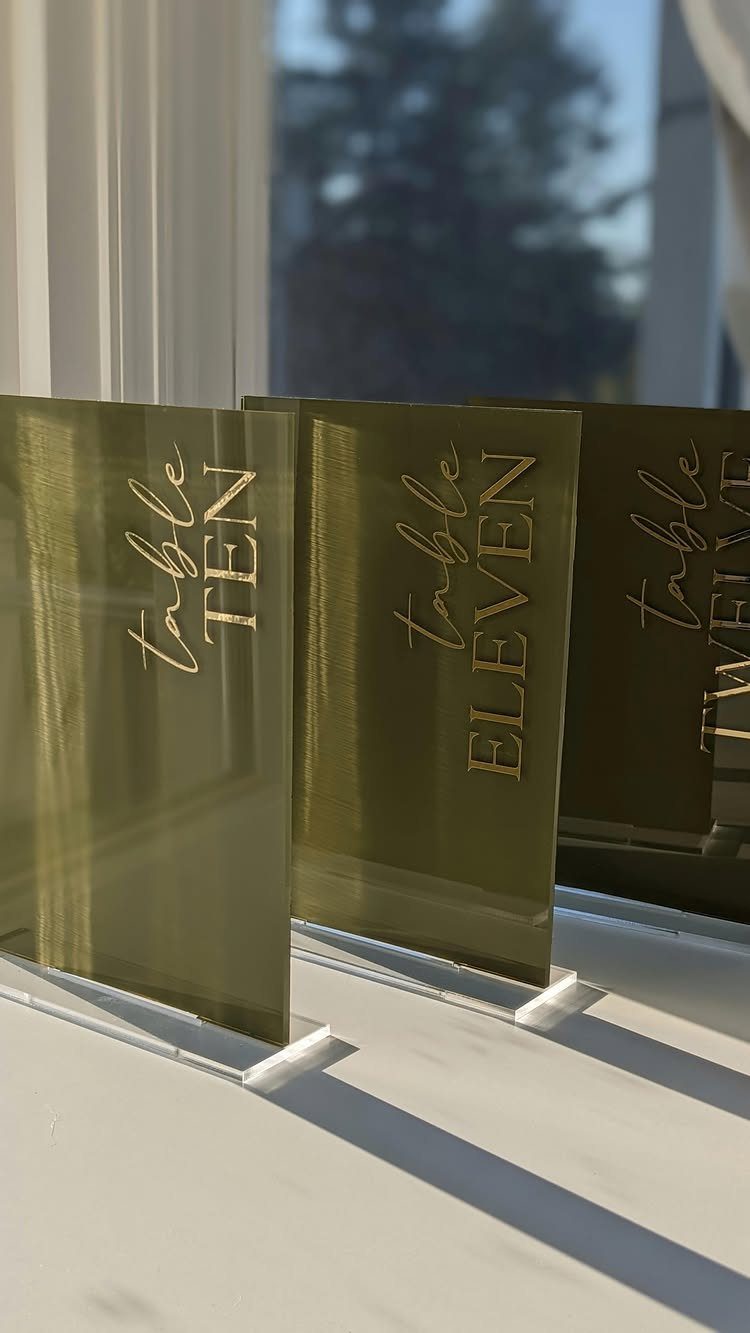
Custom table numbers are the one centerpiece-adjacent piece that guests actually read, so they earn a little extra thought.
Acrylic table numbers in a solid color with contrasting lettering sit in a clear holder and read cleanly from across the room without taking up table real estate.
Spelling the number out, as in "Table TEN," reads more formal than a bare digit. Pick one lettering color and use it on every sign.
Stand a sign next to a small vase or a candle group instead of competing with it. I’d order one sample first to check the color and the lettering before buying the full set.
DIY Centerpiece Tips
Two or three core elements per design is plenty. A vessel, one type of flower or greenery, and a light source will do it, and every extra piece adds cost and prep time.
Match the centerpiece to your linens. Texture and color should agree, so a heavy, nubby cloth wants something simple on top, while a smooth white one can handle more going on.
Use what you already own before buying anything. Renting multi-use pieces like stands is also an option, and a rented stand can serve every table for less than buying one per table.
Budget Considerations
Start with the division: decide how many centerpieces you need, then divide your total budget by that number. The result is your cost per centerpiece, and every purchase gets measured against it.
Count the tools in that figure. A hot glue gun or a crafting knife is a real expense if you don’t own one, and sometimes renting the finished piece costs less than making it.
Keep floral designs light and airy rather than packed. More blooms raise both cost and time.
Seasonal flowers help too. You can also mix it up, giving half the tables a fancier arrangement and the rest a simpler one.
Crafting Advice
Finish one centerpiece completely before you buy materials for the rest. Halfway through you may want to add or drop an element, and it’s far cheaper to find that out on one table than on twenty.
Once the prototype looks right, show it to a few friends or family members and tweak it based on what they say. Then repeat it.
Give yourself plenty of lead time, since craft projects always run longer than planned. Invite friends to an assembly afternoon: with a finished prototype on the table to copy, everyone can work from the same model.